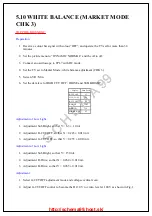
5.10 WHITE BALANCE (MARKET MODE
CHK 3)
TOP
PREVIOUS
NEXT
Preparation
1. Receive a colour bar signal with colour “OFF”, and operate the TV set for more than 30
minutes.
2. Set the picture menu to “DYNAMIC NORMAL” and the AI to off.
3. Connect an oscilloscope to TPL7 with DC mode.
4. Set the TV set to Market Mode : white balance adjustment (CHK 3).
5. Screen VR : Min.
6. Set the data level of RGB CUT OFF / DRIVE and SUB BRIGHT.
Adjustment of Low Light
1. Adjustment Sub Bright, so that Y = 6.3 ± 1.0 nit.
2. Adjustment R-CUT OFF, so that X = 0.243 ± 0.010 nit.
3. Adjustment G-CUT OFF, so that Y = 0.255 ± 0.010 nit.
Adjustment of Low Light
1. Adjustment Sub Bright, so that Y = 150 nit.
2. Adjustment R-Drive, so that X = 0.260 ± 0.010 nit.
3. Adjustment B-Drive, so that Y = 0.265 ± 0.010 nit.
Adjustment
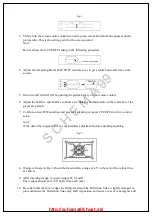
1. Select G-CUTOFF adjustment mode and collapse vertical scan.
2. Adjust G-CUTOFF control to become the DC=0 V to video level at 180 V as shown in Fig. 1.
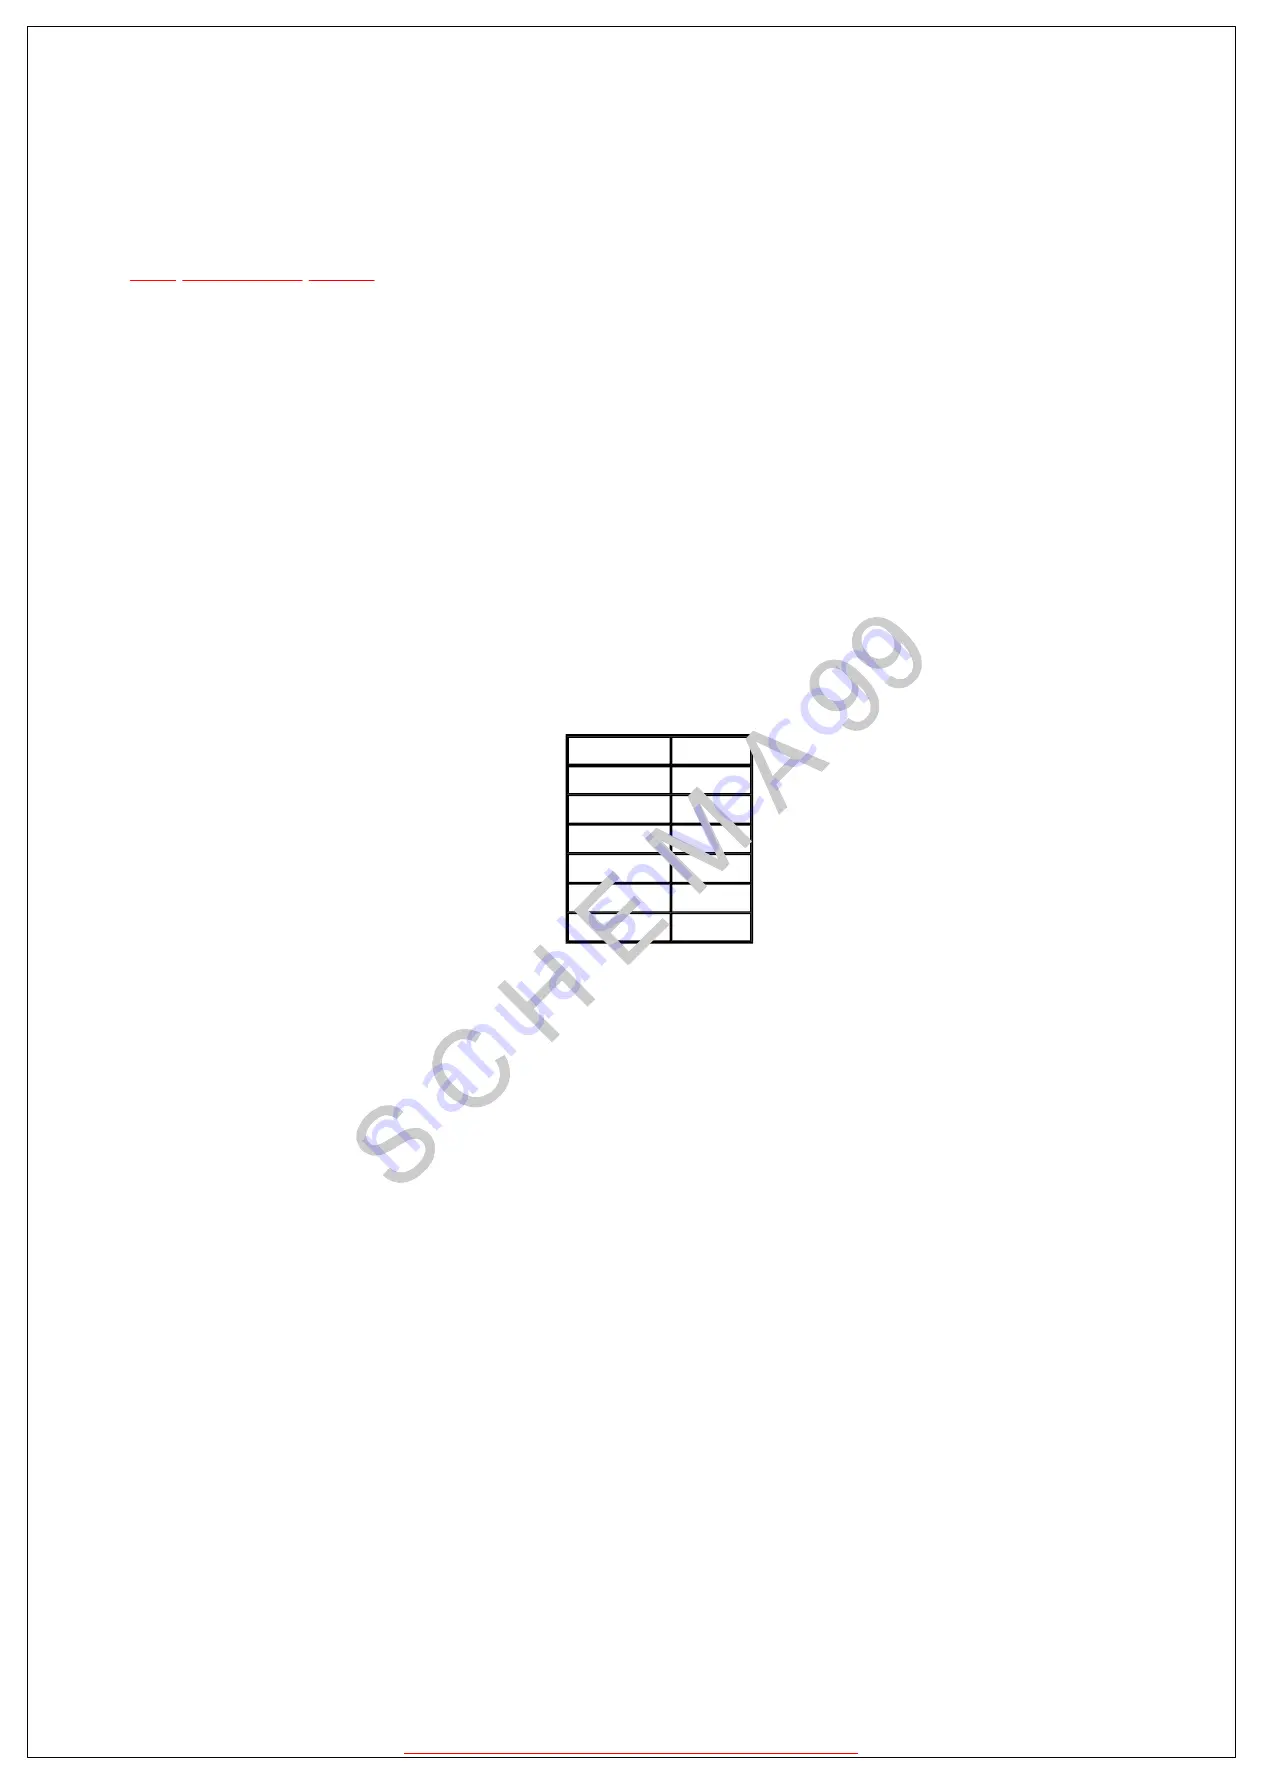
Display
Data Level
R-CUT OFF
63
G-CUT OFF
128
B-CUT OFF
63
R-DRIVE
128
B-DRIVE
128
SUB BRIGHT
63
17. 4. 2004
file://C:\Documents%20and%20Settings\Admin\Plocha\TC-29PS60K_GP3\s0510000...
Summary of Contents for TC-29PS60K
Page 6: ... 1A 2A 3A 4A 5A 6A 7A 8A 9A 10A 11A 12A 13A 14A 15A 16A 17A 18A 19A ...
Page 8: ... 2B 1B 3B 5B 4B 6B 7B 8B 9B 1C 2C 3C 4C 5C 6C 7C 8C 9C 10C 11C 12C 13C 14C 15C 16C ...
Page 10: ... 2D 3D 4D 5D 6D 7D 8D 9D 10D 11D 12D 13D 14D 15D 16D 17D 18D 19D 20D 21D 1D ...
Page 11: ... 1A 2A 3A 4A 5A ...
Page 12: ... 1A 2A 3A 4A 5A 1B 2B 3B 4B 5B 6B 7B 8B ...
Page 13: ... 1B 2B 3B 4B 5B 6B 7B 8B ...
Page 14: ... 1A 2A 3A 4A 5A 6A 7A 8A 9A 10A 11A 12A ...
Page 15: ... 1A 2A 3A 4A 5A 6A 7A 8A 9A 10A 11A 12A 1B 2B 3B 4B 5B 6B ...
Page 16: ... 1B 2B 3B 4B 5B 6B ...
Page 17: ... 1B 2B 3B 4B 5B 6B 7B 8B 9B ...
Page 18: ... 1B 2B 3B 4B 5B 6B 7B 8B 9B ...
Page 19: ... 1A 2A 3A 4A 5A 6A 7A 8A 10A 11A 12A ...
Page 20: ... 1A 2A 3A 4A 5A 6A 7A 8A 10A 11A 12A ...
Page 21: ... 1A 2A 3A 4A 5A 6A ...
Page 22: ... 1A 2A 3A 4A 5A 6A ...


