


71
VQT0X39
2
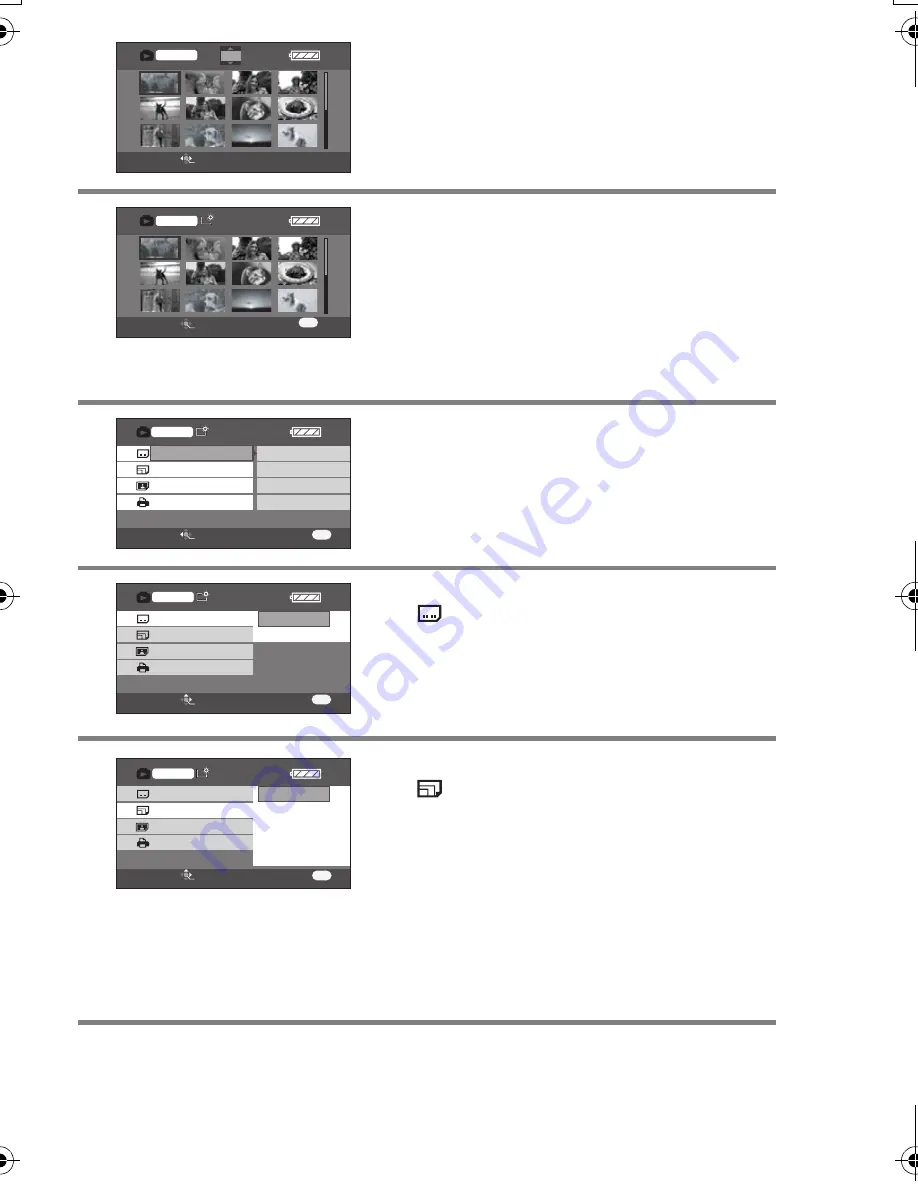
Press the cursor button up, down, left
or right to select a scene to be
printed, then press the button in the
center.
The number of pictures set is displayed.
3
Press the cursor button up or down to
select the desired number of prints,
then press the button in the center.
≥
You can set up to 9 prints.
≥
The function can be canceled by setting the
number of pictures to [0].
≥
Up to 12 scenes displayed on a page can be
set in succession by repeating steps 2 and 3.
4
Press the menu button to display the
menus screen.
5
Use the cursor button to select
[
DATE PRINT], then press the
cursor button right to enter the date
print setting.
≥
If the printer is not capable of date printing,
this setting is unavailable.
6
Use the cursor button to select
[
PAPER SIZE], then press the
cursor button right to enter the paper
size setting.
–
STANDARD:
Size specific to the printer
–
4
k
5 INCH:
L size
–
5
k
7 INCH:
2L size
–
4
k
6 INCH:
Postcard size
–
A4:
A4 size
≥
You cannot set paper sizes not supported on
the printer.
SETUP
ENTER
0
PictBridge
SETUP
ENTER
1/24
1/24
1/24
22
PictBridge
MENU
SETUP
ENTER
DATE PRINT
PAPER SIZE
PAGE LAYOUT
OFF
NO
PictBridge
MENU
RETURN
STANDARD
STANDARD
OFF
ON
SETUP
DATE PRINT
PAPER SIZE
PAGE LAYOUT
PictBridge
ENTER
MENU
RETURN
4
k
5 INCH
5
k
7 INCH
A4
4
k
6 INCH
STANDARD
SETUP
DATE PRINT
PAPER SIZE
PAGE LAYOUT
PictBridge
ENTER
MENU
RETURN
VQT0X39ENG.book 71 ページ 2006年6月14日 水曜日 午前10時51分


