Recording operations
25
RQT7502
Recording specific disc(s) or tracks
•
Do the preparatory steps
(
A
page 24).
1
Do steps 1 to 2
{
A
page 24, Recording from disc(s)}.
To record programmed tracks
•
Do steps 1 to 3 {
A
page 15, Program play (up to 24 items)}.
2
Press [SHIFT] + [
a
REC] (main unit: [
a
REC]) to start
recording.
To stop recording.
Press [
L
STOP].
If the tape finishes before the disc
The disc continues playing, stop it by pressing [
L
STOP].
Recording from an external unit
•
Do the preparatory steps
(
A
page 24).
(For connections
A
page 34, Using an external unit)
1
Do step 1
(
A
page 34, Using an external unit—To playback)
.
2
Press [SHIFT] + [
a
REC] (main unit: [
a
REC]) to start
recording.
3
Start playback from the external source.
(For details, refer to the external unit’s instruction manual.)
Volume, surround effects, sound field and quality
•
Recording level is set automatically.
•
The volume, sound field and quality has no effect on recording.
They can be adjusted for playback.
•
Multi-channel sources are automatically down-mixed to 2 channels
during recording.
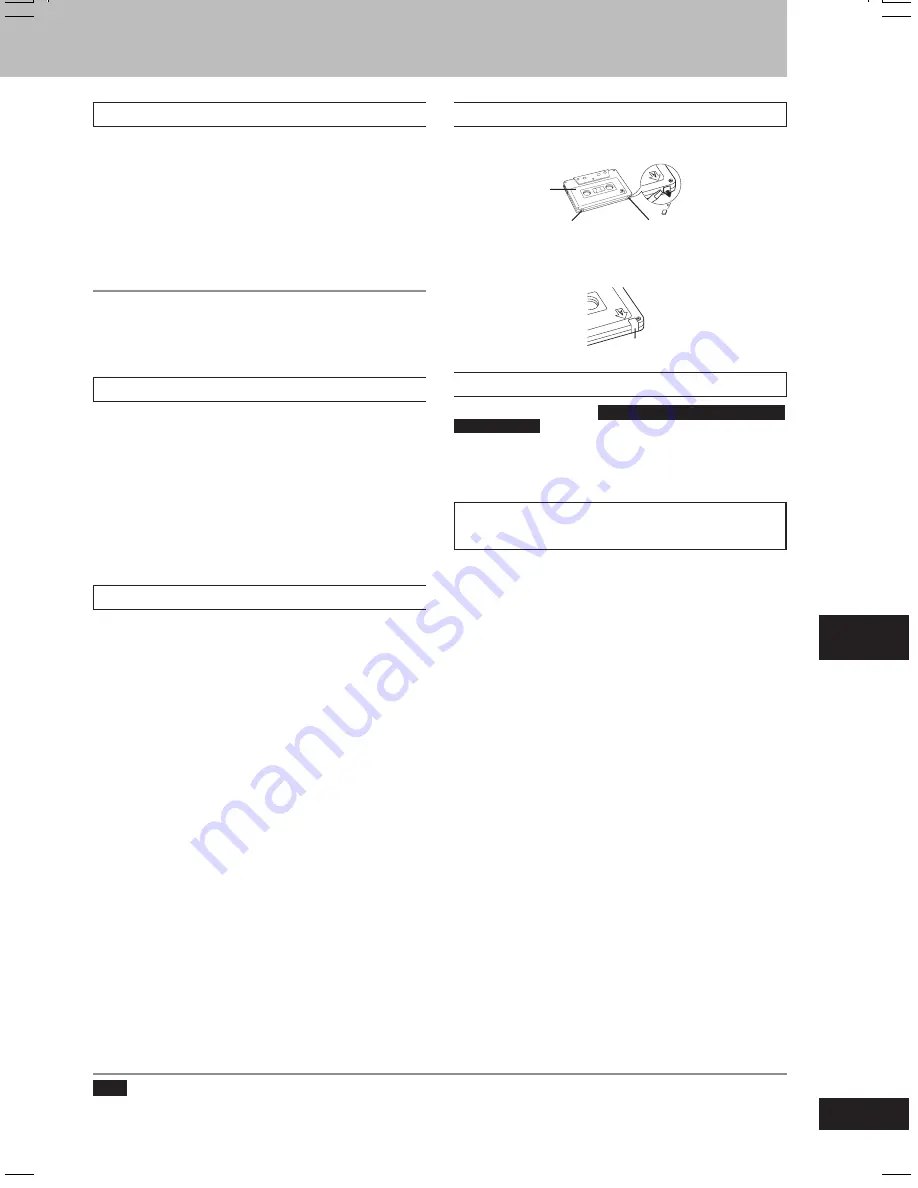
Erasure prevention
Use a screwdriver or similar object to break out the tab.
To record on the tape again, cover the hole with an adhesive tape.
Erase recordings
Disconnect the microphone. (
For Saudi Arabia, Kuwait, the Middle East and
Southeast Asia only
)
1. Press [
/ -
TAPE] and then [
L
STOP].
2. Press [PLAY MODE] to select the reverse mode.
3. Press [SHIFT]+[
a
REC] (main unit: [
a
REC]).
Your attention is drawn to the fact that recording pre-recorded
tapes or discs or other published or broadcast material may
infringe copyright laws.
Side A
Tab for side B
Tab for side A
Adhesive tape
Note
During recording, other buttons will not function except for [
L
STOP], [MUTING], [VOLUME –, +], [
J
DISC PAUSE], [
f
] and [OPEN/CLOSE
c
]
buttons.
RQT7502_24_25_new
3/16/04, 2:58 PM
25


