10
RQ
T
9
81
2
You can preset up to 30 channels.
The radio settings will be shown on the unit’s display. (Some settings are
also indicated on the TV screen.)
Preparation
Make sure that the FM antenna is connected. (
B
7)
Select a radio broadcast.
1 Press [RADIO]
4
to select “FM”.
2 Press [SEARCH
6
, SEARCH
5
]
?
to select the frequency.
≥
To start automatic tuning, press and hold [SEARCH
6
,
SEARCH
5
]
?
until the frequency starts scrolling. Tuning stops
when a station is found.
To preset the channel
3 While listening to the radio broadcast
Press [OK]
8
.
4 While the frequency is flashing on the display
Press the numbered buttons to select the channel.
A station previously stored is overwritten when another station is stored in the
same channel preset.
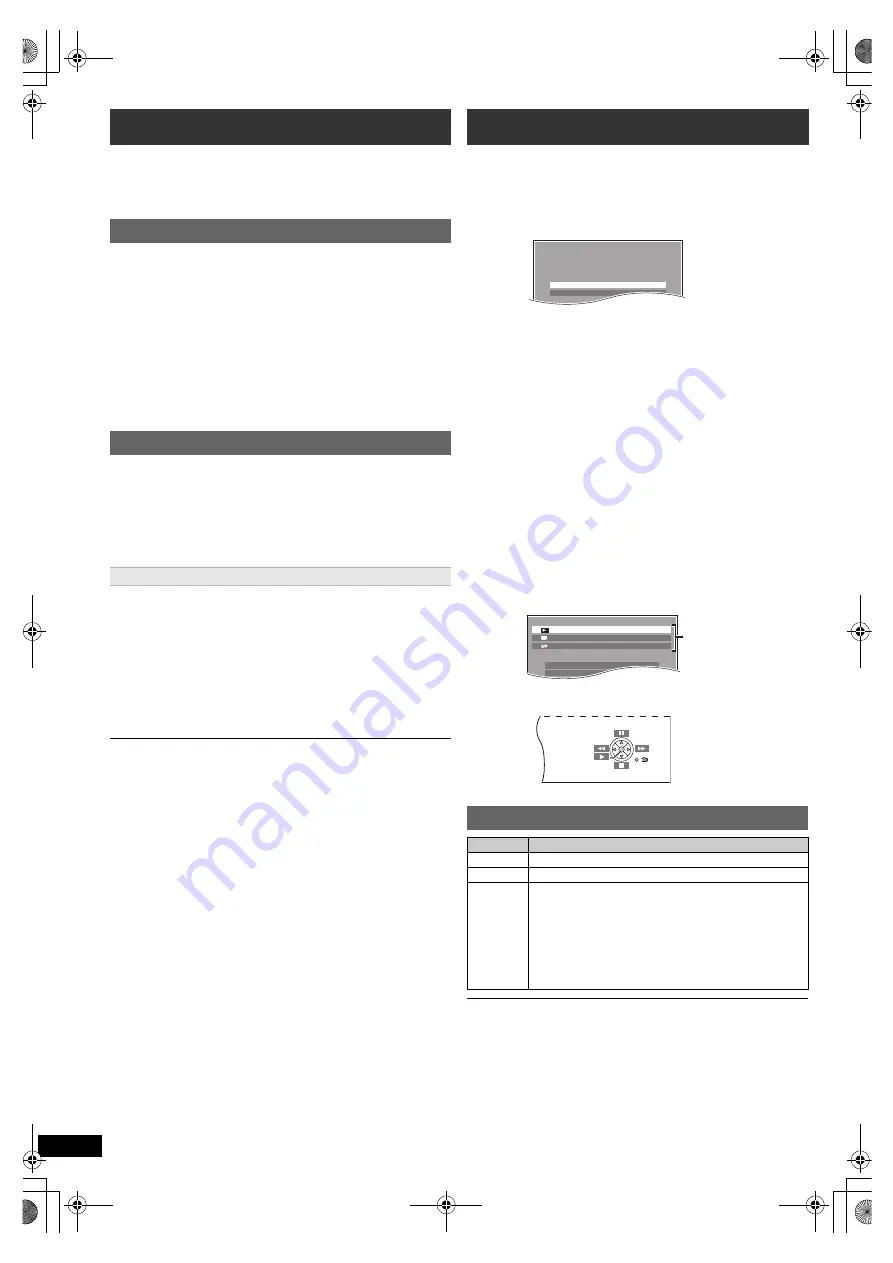
You can select desired source, change the settings, access playback/
menus, etc., by using the START menu.
When “Input Selection” is selected
You can select a desired source from the menu.
≥
DVD/CD (
B
12), FM RADIO (
B
left), AUX
§
1
(
B
below),
ARC
§
1
(
B
below), DIGITAL IN
§
1, 2
(
B
below), USB (
B
16)
§
1 “(TV)” will appear beside “AUX”, “ARC” or “DIGITAL IN”, indicating
the TV audio setting for VIERA Link “HDAVI Control” (
B
15).
§
2 “(STB)” will appear beside “DIGITAL IN”, indicating the STB audio
setting for VIERA Link “HDAVI Control” (
B
15).
When “Setup”
is selected
You can change the settings for this unit. (
B
17)
Other selectable items
The items that are displayed will vary depending on the media and
source.
When a disc is loaded or an USB device is connected, you can also
access playback or menus from the START menu.
e.g.
[DVD-V]
When the on-screen control panel appears
e.g.
[DVD-V]
(when “Playback Disc” is selected from the START menu)
You can operate the playback with the indicated controls.
Confirm the audio connection to the AUX, HDMI AV OUT or DIGITAL AUDIO IN
OPTICAL terminal on the main unit when you select the corresponding sources
(
B
8). Reduce the volume on the TV to its minimum, and then adjust the
volume of the main unit.
Listening to the radio
Presetting stations automatically
1
Press [RADIO]
4
to select “FM”.
2
Press [MENU]
C
to select “LOWEST” or “CURRENT”.
LOWEST:
To begin auto preset with the lowest frequency (FM 87.50).
CURRENT:
To begin auto preset with the current frequency.
§
§
To change the frequency, refer to “Manual tuning and presetting”.
3
Press and hold [OK]
8
.
Release the button when “FM AUTO” is displayed.
The tuner starts to preset all the stations it can receive into the
channels in ascending order.
Listening to a preset channel
1
Press [RADIO]
4
to select “FM”.
2
Press the numbered buttons to select the channel.
≥
To select a 2-digit number
e.g. 12: [
S
10]
2
B
[1]
B
[2]
Alternatively, press [
X
,
W
]
@
.
Manual tuning and presetting
Using the START menu
1
Press [START]
B
to show the START menu.
≥
When using VIERA Link “HDAVI Control”, the TV also turns on
when the START menu is displayed.
2
Press [
3
,
4
]
8
to select an item and press [OK]
8
.
≥
To exit, press [START]
B
.
3
Press [
3
,
4
,
2
,
1
]
8
to make the setting and press
[OK]
8
.
Selecting the source using the remote control
Press
To select
[DVD]
4
DVD/CD
(
B
12)
[USB]
4
USB
(
B
16)
[EXT-IN,
RADIO]
4
Each time you press the button:
FM:
AUX:
ARC:
D-IN:
(
B
left)
For audio input through the AUX terminal.
For audio input through the HDMI AV OUT terminal.
(
B
11)
For audio input through the DIGITAL AUDIO IN
OPTICAL terminal. (
B
11)
e.g.
Input Selection
Setup
DVD/CD
Home Cinema
DVD/CD
Home Cinema
Input Selection
Setup
P l a y b a c k D i s c
TOP MENU(DVD)
MENU(DVD)
Playback/menu access
SC-XH380-370-300_GAGS_RQT9812-G_eng.book 10 ページ 2012年12月10日 月曜日 午後8時27分


