background image

12

RQT0A75

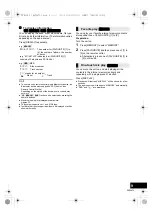
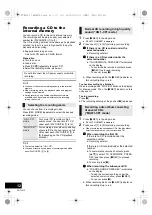
Recording a CD to the 

internal memory

You can record a CD to this unit’s internal memory.
The recordings will be stored under your selected 
number for (FAVOURITE) [1] to [5].
The CD recording duration is the same as its playback 
duration in order to record in high quality. Enjoy the 
playback while recording.

Supported recording source:
A disc with CD audio in CD-DA format

Preparation

Turn the unit on.

Load a disc.

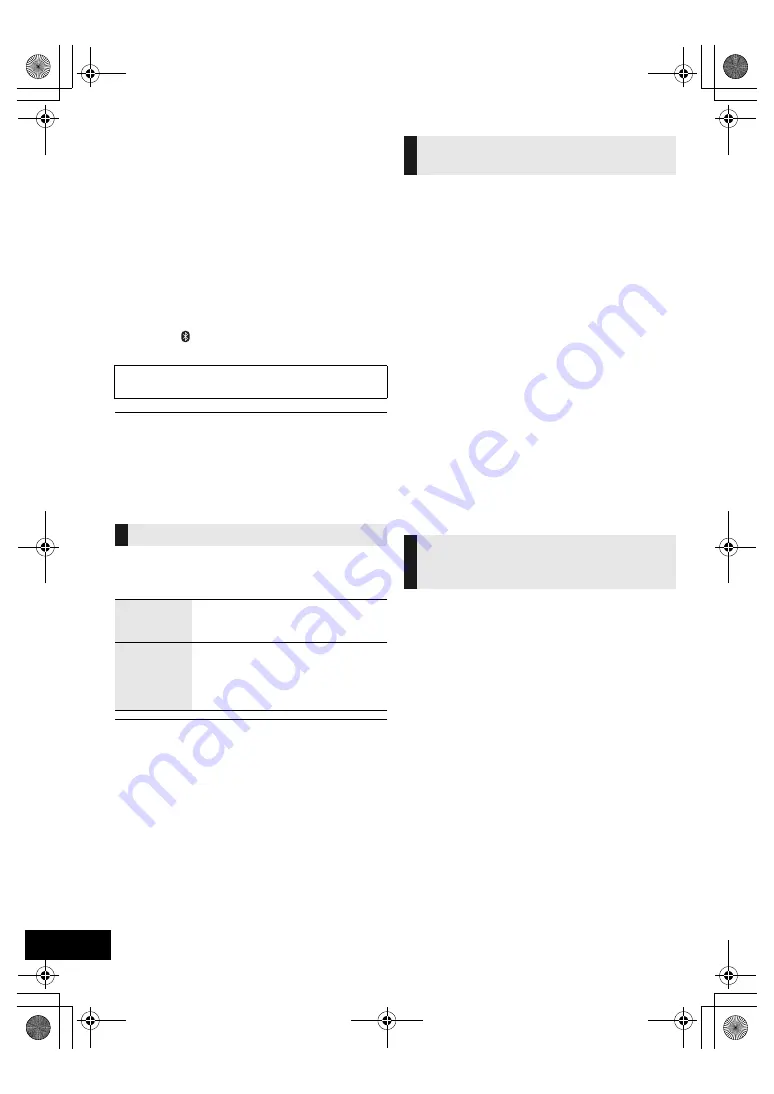
Press [CD/ ] repeatedly to select “CD”.

Select the recording mode. (

l

below)


You cannot check the remaining capacity in the internal 
memory.

When recording starts, the playback mode and program 
settings will be cleared.

During recording, only limited operation controls are 
available, such as volume adjustment, stop recording, 
turning the unit off.

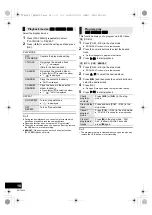
You can choose from 2 recording modes.
Press [REC MODE] repeatedly to select the desired 
recording mode.


The factory default is "HQ 1-CD".

You cannot record by two types of recording mode within 
each (FAVOURITE)


[1] to [5].

1

Press [

¥

REC] in the stop mode.

“SELECT NUMBER” is displayed.

2

Press one of [1] to [5] for storing your recording.

If there is no CD recorded under the 
selected number

Recording will start.

If there is a CD recorded under the 
selected number

“TO OVERWRITE, PRESS REC” is indicated 
on the display.
– To overwrite the recorded contents, press 

[

¥

REC] to proceed recording.

– To cancel, press [

].

When recording starts, the [

¥

REC] indicator on 

this unit will light up in red.

To check recording has finished

When recording ends, “WRITING” blinks on the display 
for a few seconds. Then, the [

¥

REC] indicator on this 

unit goes off.

To stop recording

Press [

].

The recording will stop at the position [

] is pressed.

1

Press [

¥

REC] in the stop mode.

“SELECT NUMBER” is displayed.

2

Press one of [1] to [5] for storing your recording.

When recording the subsequent CD of the disc album, 
select same number as your first recorded CD.

When recording the first CD

If there is no CD recorded under the 
selected number:

Recording will start.

If there is a CD recorded under the selected 
number:

To overwrite the recorded contents, press 
[

3

,

4

] to select “TO OVERWRITE, PRESS 

REC” and then press [

¥

REC] to proceed 

recording.

To cancel, press [

].

When recording the subsequent CD

“TO ADD SONGS, PRESS REC” is indicated 
on the display.
– To add the current recording under the 

selected numeric button, press [

¥

REC].

– To cancel, press [

].

When recording starts, the [

¥

REC] indicator on 

this unit will light up in red.

Do not disconnect the AC power supply cord while 
recording.

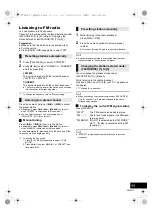
Selecting the recording mode

“HQ 1-CD” 
mode

For normal CD recording in high 
quality sound. You can record 1 CD 
under each (FAVOURITE)


[1] to [5].

“MULTI-CD” 
mode

For recording a disc album consisting 
of several CDs. You can record up to 5 
CDs under each (FAVOURITE)


[1] to 

[5] (depending on the CD playback 
duration).

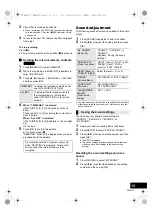
Normal CD recording in high quality 
sound (“HQ 1-CD” mode)

Recording a disc album consisting 
of several CDs
(“MULTI-CD” mode)

SC-RS50_PC_RQT0A75-C.book  12 ページ  2016年2月23日 火曜日 午前9時54分

Summary of Contents for SC-RS50

Page 1: ...ully before using this product and save this manual for future use If you have any questions visit www panasonic ca english support Panasonic Canada Inc 5770 Ambler Drive Mississauga Ontario L4W 2T3 www panasonic com p C Panasonic Corporation 2016 RQT0A75 C Printed in Malaysia F0116TM1026 PC SC RS50_PC_RQT0A75 C book 1 ページ 2016年2月23日 火曜日 午前9時54分 ...
Page 2: ...t expose this unit to rain moisture dripping or splashing Do not place objects filled with liquids such as vases on this unit Use only the recommended accessories Do not remove covers Do not repair this unit by yourself Refer servicing to qualified service personnel AC power supply cord The power plug is the disconnecting device Install this unit so that the power plug can be unplugged from the so...

Page 3: ...adiator at least 20 cm 7 7 8q or more away from person s body excluding extremities hands wrists feet and ankles The device meets the exemption from the routine evaluation limits in section 2 5 of RSS 102 and compliance with RSS 102 RF exposure users can obtain Canadian information on RF exposure and compliance The lightning flash with arrowhead symbol within an equilateral triangle is intended to...

Page 4: ...prevent hearing damage Excessive sound pressure from earphones and headphones can cause hearing loss Listening at full volume for long periods may damage the user s ears 11 Basic playback control 12 Adjust the volume 0 min to 50 max 13 USB port l 6 14 Remote control signal sensor Distance Within approx 7 m 23 ft directly in front Angle Approx 30o left and right 15 Select number To select a 2 digit...

Page 5: ... for an extended period of time unplug it from the power socket Some settings will be lost after you disconnect the system You have to set them again The Bluetooth word mark and logos are registered trademarks owned by Bluetooth SIG Inc and any use of such marks by Panasonic Corporation is under license Other trademarks and trade names are those of their respective owners MPEG Layer 3 audio coding...

Page 6: ...t turn the unit to standby mode until the device becomes operational A cable compatible with your device is required Use the cable that comes with your device Even if you connect a cable compatible with the USB port of this unit your device may not be charged In that case use the charger that comes with the device Depending on your device using other chargers may not work Check the operating instr...

Page 7: ...atically try and connect to the last connected Bluetooth device LINKING is indicated on the display during this process If the connection attempt fails try to establish a connection again You can change the transmission mode to prioritize transmission quality or sound quality Preparation Press CD repeatedly to select BLUETOOTH If a Bluetooth device is already connected disconnect it 1 Press PLAY M...

Page 8: ...tem near an equipment or in an environment that is sensitive to radio frequency interference example airports hospitals laboratories etc Media playback controls The following marks indicate the availability of the feature Preparation Turn the unit on Insert the media or connect the Bluetooth device l 6 7 1 Select the audio source For disc Press CD repeatedly to select CD For internal memory Press ...

Page 9: ...ou can play your favorite internal memory contents stored under one of FAVOURITE 1 to 5 Preparation Turn the unit on 1 Press MEMORY to select MEMORY 2 Press FAVOURITE and then press one of 1 to 5 on the remote control Alternatively press one of FAVOURITE 1 to 5 on this unit You can turn the unit on and start playing all the contents in the internal memory randomly and repeatedly with a single pres...

Page 10: ...to select the desired track 4 Press OK Do steps 2 through 4 again to program other tracks 5 Press 1 to start playback The program memory is cleared when you open the disc tray remove the USB device or start recording Playback modes CD MEMORY USB PLAYMODE OFF PLAYMODE Cancels the play mode setting 1 TRACK Only plays the selected track 1 is displayed Skip to the desired track 1 ALBUM Only plays the ...

Page 11: ... and hold the button until the frequency starts changing quickly 2 To change the tune mode 1 Press PLAY MENU repeatedly to select TUNE MODE 2 Press 2 1 to select MANUAL or PRESET and then press OK 1 While listening to the radio broadcast Press PGM sDEL 2 Press the numeric buttons to select a preset number Do steps 1 through 2 again to preset more stations A station previously stored is overwritten...

Page 12: ...arts the REC indicator on this unit will light up in red To check recording has finished When recording ends WRITING blinks on the display for a few seconds Then the REC indicator on this unit goes off To stop recording Press The recording will stop at the position is pressed 1 Press REC in the stop mode SELECT NUMBER is displayed 2 Press one of 1 to 5 for storing your recording When recording the...

Page 13: ...sources If this occurs turn the sound effects off You can save your desired sound settings to SOUND 1 SOUND 2 or SOUND 3 as MY SOUND 1 Adjust your desired sound effects l above 2 Press SETUP to select SAVE MY SOUND 3 Press 2 1 to select a setting number and then press OK SAVED is displayed The sound settings previously saved will be replaced when you save new settings to the same setting number Re...

Page 14: ...Preparation Set the clock 1 Press CLOCK TIMER repeatedly to select TIMER ADJ 2 Press 3 4 to set the starting time ON TIME and then press OK 3 Press 3 4 to set the finishing time OFF TIME and then press OK 4 Press 3 4 to select the music source and then press OK Turning the timer on 1 Prepare the selected music source and set the desired volume 2 Press F PLAY F is shown To cancel press F PLAY again...

Page 15: ...he standby power consumption will increase When other Panasonic equipment responds to the supplied remote control change the remote control code 1 Press CD repeatedly to select CD 2 Press and hold on the unit and 2 on the remote control until the unit s display shows REMOTE 2 3 Press and hold OK and 2 on the remote control for at least 4 seconds To change the mode back to REMOTE 1 repeat the steps...

Page 16: ...older 8000 tracks 999 tracks in one album Unit and media care Pull out the AC power supply cord from the outlet before maintenance Clean this unit with a soft dry cloth When dirt is heavy wring a wet cloth tightly to wipe the dirt and then wipe it with a dry cloth When cleaning the speaker covers use a fine cloth Do not use tissues or other materials that can fall apart Small pieces may get stuck ...

Page 17: ...f this product may not work with some USB devices Slow operation of the USB flash drive Large file size or high memory USB flash drive takes longer time to read The elapsed time displayed is different from the actual play time Copy the data to another USB device or backup the data and reformat the USB device If noise is excessive during FM reception Change the audio to be output as monaural 1 Pres...

Page 18: ...r The selected number for FAVOURITE 1 to 5 has stored contents from 5 CDs You cannot record more than 5 CDs Delete its contents before making new recordings l 13 MEMORY ERROR Turn the unit off and disconnect the AC power supply cord Wait for at least 1 minute then reconnect the AC power supply cord Turn the unit on and try again If the problem persists the contents in the internal memory are corru...

Page 19: ... Frequency Modulation FM Frequency range 87 9 MHz to 107 9 MHz 200 kHz step 87 5 MHz to 108 0 MHz 100 kHz step Antenna terminals 75 unbalanced DISC SECTION Disc played 8 cm 3q or 12 cm 5q CD CD R RW CD DA MP3 2 Pick up Wavelength 790 nm CD INTERNAL MEMORY SECTION Memory Memory size 4 GB Equivalent for total storage of 5 CDs recorded in HQ 1 CD mode 3 Memory record Recording file format WAV wav HQ ...

Page 20: ...service by anyone other than an Authorized Servicer or damage that is attributable to acts of God Dry cell batteries are also excluded from coverage under this warranty THIS EXPRESS LIMITED WARRANTY IS IN LIEU OF ALL OTHER WARRANTIES EXPRESS OR IMPLIED INCLUDING ANY IMPLIED WARRANTIES OF MERCHANTABILITY AND FITNESS FOR A PARTICULAR PURPOSE IN NO EVENT WILL PANASONIC CANADA INC BE LIABLE FOR ANY SP...

Reviews: