Step 6
Lift up the traverse deck ass’y.
Step 7
Remove the traverse deck ass’y from the timing lever.
Caution:
When removing or inserting the traverse deck avoid touching
the OPU lens and pressing onto the turntable.
Step 8
Remove 3 screws.
Step 9
Unsolder the motor terminals (4 points).
Step 10
Remove the FFC board from the connector, and then
remove the CD Servo P.C.B.
Step 11
Remove the pin.
Step 12
Release the claw, and then remove the traverse deck
ass’y.
20
SA-AK23 0GCP
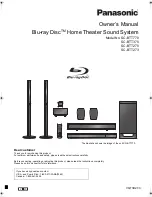
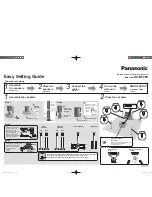
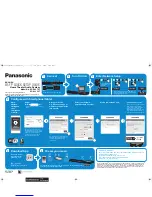
Summary of Contents for SA-AK230
Page 8: ...8 Accessories Remote Control FM Antenna AC Cord AM Loop Antenna AC Plug Adaptor 8 SA AK230GCP ...
Page 9: ...9 Operation Procedures 9 SA AK230GCP ...
Page 10: ...10 SA AK230GCP ...
Page 57: ...16 Voltage Measurement 57 SA AK230GCP ...
Page 58: ...58 SA AK230GCP ...
Page 87: ...22 Troubleshooting Guide 87 SA AK230GCP ...
Page 89: ...23 1 Deck Mechanism RAA4502 S 23 1 1 Deck Mechanism Parts Location 89 SA AK230GCP ...
Page 90: ...90 SA AK230GCP ...
Page 93: ...93 SA AK230GCP ...
Page 95: ...23 3 Cabinet 23 3 1 Cabinet Parts Location 95 SA AK230GCP ...
Page 96: ...96 SA AK230GCP ...
Page 105: ...23 6 Packaging 105 SA AK230GCP PRT0412 D S J N A E ...