Remarks, etc.
37
Advanced Operations
1
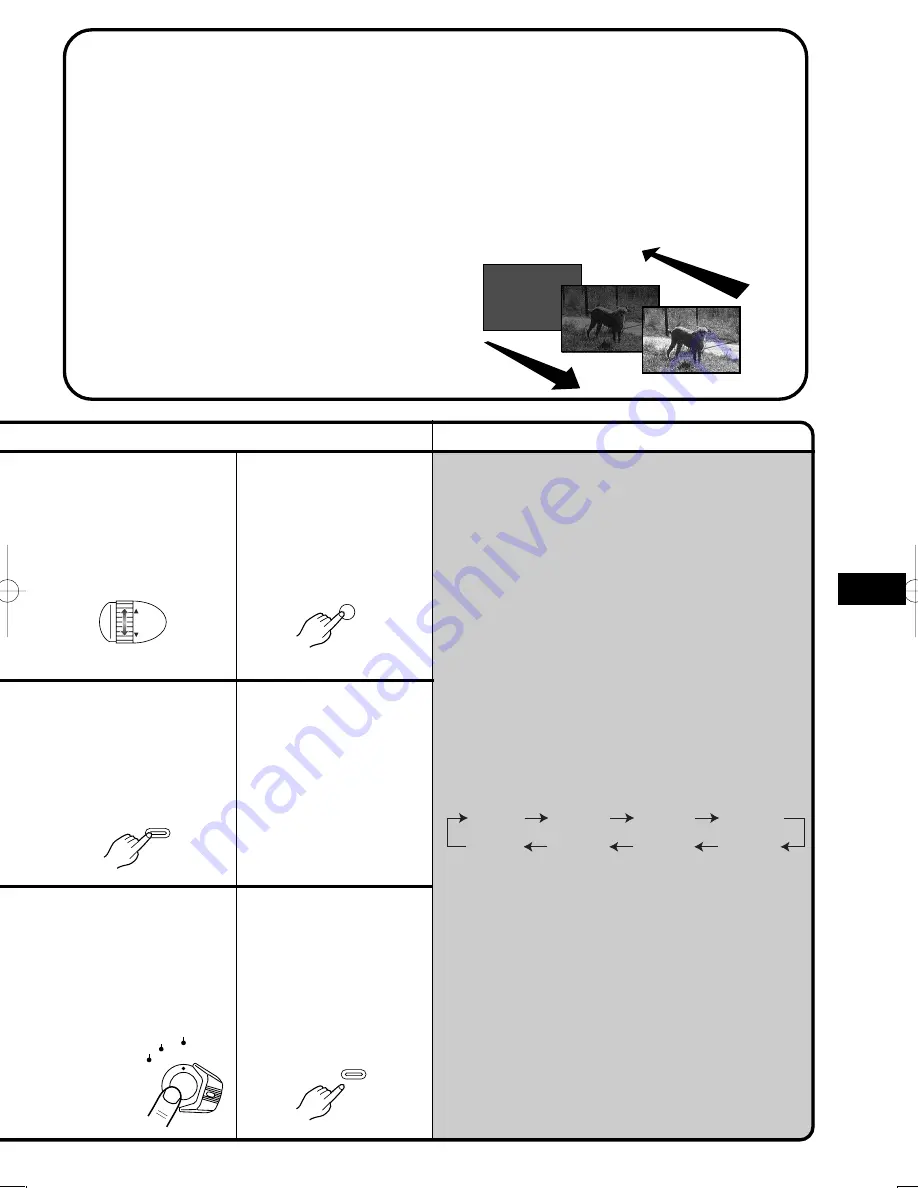
Slide Mode [SLIDE]
The picture fades in with a wipe effect or fades out.
2
Door Mode [DOOR]
The picture fades in to the left and right like a door
opens or fades out in reverse direction.
3
Corner Mode [CORNER]
The picture fades in from the upper right to the
lower left corner or fades out in reverse direction.
4
Window Mode [WINDOW]
The picture fades in starting at the centre and
extending toward the edges or fades out in reverse
direction.
5
Shutter Mode [SHUTTER]
The picture fades in vertically from the center like a
shutter or fades out in reverse direction.
≥
The colours of the Digital Fade change in the
following order:
11
After the picture has
completely
disappeared, press the
Recording Start/Stop
Button to stop
recording.
7
With the Movie Camera
in the Recording Pause
Mode, keep the [FADE]
Button pressed.
3
Turn the [
34
] Dial to
select [FADE OUT].
WHITE
YELLOW
MAGENTA
BLACK
GREEN
BLUE
RED
CYAN
12
Release the [FADE]
Button.
8
When the picture has
completely
disappeared, press the
Recording Start/Stop
Button to start
recording.
4
Press the [SET] Button
to select the desired
the fade out effect.
MF/
TRACKING
FOCUS / SET
FADE
CAMERA
OFF
VCR
FADE
1
2
Normal Fading In/Out
The whole picture fades in or fades out gradually.
∫
∫
∫
∫
∫
Fading In
1
1
Set [DIGITAL FADE] on the [FADE SETUP]
Sub-Menu to [OFF]. (p. 10)
2
With the Movie Camera in the Recording
Pause Mode, keep the [FADE] Button
pressed.
3
When the picture has completely
disappeared, press the Recording Start/Stop
Button to start recording.
4
Approximately 3–4 seconds later, release the
[FADE] Button.
∫
∫
∫
∫
∫
Fading Out
2
1
Set [DIGITAL FADE] on the [FADE SETUP]
Sub-Menu to [OFF].
2
During recording, keep the [FADE] Button
pressed.
3
After the picture has completely disappeared,
press the Recording Start/Stop Button to
stop recording.
4
Release the [FADE] Button.
Summary of Contents for NV RZ 15 B
Page 79: ...79 ...


