background image

60   

VQT2X62

VQT2X62

   61

How to select a scene. (

59)

Using flash in Scene Modes. (

55)

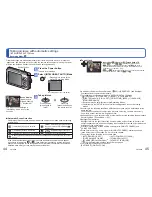
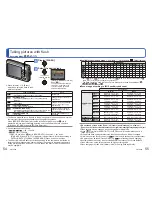
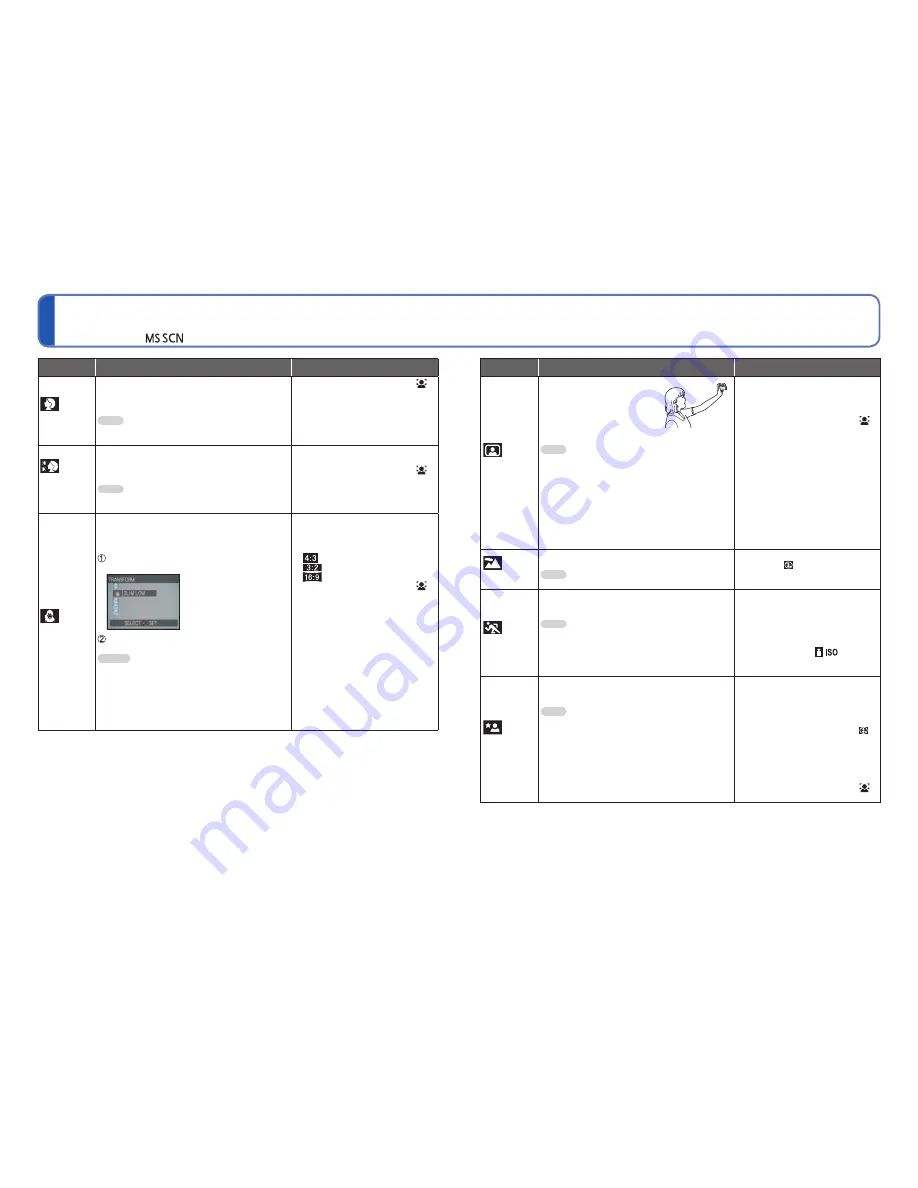
Taking pictures according to the scene 

[SCENE MODE] 

(Continued)

Recording Mode:    

Scene

Uses, Tips

Notes

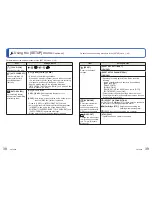
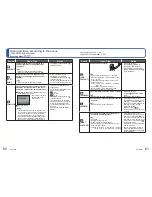
[PORTRAIT]

Improves the skin tone of subjects for a 

healthier appearance in bright daylight 

conditions.

  Tips  


• Stand as close as possible to subject.


• Zoom: As telescopic as possible (T side)


• [AF MODE] default setting is 

(Face Detection).


[SOFT 
SKIN]

Smooths skin colours in bright, outdoor 

daylight conditions (portraits from chest 

upwards).

  Tips  


• Stand as close as possible to subject.


• Zoom: As telescopic as possible (T side)


• Clarity of effect may vary 

depending on brightness.


• [AF MODE] default setting is 

(Face Detection).


• If a part of the background etc. is 

a colour close to skin colour, this 

part is also smoothed.

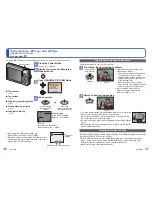
[TRANSFORM]

Changes the appearance of the subject by 

stretching the length or width, and at the 

same time, improves the skin appearances.

  Use 

▲▼

 to select the Transform level, and 

press [MENU/SET] to set.


• The settings can also 

be changed in the 

Quick menu.

 Take the picture.

  Notes  


• This function can be used for personal use 

only, and is not to be used for unauthorized 

commercial purposes or commercial gain, 

which would represent a copyright issue.


• Do not use in ways that violate public order 

and decency or defame or slander others.


• Do not use in ways that harm the subject.


• The picture quality becomes 

slightly lower.


• The following [PICTURE SIZE] 

items can be selected.

 : 3 M

 : 2.5 M

 : 2 M


• [AF MODE] default setting is 

(Face Detection).


• Face Detection may not work 

as effectively when using [SLIM 

HIGH] or [STRETCH HIGH].


• The following functions cannot 

be used:

Extra Optical Zoom/[DIGITAL 

ZOOM]

Scene

Uses, Tips

Notes


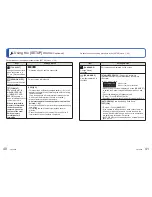
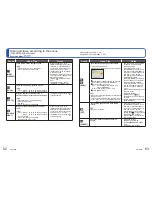
[SELF 
PORTRAIT]

Take pictures of yourself.

  Tips  


• Press shutter button halfway 

 self-timer 

indicator illuminates 

 press shutter button 

fully 

 review

(if self-timer indicator flashes, focus is not 

correctly aligned)


• Focus:  30 cm - 1.2 m (0.99 feet - 3.94 feet) 

(Max. W)


• Do not use zoom (harder to focus).

(Zoom moved to max. W automatically)


• 2-second self-timer recommended.


• Main fixed settings:

 [STABILIZER]: [MODE 2]

[AF ASSIST LAMP]: [OFF]

[SELFTIMER]: [OFF]/[2SEC.]


• [AF MODE] default setting is 

(Face Detection).


[SCENERY]

Takes clear pictures of wide, distant subjects.

  Tips  


• Stand at least 5 m (16.4 feet) away.


• Main fixed settings:

[FLASH]:   [FORCED FLASH 

OFF]

[AF ASSIST LAMP]: [OFF]


[SPORTS]

Takes pictures of scenes with fast movement, 

e.g. sports.

  Tips  


• Stand at least 5 m (16.4 feet) away.


• When the camera is set to 

[STABILIZER] and there is very 

little jitter, or if [STABILIZER] is 

set to [OFF], shutter speed may 

slow down up to 1 second.


• Main fixed setting:

[SENSITIVITY]: [ 

 ]

(Automatically set in a range up 

to 1600)


[NIGHT 
PORTRAIT]

Takes pictures of people and nightscapes 

with close to actual brightness.

  Tips  


• Use flash.


• Subject should not move.


• Tripod, self-timer recommended.


• Stand at least 1.5 m (4.92 feet) away at the 

Wide end (wide-angle)


• Focus: Max. W: 80 cm - 5 m (2.62 feet - 16.4 feet) 

      Max. T: 1.2 m - 5 m (3.94 feet - 16.4 feet)


• When the camera is set to 

[STABILIZER] and there is very 

little jitter, or if [STABILIZER] is 

set to [OFF], shutter speed may 

slow down up to 1 second (or up 

to 8 seconds if flash is set to   

(Forced Flash Off)).


• Interference may be noticeable 

with dark scenes.


• Shutter may remain closed for 

8 seconds after taking picture.


• [AF MODE] default setting is   

(Face Detection).

Summary of Contents for Lumix DMC-FT10

Page 1: ...Operating Instructions for advanced features Digital Camera Model No DMC FT10 Before use please read these instructions completely VQT2X62...

Page 2: ...ur pictures NORMAL PLAY 50 Deleting pictures 51 To delete multiple up to 50 or all pictures 51 Application Record Changing recording information display 52 Taking pictures with the self timer 53 Takin...

Page 3: ...rection of the arrow until the red area is no longer visible Recording Names of main components Power button Shutter button button Playback button MODE button MENU SET Cursor button Press the Power bu...

Page 4: ...era to strong vibration or shock e g dropping or hitting the camera or sitting down with the camera in your pocket Attach hand strap to avoid dropping camera Hanging any items other than the supplied...

Page 5: ...ntact a Panasonic Service Centre to have the camera inspected subject to a fee for its waterproof performance Any malfunction caused by the customer s mishandling such as water entering the camera is...

Page 6: ...to strong water flows such as in rapids or under waterfalls The strong water pressure may cause a malfunction The camera sinks in water Attach the camera securely to yourself such as by wearing the ha...

Page 7: ...ea Card Battery door A gap forms and allows water to enter Cleaning the rubber seals When a foreign object such as hair sand dust or liquid adheres to the rubber seal or rubber seal contact area water...

Page 8: ...adhered to it After using the brush clean it by removing any adhered foreign objects Example of foreign objects on the inner side of the card battery door Rubber seal contact area around the card bat...

Page 9: ...tons move smoothly Water sand and other foreign objects easily enter the speaker so after using the camera be sure to rinse with water and then shake it gently several times to remove any water drople...

Page 10: ...ery in the text Battery charger is indicated as battery charger or charger in the text Please dispose of all packaging appropriately Optional accessories Cards are optional You can record or play back...

Page 11: ...ipod is stable AV OUT DIGITAL socket 95 97 101 DC IN socket 95 97 Always use a genuine Panasonic AC adaptor optional Loop the hand strap through the hand strap eyelet on the camera If the hand strap i...

Page 12: ...hed Always charge before first use not sold pre charged About batteries that you can use with this unit It has been found that counterfeit battery packs which look very similar to the genuine products...

Page 13: ...temperatures When using AUTO POWER LCD or POWER LCD A ghost images may appear on the LCD monitor when using the camera in cold environments or at low temperatures The battery performance may also dro...

Page 14: ...ve To remove battery move lever in direction of arrow To remove card press down in centre Lever About the card battery door If the card battery door is opened when the power is on a warning sounds to...

Page 15: ...etween cards and the built in memory 94 The access time for the built in memory may be longer than the access time for a card QVGA in REC QUALITY can only be available to record motion pictures in the...

Page 16: ...the camera for 24 hours beforehand To set local time at travel destination WORLD TIME 72 Failure to set the date and time will cause the date time to be improperly printed when printing pictures at a...

Page 17: ...select the SETUP menu Press The background colour changes Moves to the SETUP menu icon Select the item Operations Press to select LCD MODE Pages The pages can also be selected with the zoom button Pre...

Page 18: ...sounds and so on PLAYBACK menu Playback Mode only Using your pictures 87 94 Enables you to specify picture protection cropping and printing settings for pictures you have taken Settings items display...

Page 19: ...Beep sounds CLOCK SET AUTO REVIEW and AUTO POWER OFF are important for Clock setting and battery life Please check these before use Item Settings Notes VOLUME Adjust volume of sound from speakers 7 l...

Page 20: ...when connecting to a computer VIDEO OUT Change the video output format when connected to a TV etc Playback Mode only NTSC PAL Operates when AV cable is connected Item Settings Notes FOCUS ICON Change...

Page 21: ...t turn off power or perform other operations during formatting Formatting the built in memory may take several minutes Consult the dealer or your nearest Service Centre if format cannot be successfull...

Page 22: ...ing Mode Press the Playback button again The camera returns to the previous Recording Mode Press the Power button The power is turned off Playback button button Power button MODE button MENU SET Recor...

Page 23: ...When is used Auto Red Eye Reduction Slow Sync Red Eye Reduction and Slow Sync are selected automatically according to the subject type and brightness For details 54 and indicate that digital red eye c...

Page 24: ...onments which may make focusing difficult Fast moving or extremely bright objects or objects with no colour contrast Taking pictures through glass or near objects emitting light In the dark or with si...

Page 25: ...ement ratio displayed in the bar on screen is an estimate Enlarging further DIGITAL ZOOM Zoom 4 times further than Optical Extra Optical Zoom Note that with Digital Zoom enlarging will decrease pictur...

Page 26: ...educe zoom Press the W side of the zoom button Move zoom position To play back as list Multi Playback Calendar Playback 81 To view with different Playback Modes Slide Show etc 83 To play back motion p...

Page 27: ...mmend using a tripod This is also effective for correcting jitter when pressing the shutter button by setting the self timer to 2 seconds When set to BURST three pictures are taken When set to the FLA...

Page 28: ...ictures of infants Available types in each mode Available Not available Default setting SCENE MODE 3 3 Set to Auto Auto Red Eye Reduction Slow Sync Red Eye Reduction or Slow Sync according to the subj...

Page 29: ...m position Gradually changes In MACRO ZOOM higher magnification results in lower picture quality When zoomed macro is specified Extra Optical Zoom is disabled We recommend using a tripod SELFTIMER or...

Page 30: ...s Display the screen for Recording Mode selection Select SCENE MODE Select and set the scene Scene menu The zoom button can also be used to switch to the next screen To see description of each scene S...

Page 31: ...when using SLIM HIGH or STRETCH HIGH The following functions cannot be used Extra Optical Zoom DIGITAL ZOOM Scene Uses Tips Notes SELF PORTRAIT Take pictures of yourself Tips Press shutter button hal...

Page 32: ...is Face Detection Scene Uses Tips Notes BABY Uses weak flash to bring out skin colours To record age and name BABY1 and BABY2 can be set separately Select AGE or NAME with press select SET and press M...

Page 33: ...or the first picture The following functions cannot be used Extra Optical Zoom DIGITAL ZOOM SELFTIMER BURST If recording is repeated depending on the usage conditions there may be a delay before the c...

Page 34: ...aircraft windows Tips Angle the camera towards areas of contrasting colours when aligning the focus Check that the interior of the aircraft is not reflected in the window Stand at least 5 m 16 4 feet...

Page 35: ...ster it simply switch to MY SCENE MODE and you can record in the registered Scene Mode MENU SET DISPLAY Zoom button For information on the available recording time 119 Depending on the type of card us...

Page 36: ...ictures recorded with LUMIX digital cameras sold before this date can be played on this camera Select the desired picture quality Close menu TRAVEL DATE Record travel date and destination Record infor...

Page 37: ...st time or has been reset To close menu press MENU SET 3 times Close menu Set destination area Select DESTINATION Set destination area Difference with home time City area name Current time at selected...

Page 38: ...loudy sky outdoor shade incandescent lighting uses value set in set manually AWB operational range 10000K 9000K 8000K 7000K 6000K 5000K 4000K 3000K 2000K 1000K Cloudy sky rain Shade Incandescent light...

Page 39: ...face appears small on the screen When there is rapid movement When the camera is shaking When the subject is other than a human being such as pets When Digital Zoom is used BURST Enables a rapid succe...

Page 40: ...Optical Image Stabilizer may be ineffective Heavy jitter high zoom ratio also in the Digital Zoom range fast moving objects indoors or in dark locations due to low shutter speed This is fixed at MODE...

Page 41: ...XT STAMP 12 screens 30 screens Selected date First picture from date Select week with and date with and press MENU SET to display that date s pictures on a 12 screen display Calendar screen Use the cu...

Page 42: ...ss during fast rewind or fast forward to return to the normal playback speed The volume can be adjusted with the zoom button Deleting 51 Press the Playback button Select the motion picture and start p...

Page 43: ...W SWING Play with livelier music and screen transition effects URBAN OFF No effects SETUP DURATION 1 SEC 2 SEC 3 SEC 5 SEC Only available when EFFECT is OFF REPEAT OFF ON Repeat MUSIC ON The audio por...

Page 44: ...IGHT FIREWORKS BEACH SURF SNOW AERIAL PHOTO BABY PET FOOD TRAVEL DATE MOTION PICTURE For details about the setting procedure in the PLAYBACK menu 32 CALENDAR Select the date from the calendar screen t...

Page 45: ...uest date printing in store or make date printing on printer for still pictures with date stamps Date printing may be overlapping Picture quality is reduced after resizing Motion pictures and text sta...

Page 46: ...ditionally still pictures taken while holding the camera upside down are not rotated automatically Pictures cannot be rotated during Multi Playback and Calendar Playback Will only be displayed rotated...

Page 47: ...irst copy pictures to card 94 before making settings DPOF print settings may not be made to non DCF 50 files Some DPOF information set by other equipment cannot be used In such cases delete all of the...

Page 48: ...ion SDXC html Imported pictures can then be printed or sent by e mail using the PHOTOfunSTUDIO software on the CD ROM supplied Getting Ready Use a fully charged battery or connect an AC adaptor option...

Page 49: ...folder Macintosh Drives are displayed on the desktop Displayed as LUMIX NO_NAME or Untitled You can save pictures to use on your computer by dragging and dropping folders and files into separate fold...

Page 50: ...ON when connecting to a printer compatible with date printing Do not use any other USB connection cables except the one supplied Disconnect USB connection cable after printing Turn off power before in...

Page 51: ...inting settings on the printer printer settings may be prioritized You can view still pictures and motion pictures on a TV by connecting the camera to your TV with the AV cable supplied Also consult T...

Page 52: ...Elapsed recording time 69 18 Travel elapsed days 71 Name 63 Travel Location 71 Age in years months 63 Current date time 19 AF Assist Lamp 79 20 Audio recording for motion pictures h m and s indicate...

Page 53: ...display still remains SOME PICTURES CANNOT BE COPIED COPY COULD NOT BE COMPLETED Pictures cannot be copied in the following cases Picture of same name already exists in built in memory when copying f...

Page 54: ...ings are returned to their values from the time of purchase 39 Battery power Camera does not work even if power is turned on Battery is not inserted correctly 26 or needs recharging The power cuts off...

Page 55: ...an SD speed class of Class 6 or higher SD speed class refers to a specification for sustained write speeds If recording stops even when using a card with speed of Class 6 or faster the data writing sp...

Page 56: ...l cameras of other manufacturers Additionally motion pictures recorded with this camera cannot be played on Panasonic LUMIX digital cameras sold before July 2008 However motion pictures recorded with...

Page 57: ...res may be slightly warped or coloured around the edges depending on the zoom ratio but this is not a fault File numbers are not recorded in sequence File numbers are reset when new folders are create...

Page 58: ...the monitor may be slightly darker than usual or ghost images may appear Keep the camera warm when using it in a cold environment The performance recovers when the internal temperature rises When usin...

Page 59: ...formance recovers when the internal temperature rises Memory cards To prevent damage to cards and data Avoid high temperatures direct sunlight electromagnetic waves and static electricity Do not bend...

Page 60: ...8540 48 GB 9330 13000 21420 28020 182140 10400 12560 64 GB 12670 17650 29070 38020 247160 14120 17040 Recording time capacity motion pictures The available recording time varies depending on the REC Q...

Page 61: ...e and the QuickTime logo are trademarks or registered trademarks of Apple Inc used under license therefrom Other names company names and product names printed in these instructions are trademarks or r...

Reviews: