background image

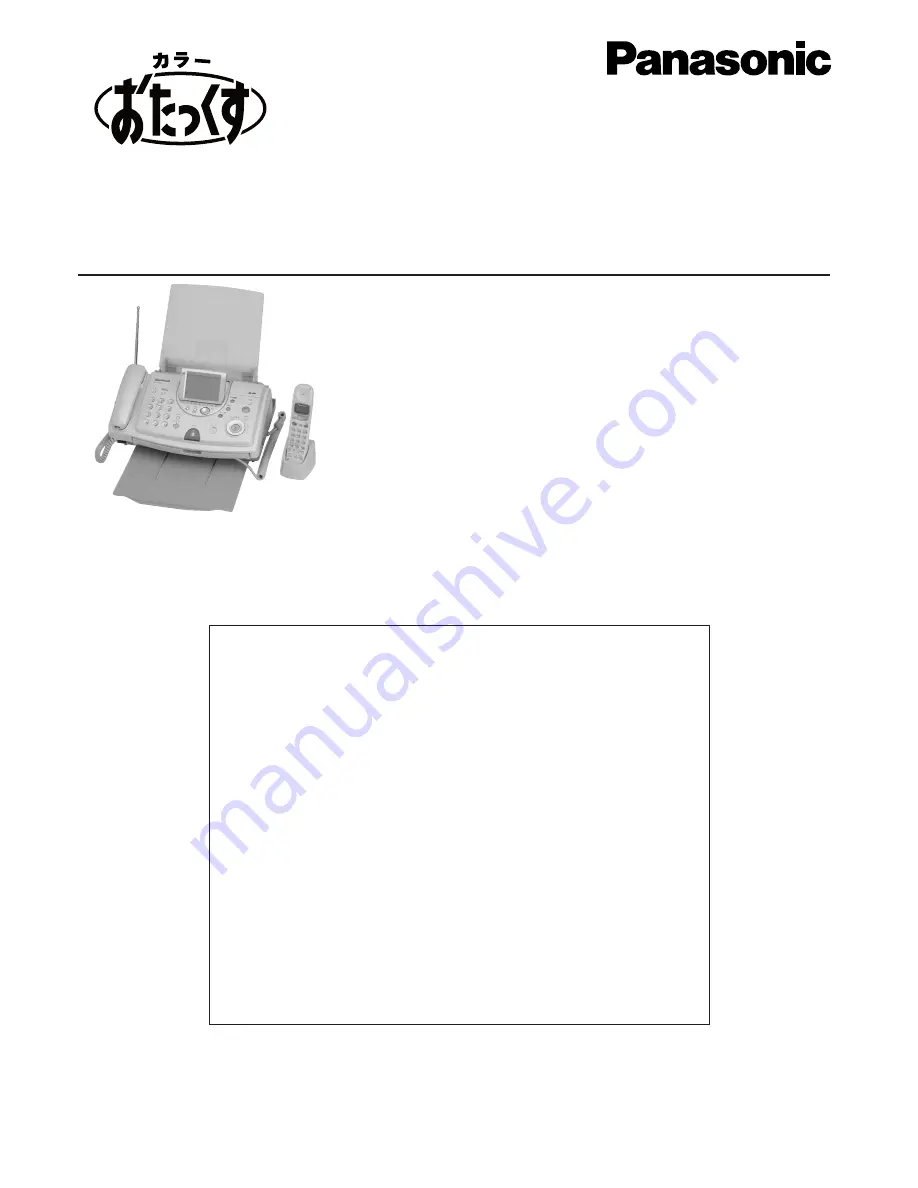
Facsimile with Cordless Phone

Quick Reference Guide

KX-PW96CL

Model No.

Table of Contents 

Finding the controls

………………………………………………………

2

Installations and connections

…………………………………………

4

Setting the date and time

………………………………………………

8

Setting your facsimile telephone number

…………………………

8

Setting your logo

…………………………………………………………

9

Automatic dialing on the main unit

…………………………………

10

Automatic dialing on the portable handset

………………………

11

Sending faxes

……………………………………………………………

12

Receiving faxes

…………………………………………………………

13

Operating the built-in answering device

…………………………

17

Using the color hand scanner

………………………………………

18

Individual e-mail services

……………………………………………

21

Using the memory card

………………………………………………

27

Specifications

…………………………………………………

Back cover

Thank you for purchasing a Panasonic facsimile.

This guide explains some basic features and operations, but not all of them. 

For further details, see the Japanese operating instructions.

This product is designed for use in Japan.

Panasonic cannot provide service for this product if used outside Japan.

Any details given in this guide are subject to change without notice.

Summary of Contents for KX-PW96CL

Page 1: ...ceiving faxes 13 Operating the built in answering device 17 Using the color hand scanner 18 Individual e mail services 21 Using the memory card 27 Specifications Back cover Thank you for purchasing a Panasonic facsimile This guide explains some basic features and operations but not all of them For further details see the Japanese operating instructions This product is designed for use in Japan Pan...

Page 2: ...ory Start Copy button starts faxing or copying Search Dial searches the directory or displays programming features Microphone Stop button Volume button adjusts ringer speaker and handset volume Scroll button scrolls display contents up down left and right Color button selects the resolution COLOR when faxing or copying Function button initiates programming Rotation button turns display contents 90...

Page 3: ...r Display log To use the speakerphone For call waiting service users To clear letters numbers To change Hiragana into Kanji To store names and telephone numbers into the telephone directory To edit delete names and telephone numbers in the telephone directory To set quick call 着信メモリー 音量 変換 機能 登録 修正 確定 スピーカーホン かな 英 増設 キャッチ クリア To switch to Tone dialing mode ファクス 登録 修正 確定 かな 子機1 子機1 Handset 1 かな Hir...

Page 4: ...or about 2 minutes the unit automatically starts to set up for 77 SELECTY service If you do not want to subscribe to this service see the message in step 4 for instructions This unit will automatically select the dialing mode Tone Pulse Subscribing to 77 SELECTY An automatic online setup will start in an hour After the online setup is completed 77 SELECTY indicator will light in green to show that...

Page 5: ...lack Color Postcard Color Photo quality Sticker sheet Color photo quality Model No KX FAN911 1 Do not use this for printing on postcard color photo quality 2 This cassette can be used several times The printing quality of this cassette is inferior to that with KX FAN901 As you use it over and over the printing quality becomes worse Use with this cassette for printing on the important documents is ...

Page 6: ...ntrol panel open lever and pull up the control panel 2 1 Ink ribbon Printing head Set under the top of the printing head 5Close the control panel by pressing down on both sides Make sure to close the control panel until it locks Click 3Remove the stopper and wind the ribbon cassette if the ink ribbon is slack 4Install the ribbon cassette to the cassette carriage with A side facing toward you B sid...

Page 7: ...arrow When you add papers remove all the remaining papers before adding them Postcard Color photo quality Sticker sheet Color photo quality Take out from the bag by holding the edge of the paper 2A4 plain paper Postcard Fan the stack of recording paper to prevent the paper jam Paper type Max sheets A4 size plain paper Postcard Postcard Color photo quality Sticker sheet Color photo quality 2 frames...

Page 8: ...r facsimile telephone number ストップ F 3 機 能 画 質 操作案内 メモリーカード ファクス一覧 留守電 9 月 2 0 日 水 機 能 登 録 モ ー ト ゙ くるくる 登録 日 付 時 刻 2000年 09月 20日 15 45 クリア 登 録 しました クリア 登録 日 付 時 刻 2000年 01月 01日 00 00 Cursor 登録 日 付 時 刻 2000年 09月 20日 15 45 クリア 1Press Function 機 能 機 能 登 録 モ ー ト ゙ くるくる 登録 電 話 番 号 クリア 登録 電 話 番 号 098 765 43 クリア Cursor The Space button replaces the digit with a space 画 質 4Press Register F 3 登録 5Press Stop...

Page 9: ... the dial keys will select a character as shown below Character Dial key Main unit Portable handset かな 英 F 4 Used to change the character input mode Main unit Portable handset Used to move the cursor to the right Main unit Portable handset Used to move the cursor to the left Main unit Portable handset キャッチ クリア F 1 クリア Used to delete a character Main unit Portable handset 音量 画 質 Used to insert a sp...

Page 10: ...peat steps 4 5 F 3 登録 7If necessary enter the group number 1 9 名 前 電 話 帳 空 き 件 8Press Register To program other items repeat steps 2 8 F 3 登録 9Press Stop to exit the program ストップ Editing a stored name or number 1Rotate the Search dial until the desired name is displayed くるくる電話帳 2Press Edit If you do not need to edit the name press Register 2 times and skip to step 5 F 3 登録 F 3 修正 4Press Register 2...

Page 11: ...ps 4 5 登録 修正 確定 7If necessary enter the group number 1 9 名 前 電 話 帳 登 録 空 き 件 8Press Register To program other items repeat steps 2 8 登録 修正 確定 9Press Off to exit the program Editing a stored name or number 3Press If you do not need to edit the name press Register 2 times and skip to step 6 登録 修正 確定 4Edit the name see the table on page 9 for instructions 5Press Register 2 times If you do not need to...

Page 12: ... of the document 2Insert the document up to 5 pages FACE DOWN until a single beep is heard 3If necessary press Resolution or Color repeatedly to select the desired setting see below カラー 画 質 4Rotate the Search dial until the desired name is displayed くるくる電話帳 5Press Start The unit will start fax transmission スタート コピー To select the resolution Select the desired resolution according to the type of doc...

Page 13: ...l start fax reception ファクス Telephone mode 電話優先 Pre selected setting Select this mode when you plan to answer the calls yourself When receiving calls you have to answer all calls manually Fax Telephone mode ファクス優先 Select this mode when you are near the unit and want to use it to receive voice calls yourself and fax calls auto matically Change the setting if you want to use this mode 1 Press Functio...

Page 14: ... 0 5 0 1 0 9 8 7 6 5 3 3 3 0 4 8 月 2 5 日 2 2 1 5 0 2 0 9 8 7 6 5 4 4 4 0 5 7 月 1 0 日 9 0 0 0 1 削除 印字 表示 ホ タン切替 データ モノクロのみ 新規 マーク 0 2 件 合計0 8 件 1 1 枚 日付 時刻 枚 相手局名 0 1 9 月 1 0 日 2 1 5 9 0 1 0 9 8 7 6 5 1 1 1 0 2 9 月 1 0 日 1 3 4 0 0 3 0 9 8 7 6 5 2 2 2 0 3 9 月 9 日 8 0 5 0 1 0 9 8 7 6 5 3 3 3 0 4 8 月 2 5 日 2 2 1 5 0 2 0 9 8 7 6 5 4 4 4 0 5 7 月 1 0 日 9 0 0 0 1 削除 印字 表示 ホ タン切替 データ モノクロのみ ズーム ズーム 削除 ファ...

Page 15: ...0 日 2 1 5 9 0 1 0 9 8 7 6 5 1 1 1 0 2 9 月 1 0 日 1 3 4 0 0 3 0 9 8 7 6 5 2 2 2 0 3 9 月 9 日 8 0 5 0 1 0 9 8 7 6 5 3 3 3 0 4 8 月 2 5 日 2 2 1 5 0 2 0 9 8 7 6 5 4 4 4 0 5 7 月 1 0 日 9 0 0 0 1 削除 印字 表示 ホ タン切替 データ モノクロのみ 1Press Fax list F 4 ファクス一覧 2Press to select the desired fax to delete 新規 マーク 0 2 件 合計0 8 件 1 1 枚 日付 時刻 枚 相手局名 0 1 9 月 1 0 日 2 1 5 9 0 1 0 9 8 7 6 5 1 1 1 0 2 9 月 1 0 日 1 3 4 0 0 3 0 9 8 ...

Page 16: ... 録 音 受 話 器 を取 ってください AUTO ANSWER mode will work when the Auto answer light is on AUTO ANSWER mode provides three types of receiving modes ファクス 留守電 Fax Answering device mode ファクス専用 Fax only mode and 留守電専用 Answering device only mode 留守 F 2 F 3 ストップ 機 能 留守 light on Fax Answering device mode ファクス 留守電 Pre selected setting Select this mode when you want to receive all voice and fax calls automatically F...

Page 17: ... 1Press Record F 3 留守電 2Press Start then press F 1 はい スタート コピー Erasing your own greeting message 2Press Start then press The pre recorded Japanese greeting message will be played when you receive a call F 1 はい スタート コピー Preparation Programming the remote operation ID 1 Press Function 2 Press 3 Enter any 4 digit number remote operation ID except or 4 Press Register 5 Press Stop ストップ F 3 登録 機 能 Opera...

Page 18: ...rection of the arrow 7After the scanning is completed press Stop You will hear a beep and the scanned document is stored in the memory of the main unit Only 1 page can be scanned ストップ 8To print the scanned document or to send it by fax see pages 19 and 20 If you make a mistake press Stop to erase the content in the memory then start from step 2 ストップ Scanning direction Important When you have compl...

Page 19: ...frames 16 frames 4Press Sticker sheet F 2 シール選択 8To end operating color hand scanner reinsert the hand scanner into the main unit 2Press Display to see the scanned document on the display To re scan the document press 2 times then start from step 1 ストップ F 3 表示 3Install the color photo quality ribbon cassette and the sticker sheet 5Press Select repeatedly F 2 選択 means 16 frame sticker sheet 印 字 レイア...

Page 20: ...ing is completed the following is displayed 印 字 登 録 モ くるくる スタート 読 み直 すには ストップ 2Rotate the Search dial until the following is displayed くるくる電話帳 送 信 登 録 モ くるくる スタート 読 み直 すには ストップ 4Dial the fax number If you select the desired name using Search dial and press skip to step 6 F 3 確定 くるくる電話帳 6To end operating color hand scanner reinsert the hand scanner into the main unit and press Stop The scanned do...

Page 21: ...her party s e mail address free of charge page 25 E mail reception and printing page 26 Voice e mail listening page 26 Others Note KME plans to add new information services and the information service fee is subject to change KME will announce them by e mail to its customers For the PC user to view your fax e mail or to hear your voice e mail sent from your fax machine the following PC software wi...

Page 22: ...n form has been stored in the memory See page 26 for how to print it ユーザー登録完了 案内 お問い合わせはEメールで下記アドレスまで送信してください 通話料 情報料がかかります アドレス p110 fem dion ne jp こちらは九州松下電器株式会社です このたびは おたっくす情報サービス にお申込みいただきましてありがとうございます サービスのご利用が可能になりましたので お知らせいたします お客様の電話番号 Eメールアドレス p fem dion ne jp セキュリティID EメールアドレスとセキュリティIDは 新サービスの提供時や引越しに伴う電話番号の 変更連絡等に必要になりますので 取扱説明書に必ず記入しておいてください セキュリティIDは 新サービスの提供時や引越し等に伴う電話番号の変更連絡時等に必 要...

Page 23: ... title of your fax e mail up to 32 characters see the table on page 9 for instructions 9Press Register F 3 登録 3Press Start The display will show the last e mail address you entered To delete this address press Clear for 2 or more seconds F 1 クリア スタート コピー 4Enter the desired e mail address see the table on page 9 for instructions You can enter the address by rotating the Search dial and then press T...

Page 24: ...lowing is displayed 音 声 Eメール送 信 登 録 モ くるくる スタート くるくる電話帳 3Press Start The display will show the last e mail address you entered To delete this address press Clear for 2 or more seconds F 1 クリア スタート コピー 4Enter the desired e mail address see the table on page 9 for instructions You can enter the address by rotating the Search dial and then press To store an address see page 25 F 3 確定 くるくる電話帳 5Press R...

Page 25: ...peat steps 5 8 You can program up to 30 stations including 1 pre programmed station F 3 登録 Editing a stored e mail address 7Edit the name see the table on page 9 for instructions 11Press Stop ストップ 10Press Register F 3 登録 8Press Register 2 times If you do not need to edit the e mail address skip to step 10 F 3 登録 5Rotate the Search dial until the desired name is displayed くるくる電話帳 6Press Edit If you...

Page 26: ...a received voice e mail in an attached file 4Enter the document number with 4 digits See the example below about document number 3Press Start スタート コピー 8Press Speakerphone to finish listening or replace the handset if you are using it スピーカーホン 5Press Register F 3 登録 7Listen to the voice message following voice guidance 1Press E mail 2Rotate the Search dial until the following is displayed 音 声 Eメール受 ...

Page 27: ...V up to 64 MB 1 You can also use Multi Media Card MMC in the same way as the SD memory card SD logo is a trademark SmartMedia is a trademark of Toshiba Corporation CompactFlash is a trademark of SanDisk Corporation When using Multi Media Card MMC follow the steps below It will be handled in the same way as the SD memory card Taking out the card Take out the SD memory card by pushing it in the dire...

Page 28: ...a SmartMedia see the right column SmartMedia CompactFlash Metal terminals bottom side When using SmartMedia and CompactFlash make sure that you install each card into the right slot Taking out the card Take out the card in the direction of an arrow Do not touch the metal terminals when you take out a SmartMedia Never attempt to take out the card while the display is showing Stored data may be dama...

Page 29: ...ight direction see page 7 Then press To go back to the display of step 2 press To exit the program press Stop ストップ F 2 一覧 F 1 はい スタート コピー スタート コピー In step 3 the time required to show the picture after pressing depends on the memory card type picture resolution compression type etc Example Approximately 300 000 pixels 640X480 pixels high compression normal in SD memory card Approximately 20 seconds...

Page 30: ... F 3 登録 F 3 登録 印 字 レイアウトは はがき全 面 7To print another picture repeat steps 3 6 To exit the program press Stop ストップ 5Press Select repeatedly to select the desired layout see below for details F 2 選択 印 字 レイアウトは はがき上 半 分 2 same pictures はがき全面 A4全面 2 pictures can be printed はがき上半分 A4上半分 はがき2分割 A4 2分割 シール紙2コマ シール紙16コマ はがき全面 A4 2分割 A4上半分 A4全面 はがき上半分 はがき2分割 シール紙2コマ シール紙16コマ Printing picture on postcard stic...

Page 31: ...31 Memo ...

Page 32: ...ment KX PW96CL Main unit Applicable line Public Switch Telephone Network Tone Pulse F Net NCC Lines 320 Ω 1 G3 compatible B4 Photo L size Max 257 mm in width Max 800 mm in length 252 mm B4 208 mm A4 DC resistance Compatibility Document size Effective scanning size 200 mm A4 size plain paper 90 mm Postcard Effective printing size Monochrome Approx 15 s page MMR Color Approx 3 min page Original mode...

Reviews: