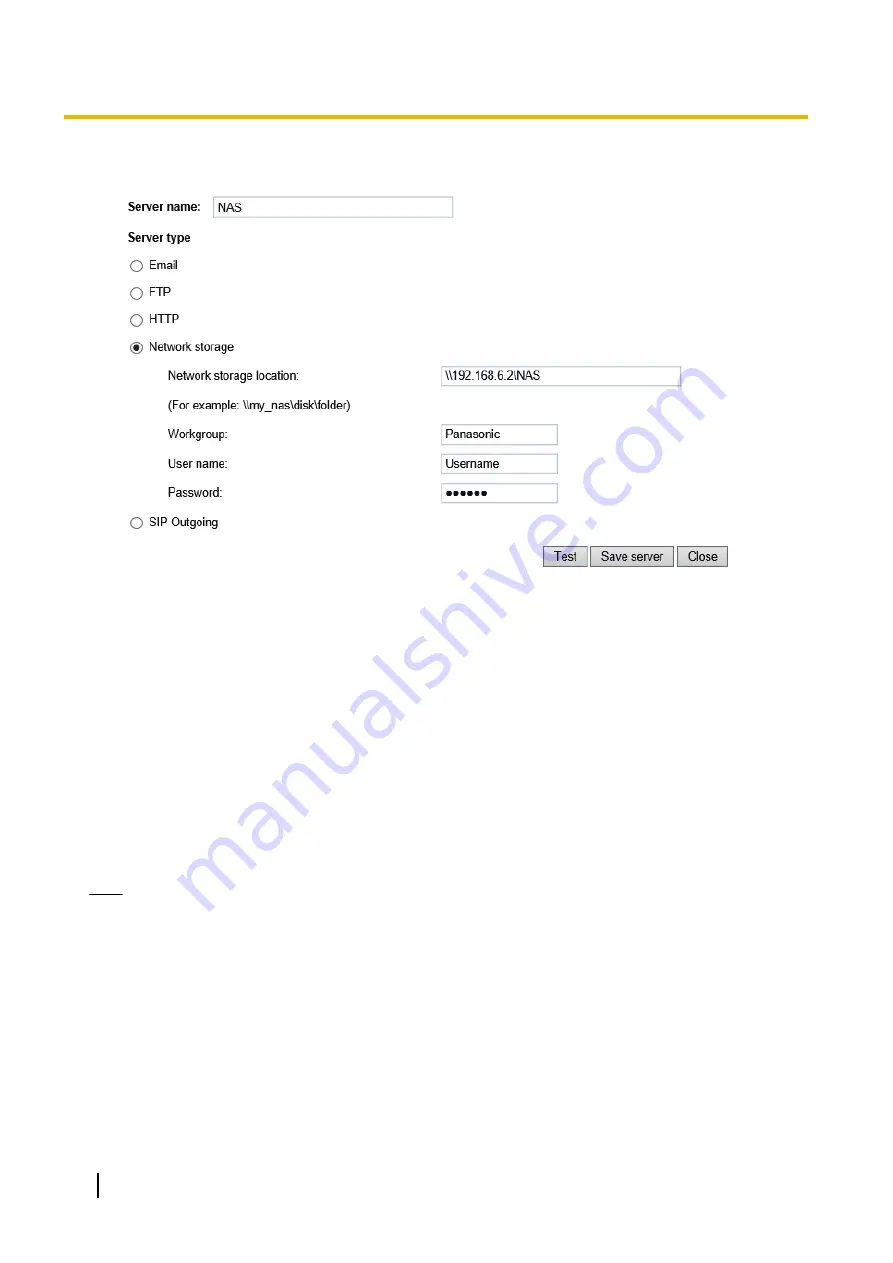
1.
Fill in the information for your server.
For example:
2.
Click Test to check the setting. The result will be shown in a pop-up window.
If successful, you will receive a test.txt file on the network storage server.
3.
Enter a server name.
4.
Click Save to complete the settings and click Close to exit the page.
Back to the Recording setup page, you can now record videos to the networked storage.
•
Capacity:
You can choose either the entire free space available or limit the reserved space. The recording
size limit must be larger than the reserved amount for cyclic recording.
•
File name prefix:
Enter the text that will be appended to the front of the file name.
•
Enable cyclic recording:
If you check this item, when the maximum capacity is reached, the oldest file
will be overwritten by the latest one. The reserved amount is reserved for the transaction stage when the
storage space is about to be full and new data arrives. The minimum space for the reserved space must
be larger than 15 MB.
•
Recording file management:
You can manually assign the Maximum duration and the Maximum file
size for each recording footage. You may need to stitch individual files together under some circumstances.
You may also designate a file name prefix by filling in the responsive text field.
Note
•
To edit or remove an existing NAS setting, you have to turn OFF all related event or recording
configuration.
•
Please use NAS server instead of USB device.
Recording file management
•
Maximum duration (minutes):
Specifies the length of each of the recorded videos.
•
Maximum file size (MB-Megabytes):
Specifies the file size limitation of each recorded video. The duration
and size are the upper thresholds. The limitation is imposed when either the length or the file size is
reached. The recording then continues by creating other video files.
•
File name prefix:
You may enter a file name prefix for the recorded files.
126
User’s Manual
2 Software


