Communication IP Camera
Model No.
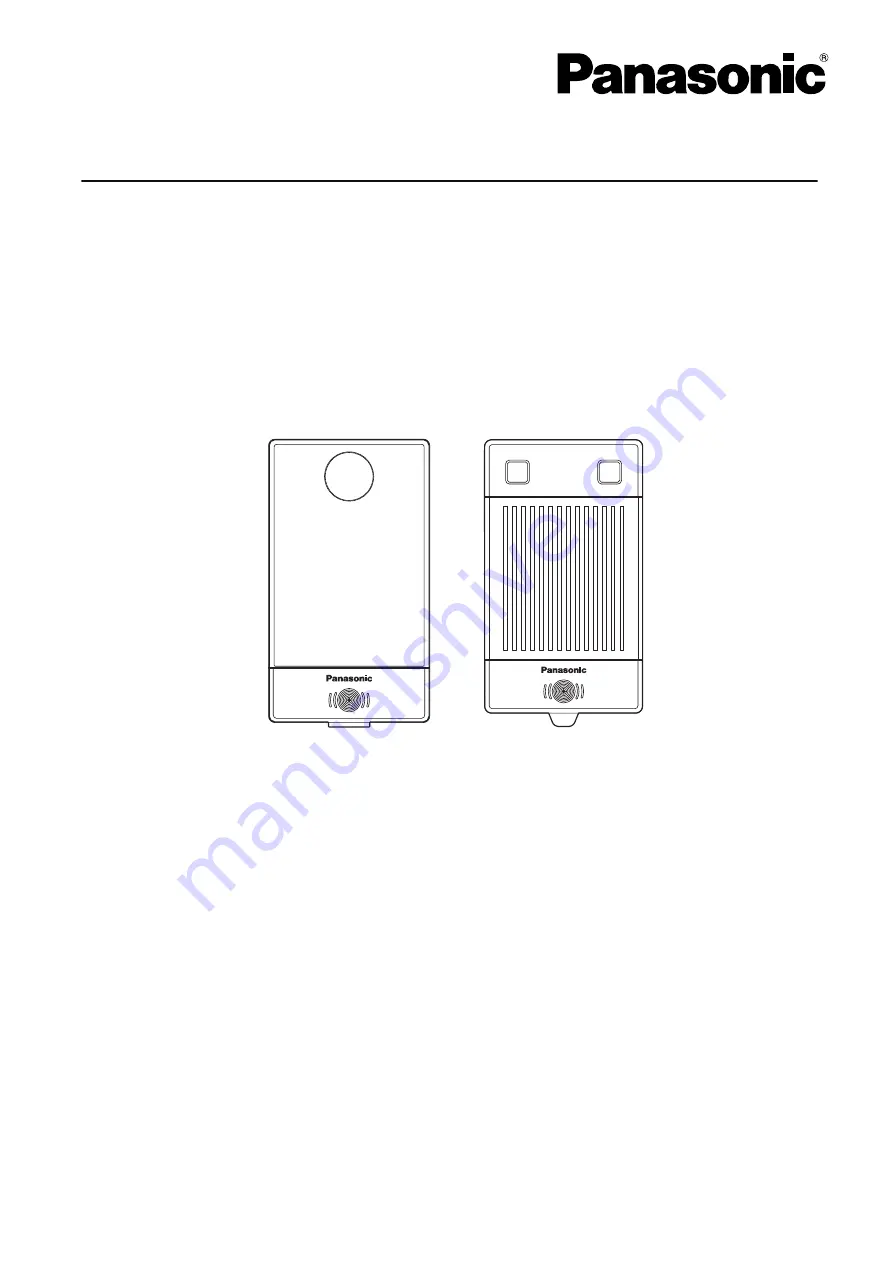
KX-NTV150
KX-NTV160
Model No.
IP Video Doorphone
User’s Manual
KX-NTV150
KX-NTV160
Thank you for purchasing this Panasonic product.
Please read this manual carefully before using this product and save this manual for future use.
Document Version: 2016-01


