Initial Programming
27
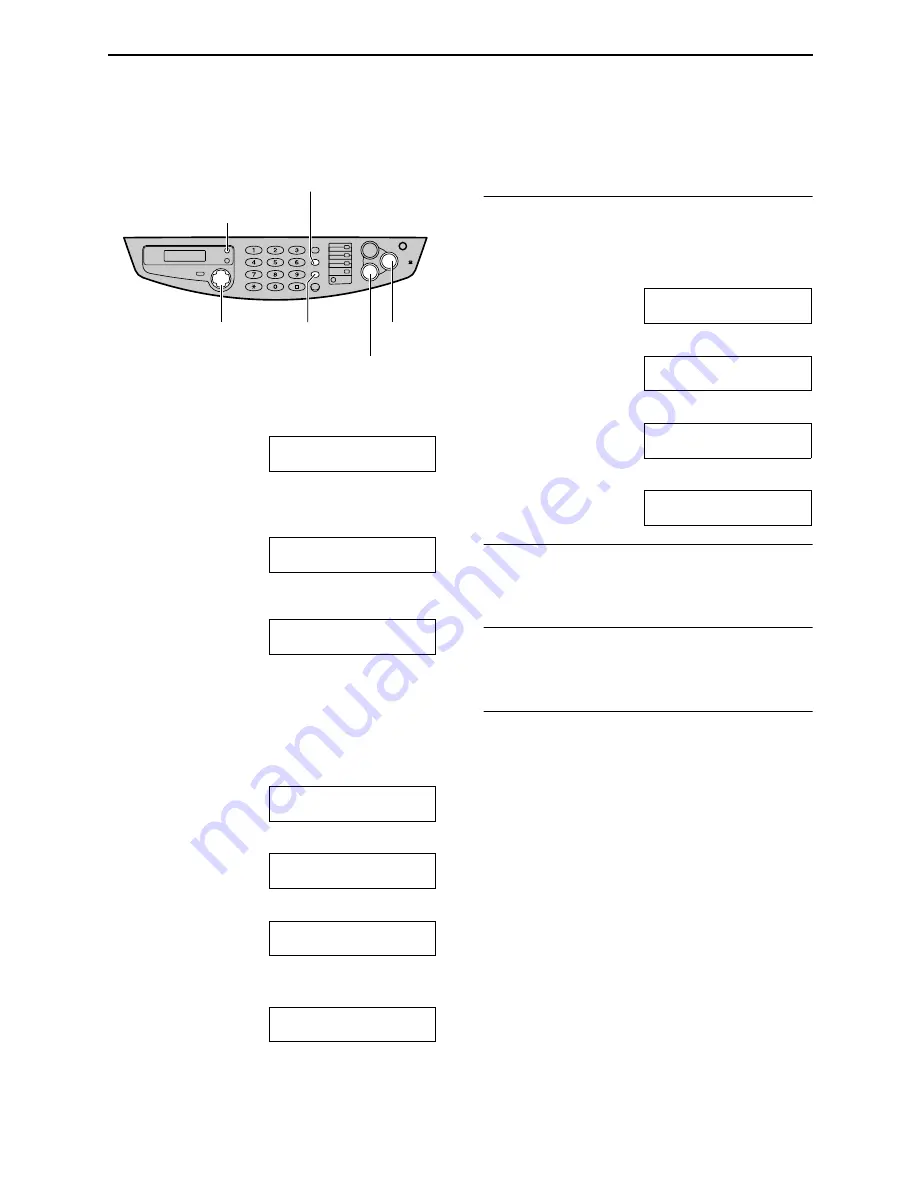
Setting your logo
The logo can be your company, division or
personal name.
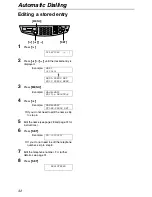
1
Press
{
MENU
}
.
SYSTEM SET UP
PRESS NAVI.[
(
)
]
2
Press
{<}
or
{>}
until the following is
displayed.
YOUR LOGO
PRESS SET
3
Press
{
SET
}
.
LOGO=
4
Enter your logo, up to 30 characters, using
the dial keypad. See page 28 for details.
Example: “BILL”
1.
Press
{
2
}
2 times.
L
Cursor (
|
) will appear on the display.
LOGO=
|
B
2.
Press
{
4
}
3 times.
LOGO=B
|
I
3.
Press
{
5
}
3 times.
LOGO=BI
|
L
4.
Press
{>}
to move the cursor to the
next space and press
{
5
}
3 times.
LOGO=BIL
|
L
5
Press
{
SET
}
.
L
The next feature will be displayed.
6
Press
{
MENU
}
.
Note:
L
You can enter your logo by pressing
{+}
or
{-}
in step 4. In this case, press
{>}
to
move the cursor (see page 28 for details).
To change capital or lower-case letters
Pressing the
{#}
key will change to capital or
lower-case alternately.
1.
Press
{
2
}
2 times.
LOGO=
|
B
2.
Press
{
4
}
3 times.
LOGO=B
|
I
3.
Press
{#}
.
LOGO=B
|
i
4.
Press
{
5
}
3 times.
LOGO=Bi
|
l
To correct a mistake
Press
{<}
or
{>}
to move the cursor to the
incorrect character, and make the correction.
To delete a character
Press
{<}
or
{>}
to move the cursor to the
character you want to delete and press
{
STOP
}
.
To insert a character
1.
Press
{<}
or
{>}
to move the cursor to the
position to the right of where you want to
insert the character.
2.
Press
{
HANDSET MUTE
}
to insert a space
and enter the character.
{
SET
}
{
STOP
}
{<}
{>}
{+}
{-}
{
MENU
}
{
HANDSET MUTE
}
{
FLASH
}
(Hyphen)
(Delete)
(Insert)
Summary of Contents for KX-FB422CX
Page 79: ...79 ...


