background image

RQT8791-B

EB

Operating Instructions

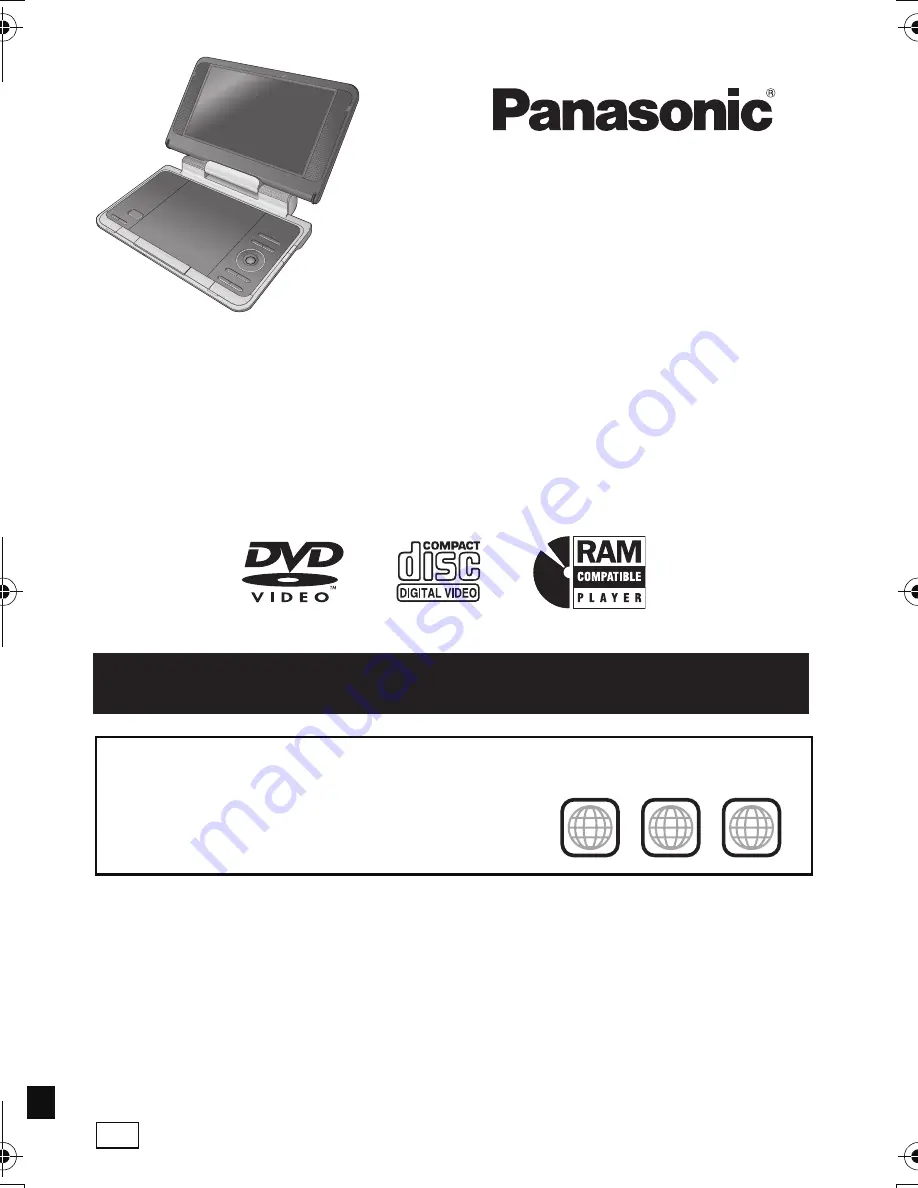
Portable DVD/CD Player

Model No. 

DVD-LS80
DVD-LS82

Unless otherwise indicated, illustrations in these operating instructions are of DVD-LS80.

Region number

The player plays DVD-Video marked with labels containing the region number 

“2”

 or 

“ALL”

.

Example:

2

ALL

3

5

2

MULTI-FORMAT PLAYBACK

See pa

g

e 6 for details.

Dear customer

Thank you for purchasing this product.
For optimum performance and safety, please read these instructions carefully.
Before connecting, operating or adjusting this product, please read the instructions completely. 
Please keep this manual for future reference.

[Note]

“EB” on the packaging indicates the United Kingdom.

p1 e.fm  Page 1  Monday, January 22, 2007  4:46 PM

Summary of Contents for DVD-LS82

Page 1: ...labels containing the region number 2 or ALL Example 2 ALL 3 5 2 MULTI FORMAT PLAYBACK See page 6 for details Dear customer Thank you for purchasing this product For optimum performance and safety please read these instructions carefully Before connecting operating or adjusting this product please read the instructions completely Please keep this manual for future reference Note EB on the packagin...

Page 2: ...ER E BY THE EARTH SYMBOL Ó OR COLOURED GREEN OR GREEN YELLOW THIS PLUG IS NOT WATERPROOF KEEP DRY Before use Remove the connector cover How to replace the fuse The location of the fuse differ according to the type of AC mains plug figures A and B Confirm the AC mains plug fitted and follow the instructions below Illustrations may differ from actual AC mains plug 1 Open the fuse cover with a screwd...

Page 3: ...antee Please call 0870 240 6284 or visit our website www panasonic co uk guarantee Table of contents Caution for AC Mains Lead 2 Accessories 3 Precautions 4 Discs that can be played 6 Playing discs 10 Useful functions 12 Enjoying higher quality audio and video 15 Playing audio WMA MP3 and picture JPEG discs 16 Playing HighMATTM discs 17 Playing programs playlists 18 Playing CD using menus 18 Enjoy...

Page 4: ... discontinue use in potentially hazardous situations Even if your headphones or earphones are the open air type designed to let you hear outside sounds don t turn up the volume so high that you can t hear what s around you Batteries 1 Battery pack Lithium ion battery pack Use the specified unit to recharge the battery pack Do not use the battery pack with equipment other than the specified unit Do...

Page 5: ...und quality as MP3 with a file size that is smaller than that of MP3 Information on Disposal for Users of Waste Electrical Electronic Equipment private households This symbol on the products and or accompanying documents means that used electrical and electronic products should not be mixed with general household waste For proper treatment recovery and recycling please take these products to desig...

Page 6: ...Format therefore some functions cannot be used 4 A process that allows play on compatible equipment To play a disc that is displayed as Necessary on this unit the disc must first be finalized on the device it was recorded on 5 Closing the session will also work Disc Logo Indicated in these instructions by Remarks Discs that cannot be played Blu ray HD DVD AVCHD discs DVD Audio Version 1 0 of DVD R...

Page 7: ...lay to start Keep the number of sessions to a minimum to avoid this Format Disc Extension Reference WMA CD R RW WMA wma Compatible compression rate between 48 kbps and 320 kbps You cannot play WMA files that are copy protected This unit is not compatible with Multiple Bit Rate MBR a file that contains the same content encoded at several different bit rates MP3 DVD RAM DVD R RW CD R RW MP3 mp3 Samp...

Page 8: ...e of this unit RELEASE DETACH ATTACH Battery pack RELEASE DETACH ATTACH 2 1 Press and hold DC IN DC IN 12 V To household mains socket AC adaptor included AC mains lead included You can also use this unit without charging while connecting the AC adaptor and the AC mains lead You can also use this unit without charging while connecting Car DC Adaptor page 19 Connecting the included Car DC Adaptor To...

Page 9: ... the LCD Displays for a few seconds 3 Adjusting the LCD angle Battery pack Recharging When the unit is off Play at room temperature using headphones LCD brightness level LCD Off j5 0 5 CGR H711 1 4 6 3 5 2 5 8 CGR H702 2 CGR H712 2 7 12 7 5 16 CGR H701 option 4 5 5 3 2 7 screen Recharge Appears automatically when there is only a few minutes of charge remaining flashing Standard Compact Slide Open ...

Page 10: ...s 1 ON to restart play Stop The position is memorized when Press PLAY to resume play appears on the screen Press 1 ON to resume Resume play Opening the disc lid or pressing OFF while Press PLAY to resume play appears on the screen cancels the memorized position Turn unit off Press and hold until OFF is displayed 1 Open the lid 2 Insert a disc and close the lid Click into place Load double sided di...

Page 11: ...ge 16 Return Returns to the previous screen VCD with playback control Returns to the menu Menu operation Press 3 42 1 to select an item and press ENTER to confirm Number Select VCD with playback control 1While the disc menu is displayed press DISPLAY to display On Screen Menus 2Press 34 to select Number Select 3Press 1 then 34 to enter number Press and hold 34 to alter faster 4Press ENTER Frame by...

Page 12: ...dicator flashes The LCD turns off automatically if you close it Press to change DAYLIGHT Displays the picture a bit brighter MOONLIGHT Displays the picture a bit darker USER MODE below Press 34 to select the item and 2 1 to change the setting BRIGHT Adjusts the brightness of the picture s5 to 5 COLOUR Adjusts the shade of the picture s color s5 to 5 To exit the screen Press RETURN Press several ti...

Page 13: ...ange the speed H Bass page 15 Advanced Surround below and Sound Enhancement page 23 Audio Menu do not work This may not work depending on the disc s recording To exit the screen Press RETURN 1 Press once 2 1 Press 34 to select Other Settings 2 Press 1 then 34 to select Audio Menu 3 Press 1 then 34 to select Advanced Surround 4 Press 1 then 34 to select SP 1 Natural SP 2 Enhanced HP 1 Natural or HP...

Page 14: ...fect not displayed if there is no signal 0 No surround 1 Mono surround 2 Stereo surround left right 1 Center 2 Front leftiFront right 3 Front leftiFront rightiCenter 1 Press once 2 DVD VR DVD V VCD 1 Press 34 to select Subtitle 2 Press 1 then 34 to select Off or On and the subtitle language 3 Press ENTER On iR iRW a subtitle number may be shown for subtitles that are not displayed DVD VR with subt...

Page 15: ... to select Other Settings 2 Press 1 then 34 to select Picture Menu 3 Press 1 to select Picture Mode 4 Press 1 then 34 to select Cinema1 or Cinema2 5 Press ENTER To exit the screen Press RETURN 1 Press once 2 1 In the procedure 2s4 above Cinema1 Cinema2 select User and press ENTER 2 Press 34 to select Picture Adjustment and press ENTER 3 Press 34 to select Depth Enhancer or MPEG DNR 4 Press 2 1 to ...

Page 16: ... To play content in the group in order Press ENTER To start play from the selected content Press 34 to select and press ENTER ENTER Playback Menu ENTER to select and press All Total 434 Audio Total 7 Picture Total 427 All content WMA MP3 JPEG MENU ENTER Navigation Menu DISPLAY RETURN to display the sub menu Group 005 023 Content 0001 0004 to exit Perfume 001 Brazilian 002 Chinese 003 Czech 004 Hun...

Page 17: ...imes To change the menu background press DISPLAY The background changes to the one recorded on the disc To display exit the screen press TOP MENU Selecting from the list 1 Press MENU 2 Press 2 then 3 4 to switch among Playlist Group and Content lists 3 Press 1 then 3 4 to select an item and press ENTER To exit the screen Press MENU A Find ENTER While the menu is displayed Press 342 1 to select ite...

Page 18: ...er 9 10 11 0 07 29 Baseball 10 ENTER to select and press ENTER 1 To play programs 2 Press 34 to select the program or playlist and press ENTER Press 1 to show the contents of the program Only when playing the program To exit the screen Press RETURN To play playlists Only when the disc contains a playlist MENU CD Content title 1 001 Kanenonaiyoru No 1 17 2 21 to select and press ENTER to exit RETUR...

Page 19: ... when the engine is not running Turn the unit off before stopping the engine while using Car DC Adaptor otherwise resume play page 10 may not work Leave some slack in the cord No responsibility will be taken for damage that occurs due to faulty installation You can enjoy audio through your car audio system by connecting a car stereo cassette adaptor not included to the headphone jack on the left s...

Page 20: ...s with the operation of an airbag in a location that interferes with the driving instruments Make sure that the bracket belt is securely fastened and check the lock on the unit In the event of an accident sudden acceleration or braking the unit could become loose and cause injury 1 Fold the monitor down towards the front of the unit 2 Rotate the monitor backwards so the screen is facing out DO DO ...

Page 21: ...acket The angle of the monitor may shift while driving due to vibration etc Use the monitor in the open position as shown in the illustration to the right to prevent abnormal audio or damage resulting from vibrations in the car The angle of the monitor can be adjusted up to about 30o DO DO NOT Depending on the type of headrest you may not be able to attach the bracket 23 cm or less In the event of...

Page 22: ...dicator 2 Press 34 to select the time and press ENTER Press and hold 34 to alter faster To change remaining elapsed time display Audio page 14 Changing soundtracks To display the current bitrate or sampling frequency Number Select VCD with playback control To enter number Press and hold 34 to alter faster Thumbnail To show thumbnail images Subtitle page 14 Changing subtitles Marker VR To recall a ...

Page 23: ...ictures To expand the letterbox picture to fit the screen Press 34 to select the preset aspect ratio or Auto DVD VR DVD V VCD Auto 4 3 Standard European Vista 16 9 Standard Cinemascope2 Cinemascope1 American Vista Depending on the disc the preset aspect ratio may not be displayed Manual Zoom Motion pictures Press 34 for fine adjustments Press and hold to alter faster from k1 00 to k1 60 in 0 01 un...

Page 24: ... prohibit play of DVD Video with corresponding ratings recorded on them 0 Lock All To prevent play of discs without ratings levels When setting a ratings level a password screen is shown Follow the on screen instructions Do not forget your password A message screen will be shown if a DVD Video exceeding the ratings level is inserted in the unit Follow the on screen instructions TV Aspect Choose th...

Page 25: ...Breton 6682 Bulgarian 6671 Burmese 7789 Byelorussian 6669 Cambodian 7577 Catalan 6765 Chinese 9072 Corsican 6779 Croatian 7282 Czech 6783 Danish 6865 Dutch 7876 English 6978 Esperanto 6979 Estonian 6984 Faroese 7079 Fiji 7074 Finnish 7073 French 7082 Frisian 7089 Galician 7176 Georgian 7565 German 6869 Greek 6976 Greenlandic 7576 Guarani 7178 Gujarati 7185 Hausa 7265 Hebrew 7387 Hindi 7273 Hungari...

Page 26: ...g Watching video from other equipment 1 Connect the equipment to this unit 2 Press AV SELECT to switch to AUX AUX lights on the unit s display Operate playback using the connected equipment Please read the operating instructions for the connected equipment The unit does not turn off automatically while AUX mode is on Turn the unit off when you have finished using it AUDIO AUDIO Black Audio cable n...

Page 27: ...ce objects on them To protect discs from scratches and dirt return them to their cases or cartridges when you are not using them Do not use the following discs Discs with exposed adhesive from removed stickers or labels rented discs etc Discs that are badly warped or cracked Irregularly shaped discs such as heart shapes Can I play a DVD Video bought in another country You can play if the region nu...

Page 28: ...unit cannot play discs other than the ones listed in these operating instructions 6 The unit may not be operating properly due to lightning static electricity or some other external factor Turn the unit off and then back to ON Alternatively turn the unit off disconnect the power source AC or battery pack and then reconnect it Condensation has formed Wait 1 to 2 hours for it to evaporate Please ins...

Page 29: ...not connected through a video cassette recorder 26 Use the television to change the aspect Adjust Just Fit Zoom in Display Menu 23 Menu not displayed correctly Restore the zoom ratio to a1 00 23 Set Subtitle Position in Display Menu to 0 23 Auto zoom function does not work well Turn off the zooming feature on your television Use the other preset aspect ratios or manual adjustment 23 Zoom function ...

Page 30: ...off and on again Alternatively turn the unit off disconnect the power source AC or battery pack reconnect the power and turn the unit on again If the service numbers fail to clear note the service numbers and consult your dealer Cannot display group xx content xx You are trying to play incompatible groups or content 7 The Í indicator flashes rapidly The unit has malfunctioned Consult your dealer T...

Page 31: ...al DC 7 2 V Exclusive battery terminal Power consumption using included AC adaptor 14 W Unit only 12 W Power consumption in Standby mode using included AC adaptor approx 0 4 W Power consumption in Recharge mode using included AC adaptor 12 W AC adaptor Power source AC 100 to 240 V 50 60 Hz Power consumption 22 W DC output 12 V 1 3 A Car DC Adaptor DC output 12 V 1 5 A Vehicle with 12 V battery onl...

Page 32: ...12 22 Dolby Digital 14 DTS 14 Finalize 6 H Bass 15 Headrest Mounting Bracket 20 HighMAT 17 Just Fit Zoom 23 LCD SIZE 12 Manual Zoom 23 MENU 11 16 18 MPEG DNR 15 N O P Q R S T Navigation Menu 16 Number Select 11 22 On Screen Menus 22 Play speed 13 Playback Menu 16 Playlist 18 Programs 18 Quick OSD 15 Re initialise Setting 25 REPEAT 12 Resume play 10 Rotate Picture 14 Setup 24 Sound Enhancement 23 S...

Reviews: