3.5 Programming the unit from the operation panel
Important
•
For feature availability and selection information for your unit, print the
"SETUP LIST"
Features listed are available for your unit.
Programming features are as follows:
– "3.6 Programming features: Basic" (page 49)
– "5.4 Programming features: PC print" (page 77)
– "5.5 Programming features: USB print features" (page 78)
– "6.4 Programming features: Scan" (page 85)
– "7.4 Programming features: Copy" (page 103)
– "8.9 Programming features: Fax" (page 122)
– "9.2 Programming features: LAN" (page 127)
– "9.3 Programming features: Update" (page 130)
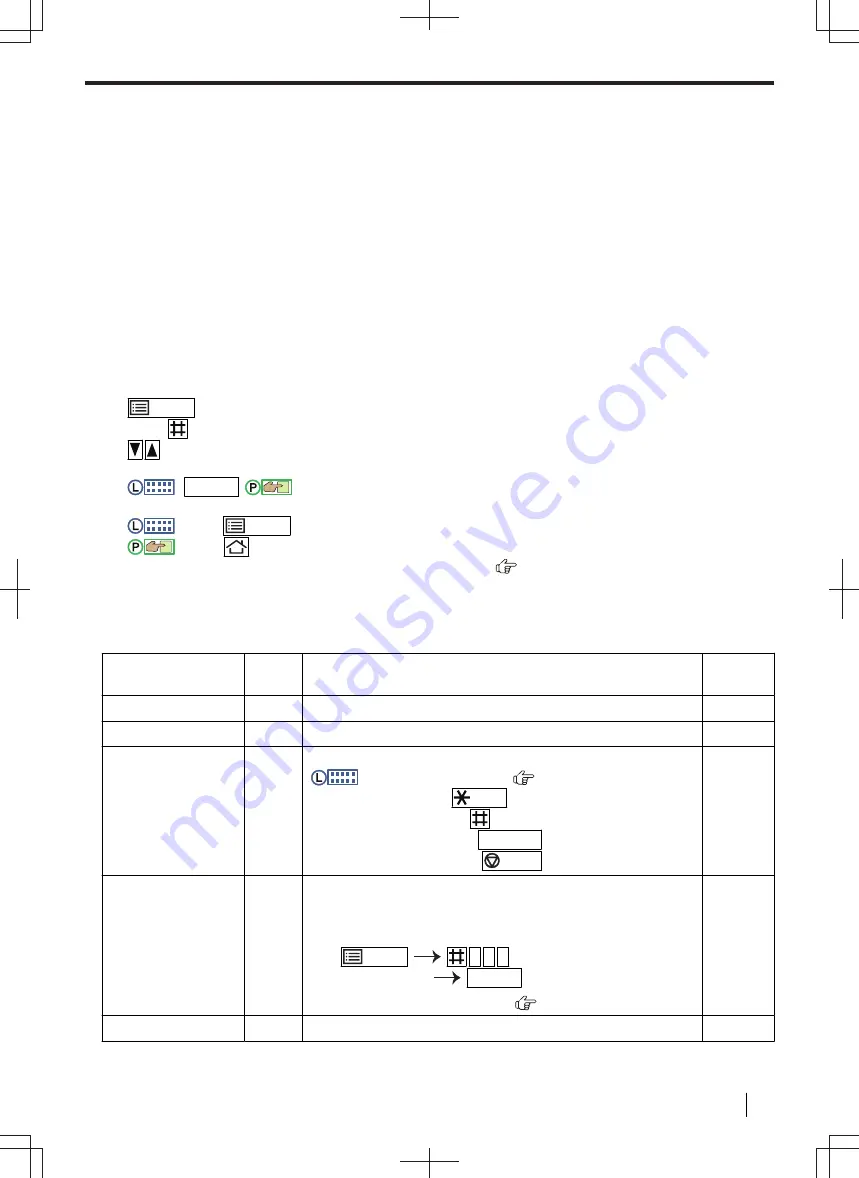
To change the feature settings
1.
/MENU
2.
Press
and the 3-digit code.
3.
: Select the desired setting.
• This step will vary depending on the programming feature.
4.
:
OK/SET
/
:
"
OK
"
• This step will vary depending on the programming feature.
5.
:
Press
/MENU
to exit.
:
Press
to exit.
Direct command for default setting (2-line LCD models only) (
)
for some programs). If you want to reset all features, activate feature #159 (page 51).
3.6 Programming features: Basic
Feature
Code
Description
Default
key
Date and time
#101
Enter the date and time (see page 59 for character entry).
–
Your logo
#102
Enter your logo (see page 59 for character entry).
–
Your fax number
#103
Enter your fax number (see page 59 for character entry).
For 2-line LCD models (
):
• To enter a "+", press
/Tone
.
• To enter a space, press
.
• To enter a hyphen, press
R/FLASH
.
• To erase a number, press
/STOP
.
–
Language
#110
The display and reports will be in the selected language.
FOR ENGLISH USERS:
If you want to change the language
setting to English, proceed as follows.
1.
/MENU
1 1 0
2.
Select English.
OK/SET
*1
For 2-line LCD models only. (
)
–
Location
#114
This setting must match your location.
–
3.5 Programming the unit from the operation panel
Operating Instructions
49


