46
9.4.2.
Adjustment
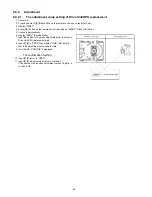
9.4.2.1.
The adjustment value setting of Drive Unit/OPU replacement
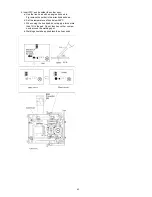
1. Power ON
2. Press and hold [5] [9] [Red] button on the remote control concurrently for 5 sec.
3. Display "70RET"
4. Press
[ ] button on the remote control then display "80SRV". Press [OK] button.
5. It reboots automatically.
6. Display "SERV" (Service Mode)
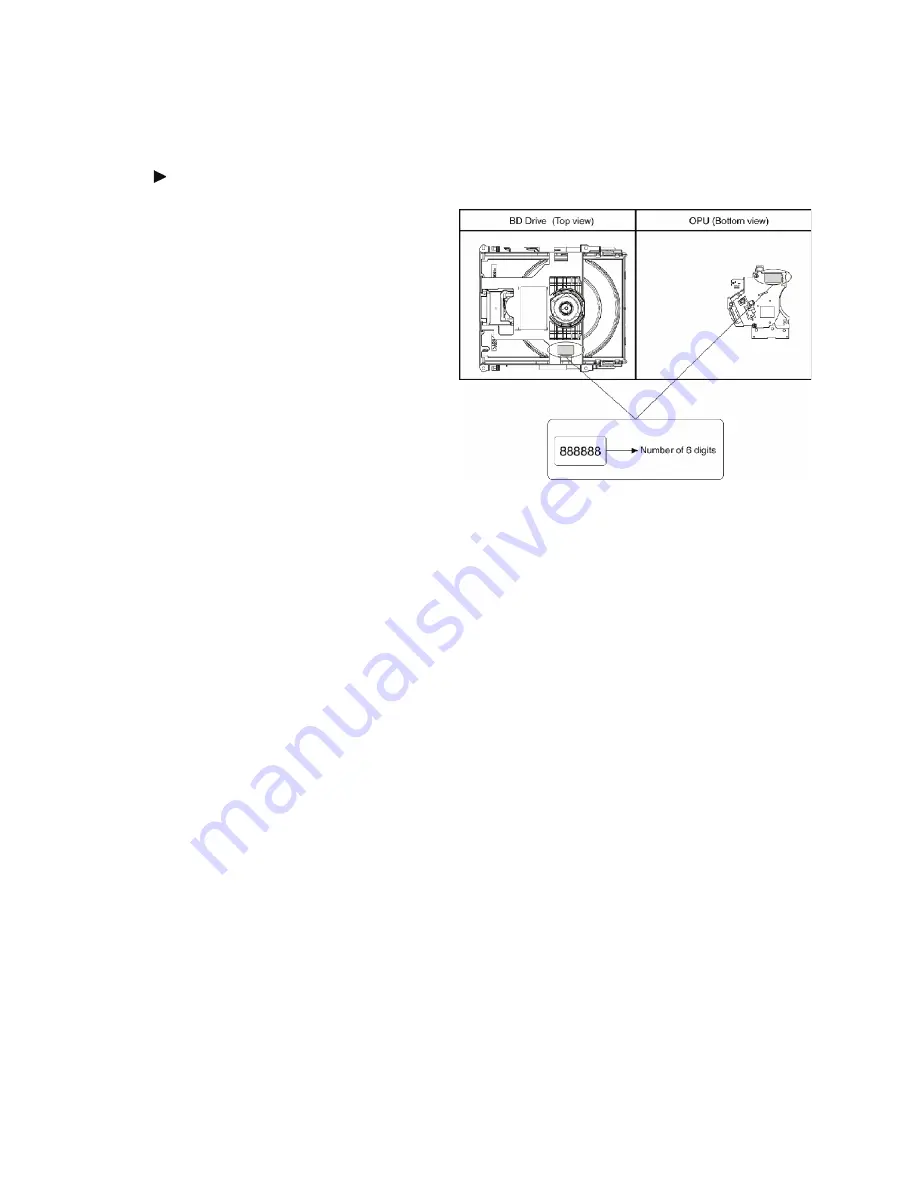
7. Input the number of 6 sdigits adjust value that is wrote on
Drive Unit/OPU replacement part.
8. Input [7] [2] in "SERV" then display "DQR" total 6 digits
that is the adjustment value write-in state.
9. It will be OK if "DQR OK"is displayed.
---
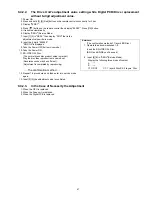
The confirmation method
---
10. Input [0] [0],return to "SERV".
11. Input [0] [9],the adjustment value is confirmed.
If the same as the inputted adjustment value of 6 digits, it
is write-in OK.
Summary of Contents for DMP-BD81PU
Page 2: ...2 ...
Page 3: ...3 ...
Page 8: ...8 2 2 Precaution of Laser Diode ...
Page 18: ...18 5 Location of Controls and Components ...
Page 40: ...40 9 2 5 Grease ...
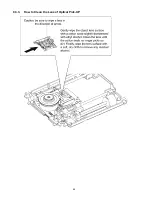
Page 44: ...44 9 3 3 How to Clean the Lens of Optical Pick UP ...
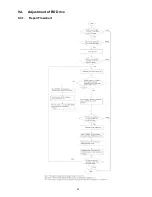
Page 45: ...45 9 4 Adjustment of BD Drive 9 4 1 Repair Flowchart ...
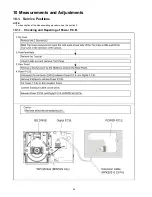
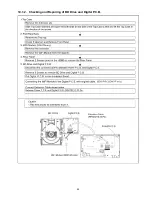
Page 49: ...49 10 1 2 Checking and Repairing of BD Drive and Digital P C B ...
Page 59: ...Model No DMP BD91GN 81PU 81GA 81GC 81GN 81GT BDT160GA 160GN 160GW BDT161GC PART LIST NOTICE ...
Page 60: ...Model No DMP BD91GN 81PU 81GA 81GC 81GN 81GT BDT160GA 160GN 160GW BDT161GC ABBREVIATION ...
Page 79: ...Model No DMP BD91GN 81PU 81GA 81GC 81GN 81GT BDT160GA 160GN 160GW BDT161GC Exploded View ...
Page 80: ...Model No DMP BD91GN 81PU 81GA 81GC 81GN 81GT BDT160GA 160GN 160GW BDT161GC Mechanism View ...
Page 81: ...Model No DMP BD91GN 81PU 81GA 81GC 81GN 81GT BDT160GA 160GN 160GW BDT161GC Packing View ...

