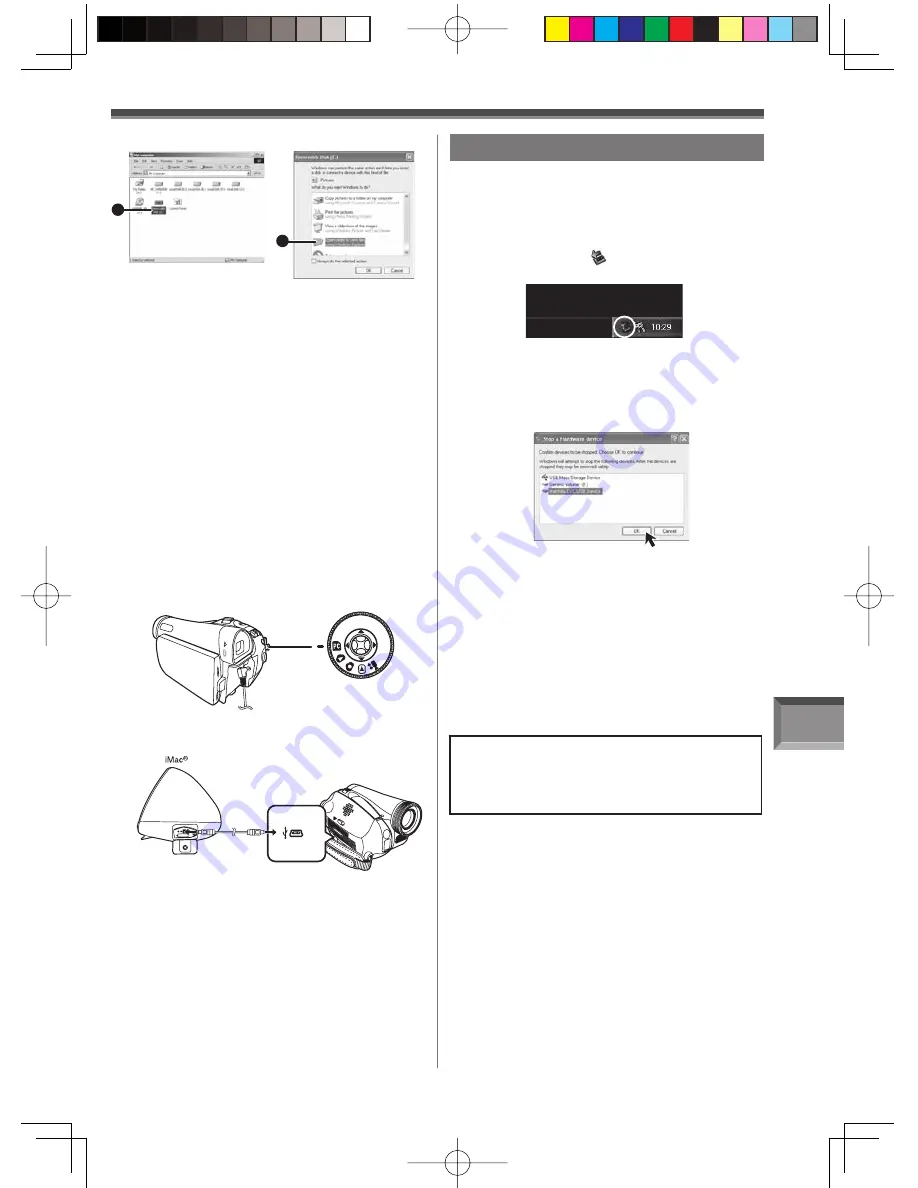
With a PC
61
1
2
[Windows 2000]
[Windows XP]
• After the USB Connection Cable is connected to
the Camcorder, open [My Computer] or [Windows
Explorer] to check that the drive is displayed as a
removable disk drive (only when card is inserted
into the Camcorder). It enables you to operate it in
the same way as a floppy disk drive, and you can
use the same drag and drop or copy methods.
• You can view images stored on the Memory Card
and also save them to your hard disk.
• Please do not change file or folder names on the
Personal Computer. The images on the Memory
Card may not be able to be viewed on the
Camcorder.
1
Insert the Memory Card into the
Camcorder.
2
Set the Camcorder to PC Mode.
3
Connect the Camcorder to your Macintosh
with USB Cable.
For Macintosh
OS:
Mac OS X v 10.1 – X v 10.4
4
Double click the “NO_NAME” icon.
• You can view images stored on the Memory
Card and also save them to your hard disk.
• Please do not change file or folder names on
the Personal Computer. The images on the
Memory Card may not be able to be viewed on
the Camcorder.
To disconnect USB cable safely
For Windows
If USB Cable is disconnected while computer is
on, error dialog may appear. In such case click
[OK] and close the dialog box. By following the
steps below you can disconnect the cable safely.
1
Double click the
icon in task tray.
• Hardware disconnect dialog appears.
Note on the driver name displayed
The driver name displayed will differ depending on
your OS, operating environment and the mode of the
Camcorder.
Windows XP/2000:
• When the Camcorder is in PC Mode:
[USB Mass Storage Device] or [Matshita DVC USB
Device]
• Make sure Camcorder’s Card Access lamp is off
and disconnect the cable.
• You can safely disconnect the cable.
3
Verify [Matshita DVC USB Device] is
selected and click [OK].
2
Select [USB Mass Storage Device] and
click [Stop].
CAUTION:
If you disconnect the USB Cable while the
Card Access Lamp is on, it may damage the
Card data.


