18
RQT9433
STEP
2
Channel reception settings and TV aspect settings
TIME SLIP
DISPLAY
STATUS
AUDIO
TEXT
REC MODE
REC
CREATE
CHAPTER
FUN
CTIO
N
ME
NU
DIR
EC
TN
AV
IGA
TOR
GUIDE
RETURN
PAUSE
STOP
SLOW/SEARCH
CH
PAGE
SELECT
INPUT
CH
AV
TV
DRIVE
SELECT
VOL
DEL
PROG/CHECK
EXIT
OK
OPTION
STTL
MANUAL SKIP
SKIP
PLAY/x1.3
0
9
8
7
6
5
4
3
2
1
abc
def
jkl
ghi
mno
tuv
qrs
p
xyz
w
RETURN
2
3, 4
1
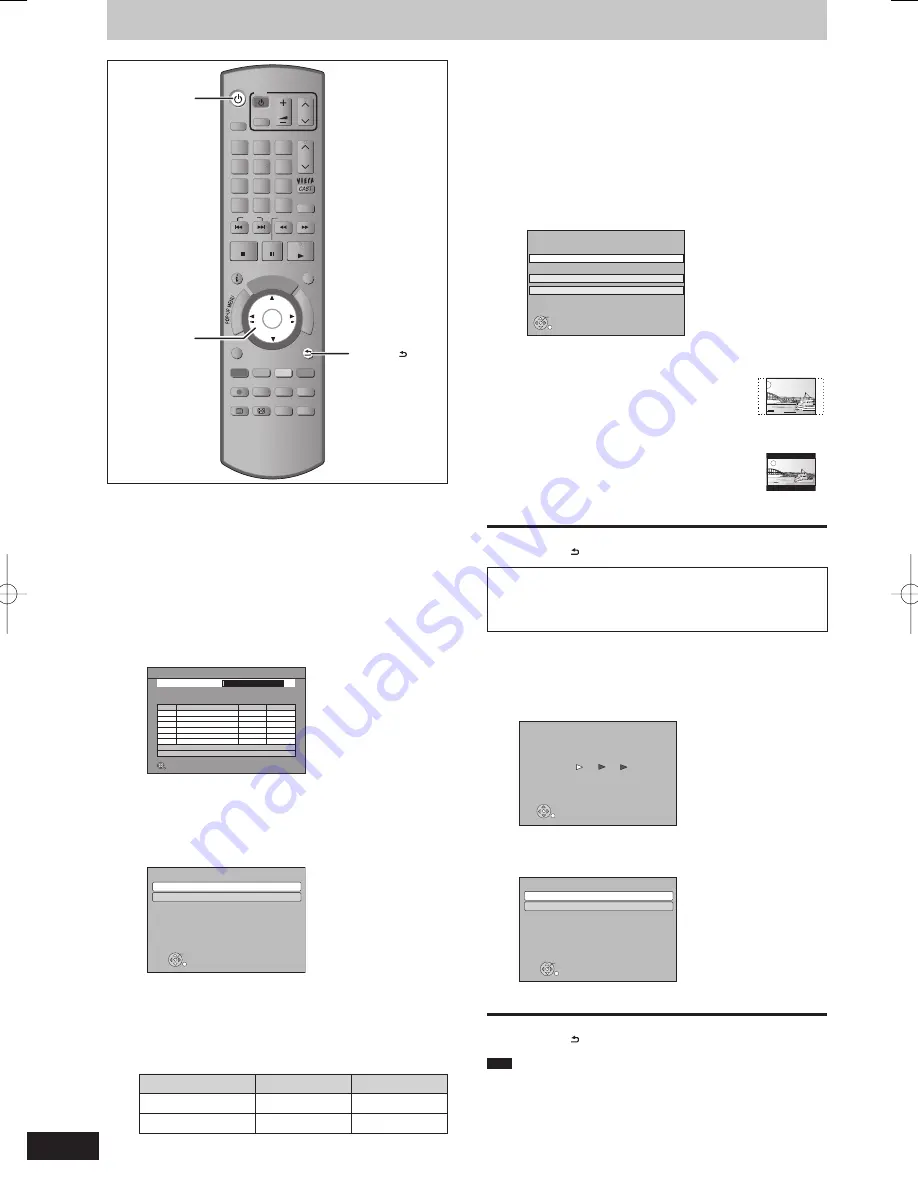
Turn on the television and select the
appropriate AV input to suit the
connections to this unit.
2
Press
[
^
] to turn the unit on.
When the Download from TV screen appears (
➡
right)
Auto Tuning setting screen appears.
Auto Tuning starts.
The unit will search for the terrestrial digital channels. TV
channels will be located and stored ready for use.
This takes 3 minutes.
Scan
Auto Tuning-Digital (DVB)
9
6
21
RETURN
This will take about 3 minutes.
CH
Channel Name
Searching
Free TV: 2
Pay TV: 0
Radio: 0
Data: 0
1
2
DVB
DVB
10
10
Type
Quality
TV ONE
TV 2
Auto Tuning is complete when Power Save setting screen
appears.
The time information can be obtained.
3
Press
[
e
,
r
] to select “On” or “Off”
and press [OK].
OK
RETURN
Power Save
On
Off
On: Minimises standby power consumption,
disables Quick Start function. Unit’s Display
is set to “Automatic”.
Off: Enables Quick Start function.
On:
It will go into the Power Save mode when the power is
turned off.
Off:
It is possible to start quickly from standby mode.
The features of the power save function when the unit is in
standby mode are as follows.
Power Save
On
1
Off
2
Power consumption
Approx. 0.7 W
Approx. 10 W
Start up time
Not Quick
Quick
3
1
“Unit’s Display” is
fi
xed to “Automatic” in the Setup menu.
(
➡
90)
2
“Unit’s Display” is changed to “Bright” in the Setup menu.
3
It is possible to startup and start recording within several
seconds.
– Depending on the type of TV or the connected terminal,
it may take time to display the screen.
After Power Save setting is complete, TV Aspect setting
screen appears.
4
Press
[
e
,
r
] to select the TV aspect
and press [OK].
16:9
Pan & Scan
Letterbox
4:3 TV
TV Aspect
16:9 WIDE TV
OK
RETURN
16:9:
When connected to a 16:9 widescreen television
Pan&Scan:
When connected to a 4:3 aspect television,
side picture is trimmed for 16:9 picture. The
“Pan&Scan” setting may not work and the
pictures may be shown in the letterbox style
depending on the content.
Letterbox:
When connected to a 4:3 aspect television,
16:9 picture is shown in the letterbox style
(
➡
119).
When television picture appears, set up is complete.
To stop partway
Press [RETURN ].
■
To con
fi
rm that stations have been tuned
correctly (
➡
85, DVB Channel List)
■
To restart set up (
➡
86, Auto Tuning)
■
Download from TV
If this unit is connected to a Panasonic TV (VIERA) supporting
HDAVI Control 3 or later via an HDMI cable, then the setting
information on the TV is acquired by this unit when the unit is
turned on for the
fi
rst time. Please proceed to the following steps.
RETURN
Download from TV
Download in progress. Please wait.
RETURN : to cancel
After Download from TV is complete, Power Save setting
screen appears.
Press [
e
,
r
] to select “On” or “Off” and press [OK].
OK
RETURN
Power Save
On
Off
On: Minimises standby power consumption,
disables Quick Start function. Unit’s Display
is set to “Automatic”.
Off: Enables Quick Start function.
When television picture appears, set up is complete.
To stop partway
Press [RETURN ].
Note
Acquisition of the setting information is not supported by all
Panasonic TVs (VIERA).
The acquisition may take some time depending on the VIERA
setting information.
RQT9433-L̲DMR-BW850GZ.indb 18
RQT9433-L̲DMR-BW850GZ.indb 18
2009/06/07 16:25:59
2009/06/07 16:25:59


