


25
(EN)
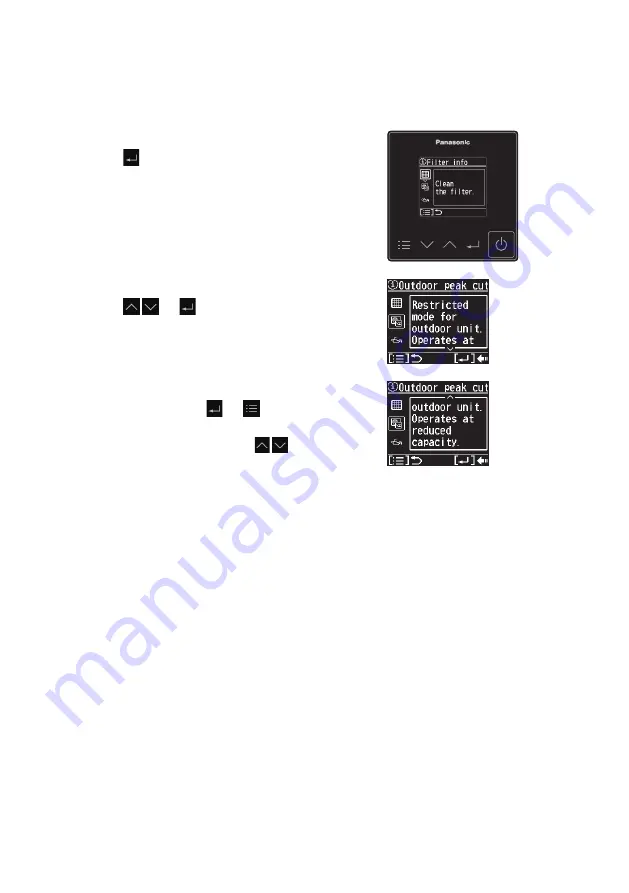
Setting information list
This provides the meanings of setting information icons.
1
Display the setting information screen.
Press on the top screen.
(Press and hold for 4 seconds or more.)
2
Select the icon.
Press
→
.
• Only icons currently being displayed on the screen
are displayed here.
3
Check the meaning of the icon.
Confirm, then press →
.
(Press to finish.)
• Scroll through the screen with .


