27
28
CQ-VX220W
English
USB - iPod Control
Note:
¡
Please read the operating instructions of your
iPod/iPhone as well as this book.
¡
Please disconnect iPod/iPhone accessories such as
earphones before connecting the iPod/iPhone to this
unit.
¡
If your iPod/iPhone is not working correctly, discon-
nect it from this unit, reset it and then reconnect it to
this unit.
¡
We shall not guarantee all the functions of the
iPod/iPhone to be connected.
¡
The number of displayable characters for a file name
is limited. (up to 252 bytes)
Controllable iPod, iPhone/software version
¡
iPod (5th generation, ver. 1.3)
¡
iPod nano (1st generation, ver. 1.3.1)
¡
iPod nano (2nd generation, ver. 1.1.3)
¡
iPod nano (3rd generation, ver. 1.1.2)
¡
iPod nano (4th generation, ver. 1.0.2)
¡
iPod classic (ver. 1.1.2)
¡
iPod touch (1st generation, ver. 1.1.4) (video play-
back is not supported.)
¡
iPod touch (2nd generation, ver. 2.1.1)
¡
iPhone (ver. 2.1.0)
* The applicable models have been confirmed as the
end of January 2009. We do not guarantee the oper-
ation with our future products or upgraded soft-
ware.
¡
When connecting (disconnecting) a iPod/iPhone, turn
down the volume of the unit.
¡
When connecting a iPod/iPhone, make sure the con-
nector is pushed all the way into the socket.
¡
Do not leave the iPod/iPhone for long periods of time in
places inside the car where the temperature rises too
high.
Preparation:
¡
Connect an iPod/iPhone to USB connector of this unit.
¡
Connect an iPod/iPhone to USB connector and AV1 IN of this unit with CA-LDC100X (option) for iPod Video/iPhone video.
Caution
¡
Position the USB device and cable so that they do
not interfere with your driving.
¡
Do not connect any USB device other than a USB
memory, a USB audio player or an iPod/iPhone. Do
not connect multiple USB devices to the USB con-
nector. Supplying power to multiple USB devices
from the connector could cause overheating and
smoking.
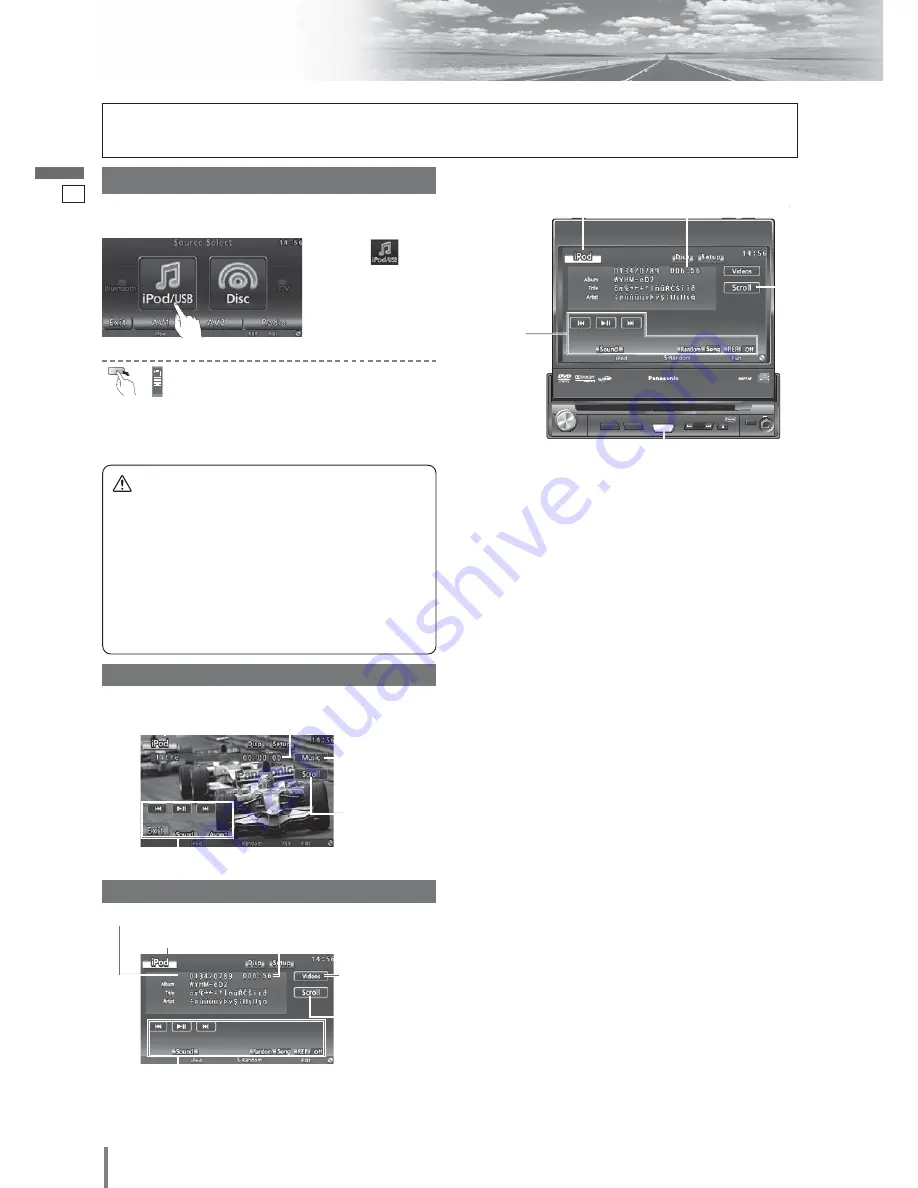
q
Touch
“
Source Button
”
.
d
Source Selection
Press
[SOURCE]/[SRC]
to change to the
desired mode.
To switch Operation Screen ON, touch the center of
touch panel or press
[ENTER]
on the remote control.
(only for video mode)
w
Touch
(iPod/USB)
on the
Source Selection
Screen.
Video Mode Display
Source Button
Playing time
Operation Buttons
Audio Mode Display
Source Button
Current track
Playing time
Operation Buttons
Title/text scroll
Title scroll
Button leading
to the audio
mode
Button leading
to the video
mode
TILT
CQ-VD5005W
DIMMER
DIM
TUNE/TRACK
MUTE
MAP
SOURCE
POWER
VOL
PUSH
SEL
AV1 IN
OPEN
CLOSE
DIMMER
IN-DASH 7" WIDESCREEN COLOR LCD MONITOR / DVD RECEIVER
TILT
TEXT
CQ-VX220W
SOURCE
[SOURCE]
Source Button
Title/text scroll
Playing time
Operation
Buttons


