14
Operation
1
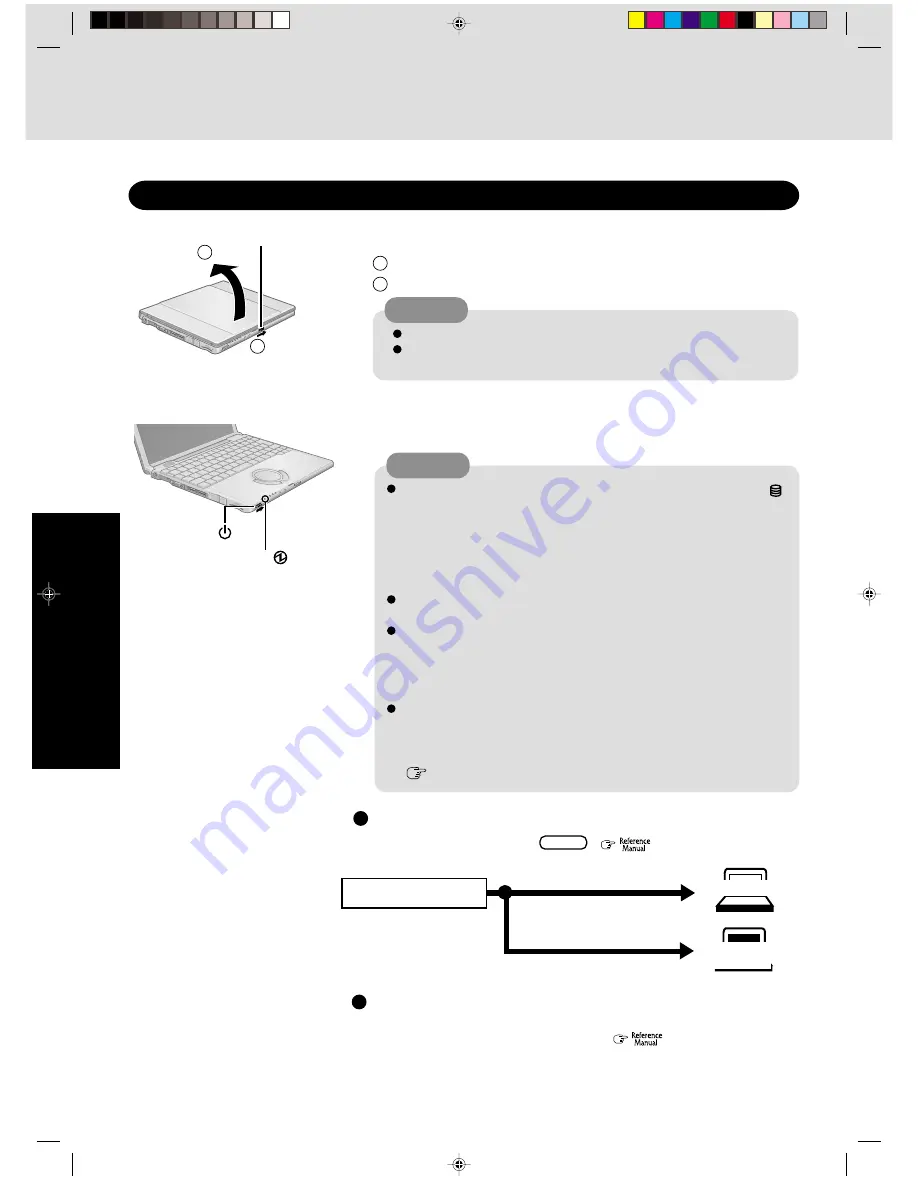
Open the display
Starting Up/Shutting Down
Starting Up
Slide the latch located at the front.
Lift open the display.
2
1
CAUTION
Do not open the display wider than necessary (160° or more).
Do not apply excessive pressure to the glass segment of the display. Also,
do not hold the glass segment when opening or closing the display.
Power Switch
Power Indicator
Latch
2
1
Three incorrect attempts
or
No password for about a minute
The correct password
Will Start
Enter your password* and press
Enter
. (
“Security Measures”)
Will Not Start
(Power off)
If [Enter Password] is displayed
*
Supervisor Password or User Password set in the Setup Utility (not
the Windows password).
Enter Password [ ]
2
Turn your computer on
Slide the power switch and hold it for approximately one second until the power
indicator turns on before releasing it.
CAUTION
While booting, avoid the following until the hard disk drive indicator (
)
has turned off.
• Connecting or disconnecting the AC adaptor.
• Touching the power switch.
• Performing any keyboard, touch pad, touchscreen (only for models with
touchscreen), or external mouse operations.
• Closing the display.
Once the computer is powered off, you must wait at least ten seconds before
powering it on again.
When using this computer with the battery pack only, it may take some time
for the power to turn on after sliding the power switch. In this case, slide
the power switch and hold it for more than one second. This phenomenon
occurs because the standby power is minimized while the power is turned
off; it is not a malfunction.
When the CPU temperature rises, the computer may not power on to pre-
vent the CPU from overheating. Should this happen, allow the computer to
cool down then switch the power on again.
If the computer still does not power on, contact your technical support office.
(
page 32)
•
When an application or file that was previously displayed
appears on your screen
The standby or hibernation mode has been set (
“Standby/Hibernation Func-
tions”).
Summary of Contents for CF-T1 Series
Page 34: ...34 Appendix Memo...
Page 35: ...35 Appendix Appendix...


