background image

Contents

Getting Started

OPERATING INSTRUCTIONS
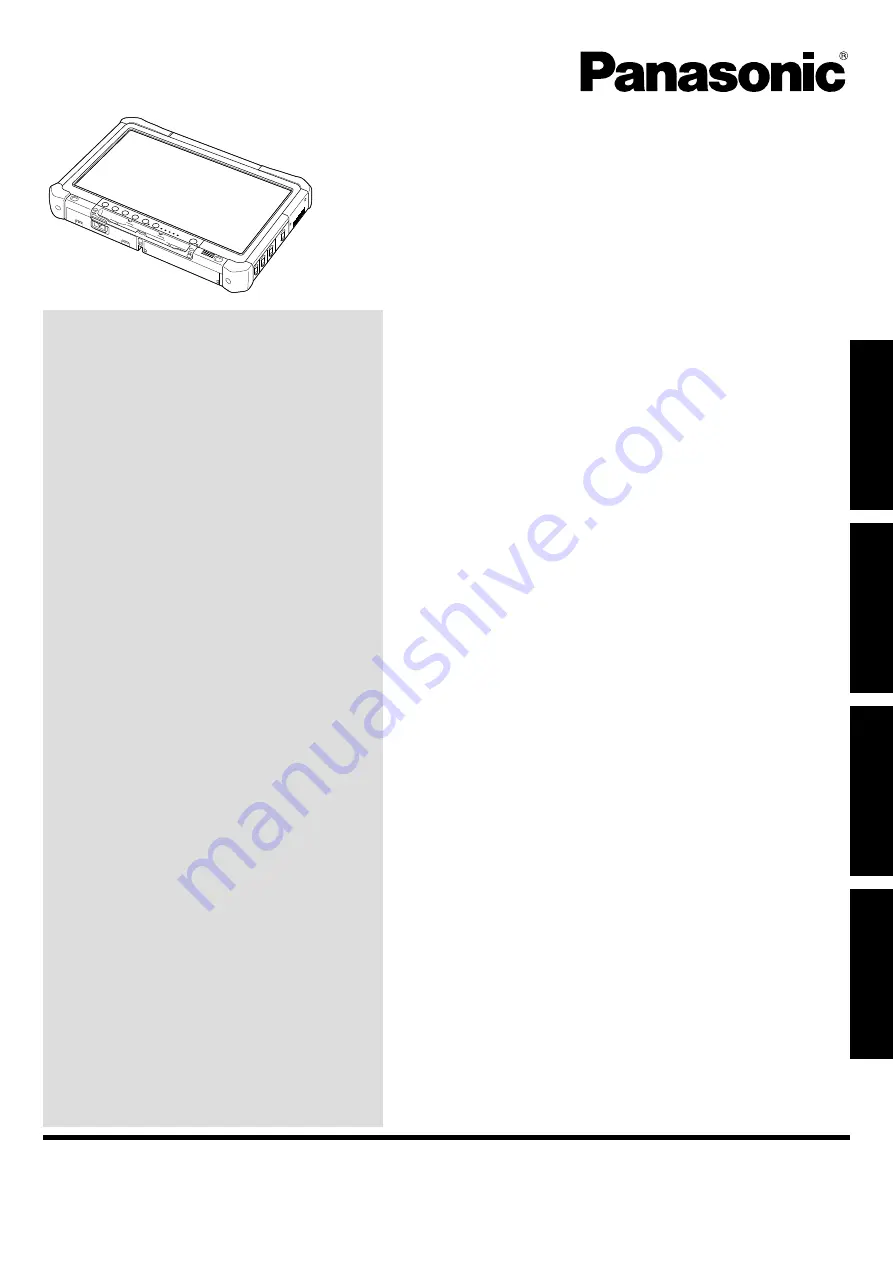
Personal Computer

Model No. 

CF-D1G 

series

Introduction..................................................................

2

Description.of.Parts.....................................................

4

First-time.Operation.....................................................

7

Turning.On./.Turning.Off...........................................

12

Useful Information

Handling.and.Maintenance........................................

13

Installing.Software.....................................................

15

Troubleshooting

Troubleshooting.(Basic)............................................

19

Appendix

LIMITED.USE.LICENSE.AGREEMENT....................

23

Specifications............................................................

24

Please.read.these.instructions.carefully.before.using.this.product,.and.save.this.manual.for.future.use.

Getting Started

Useful Information

Troubleshooting

Appendix

Summary of Contents for CF-D1G Series

Page 1: ...ing On Turning Off 12 Useful Information Handling and Maintenance 13 Installing Software 15 Troubleshooting Troubleshooting Basic 19 Appendix LIMITED USE LICENSE AGREEMENT 23 Specifications 24 Please read these instructions carefully before using this product and save this manual for future use Getting Started Useful Information Troubleshooting Appendix ...

Page 2: ...board used e g Delete instead of Del l Some illustrations are simplified to help your understanding and may look different from the actual unit l If you do not log on as an administrator you cannot use some functions or cannot display some screens l Refer for the latest information about optional products to the catalogs etc l In these instructions the names and terms are referred as follows Windo...

Page 3: ...ion Names of products brands etc appearing in this manual are trademarks or registered trademarks of their respective own companies n On screen Manual For further information about the computer you can refer to the on screen manual l Reference Manual The Reference Manual contains the practical information to help you fully enjoy the computer s performance l Important Battery Tips The Important Bat...

Page 4: ...tch F Power Status Off Power off Hibernation Green Power on Blinking green Sleep Blinking green rapidly Cannot power on or resume due to low temperature G Speaker è Reference Manual Dashboard for Panasonic PC H LCD è Reference Manual Screen Input Operation I Bluetooth Antenna Only for model with Bluetooth è Reference Manual Bluetooth Wireless WAN Antenna Only for model with wireless WAN è Referenc...

Page 5: ...nfants and small children è Reference Manual SD Memory Card J USB3 0 Port è Reference Manual USB Devices K USB2 0 Ports è Reference Manual USB Devices L Microphone Jack A condenser microphone can be used If other types of microphones are used audio input may not be pos sible or malfunctions may occur as a result M Headphone Jack You can connect headphones or amplified speakers When they are connec...

Page 6: ... Attaching the stylus to the computer Only for model with tether The tether prevents the stylus included from falling accidentally Use the tether to attach the stylus to the computer so you will not lose it There are holes A to attach it A Pass one of the loops through the hole B Pass the second loop on the tether through the first one C Thread the second loop through the hole A D Pass the stylus ...

Page 7: ...n Inserting the Battery Pack A Slide the latch A in the direction of the arrow B Open the cover C Insert the battery pack until it securely fits the connector D Close the cover until it clicks E Slide the latch A in the direction of the arrow n To remove the battery pack In step C above pull the tab B of the battery pack CAUTION l Make sure the latch is securely locked Otherwise the battery pack m...

Page 8: ... the USB ports CAUTION l Do not disconnect the AC adaptor and do not switch the wireless switch to on until the first time operation procedure is completed l When using the computer for the first time do not connect any peripheral de vice including wired LAN cable except the battery pack AC adaptor external keyboard and mouse l Handling the AC adaptor Problems such as sudden voltage drops may aris...

Page 9: ...n set the Wireless Network after the setup of Windows is complete If Get online is displayed select Skip this step Join a wireless network screen may not appear l Verify the time zone date and time CAUTION l Wait until the drive indicator has turned off l You can change the user name password image and security setting after setup of Windows l Use standard characters as a computer name numbers 0 t...

Page 10: ... touch Change PC Settings Network Airplane mode Set Airplane mode to Off and then set Wi Fi to On for wireless LAN set Mobile broadband to On for wireless WAN set GPS to On for wireless WAN set Bluetooth to On for Bluetooth n To change the partition structure You can shrink a part of an existing partition to create unallocated disk space from which you can create a new parti tion In the default se...

Page 11: ...top and then touch Control Panel under Windows System B Touch Clock Language and Region Language Add a language C Select a language and then touch Add Depending on the region two or more languages are selectable Touch Open and select the desired language and then touch Add D Touch Options for the language you want to use E Touch Make this the primary language F Touch Log off now G Sign in to the W...

Page 12: ... off the computer completely proceed as follows A Display Charm and touch Change PC settings Update and recovery Recovery B Touch Restart now under Advanced startup C Touch Turn off your PC Precaution against Starting Up Shutting Down l Do not do the following Connecting or disconnecting the AC adaptor Pressing the power switch Touching the tablet buttons screen or external mouse Turn on off the w...

Page 13: ...age When using the computer on airplane follow the airline s instructions l When carrying a spare battery put it in a plastic bag to protect its terminals l Use only the included stylus to touch the touchscreen Do not place any object on its surface and do not press down strongly with sharp pointed or hard objects that may leave marks e g nails pencils and ball point pens l Do not use the touchscr...

Page 14: ...s About Cleaning the LCD Surface Reference Manual Screen Input Operation To clean areas other than the LCD panel Wipe with a soft dry cloth such as gauze When using detergent dip a soft cloth in water diluted detergent and wring it thoroughly CAUTION l Do not use benzene thinner or rubbing alcohol since it may adversely affect the surface causing discoloration etc Do not use commercially available...

Page 15: ...dows C Touch Next D Select the option Just remove my files Perform the reinstallation of the Windows in a few moments Approximately 20 minutes Fully clean the drive By fully cleaning the deleted files can not be recovered easily and the security level will be increased The processing time will be longer Approximately 140 minutes Follow the on screen instructions After the reinstallation the comput...

Page 16: ... Disabled 4 Touch Exit and double touch Save Values and Reboot At the confirmation message select Yes and press Enter Computer will restart 5 Touch top left of the screen while Panasonic boot screen is displayed The Setup Utility starts up l If the password is requested enter the Supervisor Password 6 Touch Exit and double touch Recovery Partition 7 Click Next and click YES Click Reinstall Windows...

Page 17: ...disk in order to perform this operation Preparation l Prepare the following items Recovery Disc Reference Manual Recovery Disc Creation Utility USB DVD drive optional refer to recent catalogs and other sources for information about the products available l Connect the external keyboard and the mouse l Remove all peripherals except for the USB DVD drive l Connect the AC adaptor and do not remove it...

Page 18: ...ted partitions 2 Select this option when the hard disk has already been divided into several partitions For how to create a new partition refer to To change the partition structure page 10 You can keep the partition structure 2 This does not appear when Reinstall without HDD recovery partition is selected or if Windows cannot be installed to the recovery partition and the area usable by Windows 14...

Page 19: ...d on the screen l Turn off the computer and remove the RAM module then confirm whether the RAM module has conformed to specification When the RAM module has conformed to speci fication install it again It takes time for the power indicator to light up l If the power switch is pressed immediately after the battery pack has been mounted on the computer and while the AC adaptor is not connected it ma...

Page 20: ...r when resuming from sleep hibernation l Select Enabled in Password On Resume in the Security menu of the Setup Utility è Reference Manual Setup Utility l The Windows password can be used instead of the password set in the Setup Utility A Add a password 1 Display Charm and touch Change PC settings Accounts 2 Touch Sign in options and touch Add under Password 1 Touch Start Control Panel 2 Touch Use...

Page 21: ...appears As soon as you enter the password and press Enter press and hold F8 n Entering Password Cannot log on to Windows The user name or pass word is incorrect is dis played l The user name account name includes an mark If another user account name exists Log on to Windows using another user account name and delete the account name that includes Then create a new account name If no other account ...

Page 22: ...puter does not respond to the external keyboard commands read No re sponse è below Cannot input using the touchscreen l Set Touchscreen Mode to Auto or Tablet Mode in the Main menu of the Setup Util ity Cannot point the correct position using the included stylus l Perform the touchscreen calibration è Reference Manual Screen Input Opera tion n On screen Document The document of PDF for mat is not ...

Page 23: ...single Product which was accompanied by the Programs You shall not modify or at tempt to modify the Programs E You may transfer the Programs and license them to another party only in connection with your transfer of the single Product which was accompanied by the Programs to such other party At the time of such a transfer you must also transfer all copies whether in printed or machine readable for...

Page 24: ...on Display Method 13 3 type with Touchscreen TFT 1366 768 dots 16 9 Internal LCD 65 536 16 777 216 colors 800 600 dots 1024 768 dots 1280 720 dots 1280 768 dots 1360 768 dots 1366 768 dots 6 External Display 7 65 536 16 777 216 colors 800 600 dots 1024 768 dots 1280 768 dots 1366 768 dots 1600 1200 dots 1920 1080 dots 1920 1200 dots Touchscreen Resistive Circular Polarizer Wireless LAN Intel Centr...

Page 25: ...Reader PC Information Viewer Intel PROSet Wireless Software Battery Recalibra tion Utility Infineon TPM Professional Package 11 29 Camera Utility 20 Camera Light Switch Utility 20 Dashboard for Panasonic PC Display Rotation Tool Tablet Button Manager Manual Selector Power Plan Extension Utility Hand Writing Utility Recovery Disc Creation Utility Microsoft Office Trial 30 Wireless Toolbox Camera fo...

Page 26: ...le with power sources up to 240 V AC adaptor This computer is supplied with a 125 V AC compat ible AC cord 20 M 1 22 Measured with LCD brightness 60 cd m2 Varies depending on the usage conditions or when an optional device is attached 23 Varies depending on the usage conditions CPU speed etc 24 Approx 0 5 W when the battery pack is fully charged or not being charged and the computer is off When us...

Page 27: ...Newark NJ 07102 Osaka Japan Panasonic Canada Inc 5770 Ambler Drive Mississauga Ontario L4W 2T3 Importer s name address pursuant to the EU legislation Panasonic System Communications Company Europe Panasonic Marketing Europe GmbH Hagenauer Straße 43 65203 Wiesbaden Germany 55 E 1 Web Site http panasonic net Panasonic Corporation 2014 PS0114 0 P 2013 0879 E ...

Reviews: