ENGLISH
DVQP1997ZA
W0519RA0 -FJ
Model No.
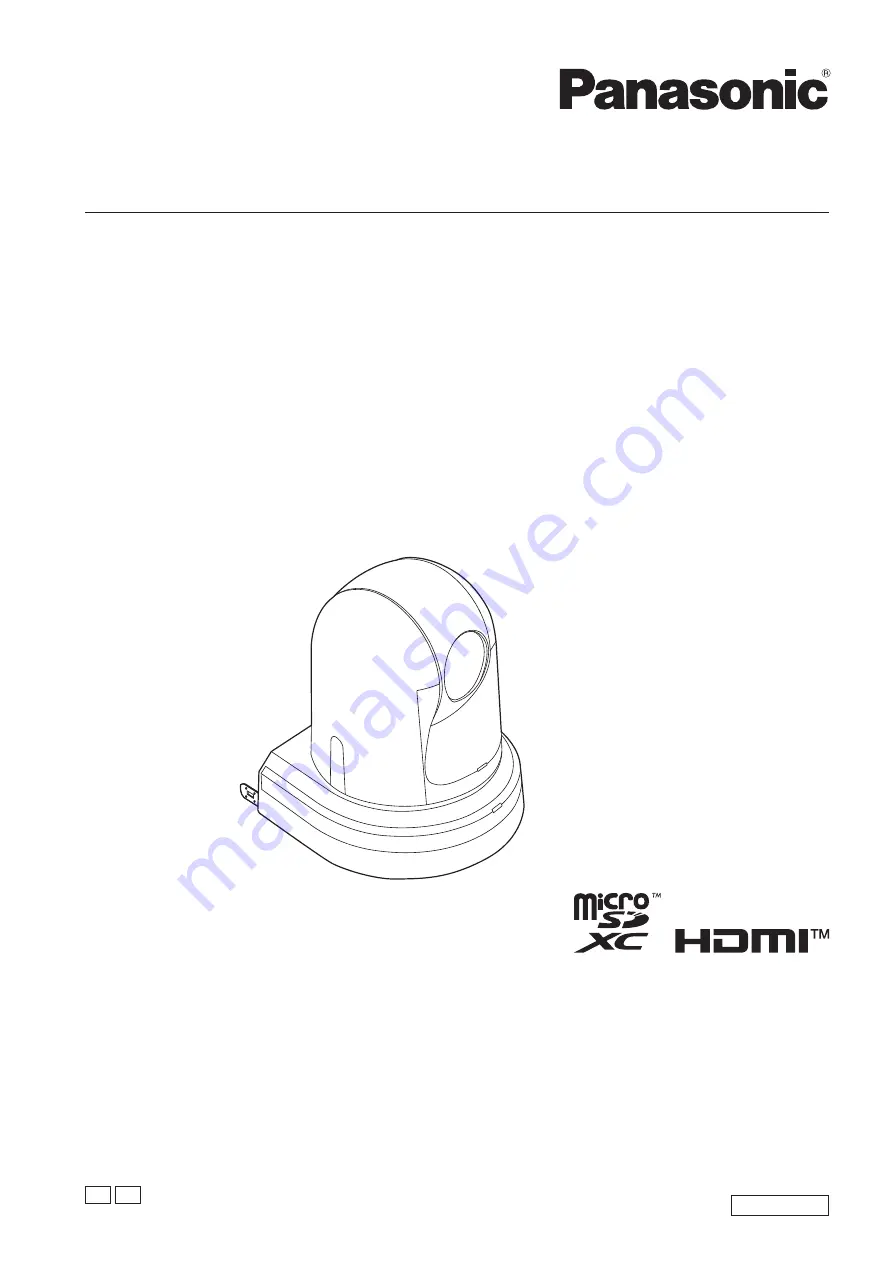
AW‑HE42WP
Model No.
AW‑HE42KP
Model No.
AW‑HE42WE
Model No.
AW‑HE42KE
Operating Instructions
HD Integrated Camera
Before operating this product, please read the instructions carefully and save this manual for future use.
Please carefully read the “Read this first!” (pages 2 to 8) of this Manual before use.
PJ EJ