16
Operation
<Note>
Check that the SERVO lamp remains lighted during
recording. When it flashes or it is off, the playback
images will be disrupted.
This function can be used only when the AJ-YA120AG
(optional accessory) has been installed.
Recording
Pause/recording
(follow-on recording)
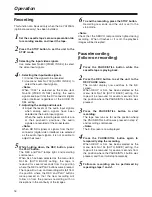
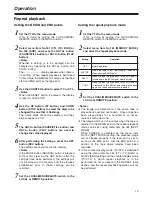
Press the PAUSE/STILL button while the
cassette tape is playing back.
1
Press the REC button to set the unit to the
REC PAUSE mode.
The monitor display now switches to the E-E
screen.
When REC-P or ALL has been selected as the
menu item No.154 [AUTO BACK] setting, the
tape will be rewound for several seconds from
the position where the PAUSE/STILL button was
pressed.
2
Press the PAUSE/STILL button to start
recording.
The tape now runs as far as the position where
the PAUSE/STILL button was pressed in step
1
,
and recording commences.
<Note>
The E-E screen is now displayed.
3
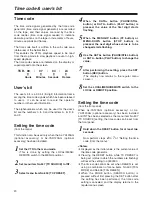
Press the PAUSE/STILL button again to
temporarily stop the recording.
When REC-P or ALL has been selected as the
menu item No.154 [AUTO BACK] setting, the
tape will be rewound for several seconds from
the position where the PAUSE/STILL button was
pressed, and then it will stop temporarily.
4
Follow-on recording can be performed by
repeating steps
3
and
4
.
5
Set the cassette tape’s erasure prevention tab
to recording enable, and insert the tape.
1
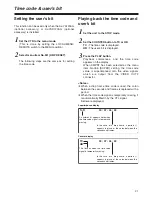
1. Selecting the input audio signals
1) Connect the signals to be recorded.
2) Use menu item No.700 [AUDIO IN SEL] to
select the audio input signals.
<Note>
When “1394” is selected as the menu item
No.600 [VIDEO IN SEL] setting, the audio
signals are input from the DV connector (digital
video interface) regardless of the AUDIO IN
SEL setting.
2. Adjusting the analog audio levels
O
Adjust the levels of the audio input signals
when analog audio signals have been
selected as the audio input signals.
When the audio recording level controls are
at their pushed-in positions, the audio
signals are recorded at the proper levels.
<Note>
When HD SDI signals or signals from the DV
connector (digital video interface) are selected
as the audio input signals, it is not possible to
adjust their level.
4
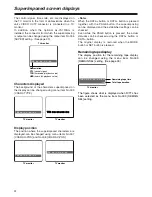
While holding down the REC button, press
the PLAY button.
The REC and PLAY lamps light, and recording
commences.
When ALL has been selected as the menu item
No.154 [AUTO BACK] setting, the tape is
rewound for several seconds from the position
where the REC and PLAY buttons were pressed.
The tape will run up, and recording will start from
the position where the REC and PLAY buttons
were pressed so that the new recording will
follow on from the previous recording with no
disruptions in the continuity of the images.
5
To end the recording, press the STOP button.
Recording now ends, and the unit is set to the
stop mode.
6
Press the STOP button to set the unit to the
STOP mode.
2
Selecting the input video signals
Use menu item No.600 [VIDEO IN SEL] to select
the video input signals.
3
Summary of Contents for AJ-HD1200A-E
Page 55: ...Memo ...

