1
Setup
Displaying Unit Information
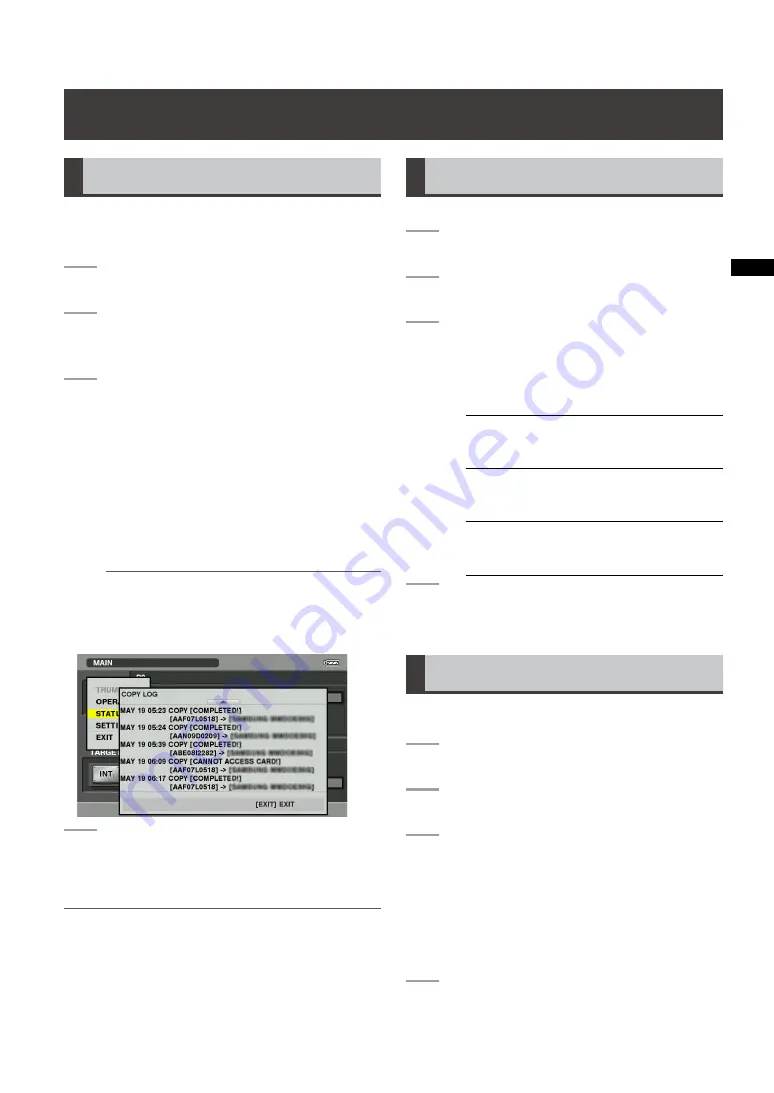
Log data
The unit allows you to save the history (log data) of
copying results. Use the steps below to check this
log.
1
Turn the unit on.
2
Press the MENU button to open the
menu.
3
Use the cursor buttons to select [STA-
TUS]
[COPY LOG] and press the SET
button.
• The logs shown below appear.
- Date and time of start of copying and
result of copying
- [Copy source]
[Copy target]
P2 card serial number or model name of
storage device
NOTE:
• The unit saves Greenwich Mean Time.
A change in the time zone changes the
time indication accordingly.
4
Press the EXIT button.
• The menu reappears.
NOTE:
• To initialize menus and copying results, select [SETTING]
[MENU RESET] from the menu and press the SET
button.
For details, refer to “Menu list” (page 38).
• The copy result history is automatically deleted starting
from the oldest data to make place for new data.
Operation time
Indicates the time the unit has been in operation.
1
Turn the unit on.
2
Press the MENU button to open the menu.
3
Use the cursor buttons to select [STA-
TUS]
[HOUR METER] and press the
SET button.
• Indicates the following time data.
OPERATION
Indicates the number of
hours that the unit has
been on.
LCD ON
Indicates backlight on
time for the LCD monitor
in hours.
POWER ON
Indicates the number
of times the power has
been turned on.
4
Press the EXIT button.
• The menu reappears.
Software Version
Use this function to check the version of software
used in this unit.
1
Turn the unit on.
2
Press the MENU button to open the menu.
3
Use the cursor buttons to select [STA-
TUS]
[SYSTEM INFO] and press the
SET button.
• Use this function to view the version of the
system.
• Use the cursor (left/right) buttons to
check detailed version data.
4
Press the EXIT button.
• The menu reappears.


