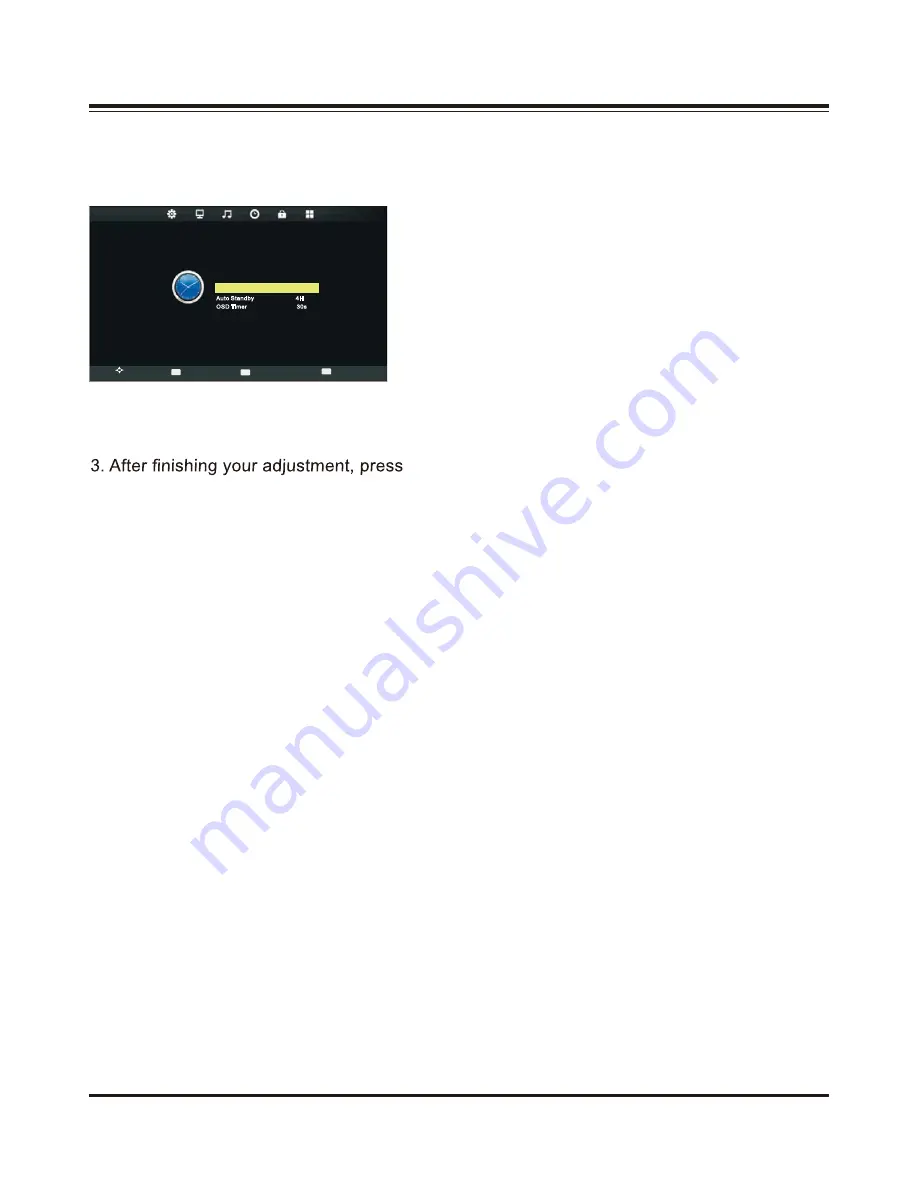
background image

11

Time Adjustment

Press

MENU

button to display the main menu.

Press

ŻŹ

button to select 

TIME

 in the main menu.

1. Press

Ÿź

button to select the option that you want to adjust in the 

TIME 


 menu.     

2. Press 

OK 

button to enter submenu.

MENU

 button to save and return back to 

    the previous menu.

Sleep Timer

Press

Ÿź

button to select 

Sleep Timer

, then press OK button to enter submenu.

Press 

Ÿź

 button to select ( Available options are: Off, 10min, 20min, 30min, 60min, 90min, 

120min, 180min, 240min ).

Auto Standby

Press 

Ÿź

 button to select 

Auto Standby

, then press OK button to set the time to turn off 

the TV: Off, 3H, 4H, 5H ( H stands for Hour ).

OSD Timer

Press

Ÿź

button to select 

OSD Timer

, then press OK button to enter submenu.

Press

Ÿź

button to select ( Available options are: 5s, 10s 15s, 20s, 25s, 30s ).

TIP: If the remote control does not operate, it will close down automatically. If you do any 
operation, it will reset the time.
NOTE:
The Clock will change with the area which you have selected in the Time Zone.

E

TI M

Move

Clock                              20

Jul  13:12   

Sleep Timer                              Off

Auto Standby                          4H

OSD Timer                               30s

Exit

MENU

OK

EXIT

Return

Select

E

Summary of Contents for TFTV6044FHD

Page 1: ...1080p Full HDTV Resoultion LCD TV Liquid Crystal Display 400 400 200 5...

Page 2: ...WHU IRU H DPSOH QHDU D EDWK WXE ZDVKERZO NLWFKHQ VLQN RU ODXQGU WXE LQ a wet basement or near a swimming pool R QRW SODFH WKLV HTXLSPHQW RQ DQ XQVWDEOH VXUIDFH VWDQG RU FDUW 7KH WHOHYLVLRQ HTXLSPHQW P...

Page 3: ...with the electrical outlet with safety grounded wire R QRW RYHU ORDG ZDOO RXWOHWV DQG H WHQVLRQ FRUGV DV WKLV FDQ UHVXOW LQ UH RU HOHFWULF VKRFN 1HYHU SXVK REMHFWV RI DQ NLQG LQWR WKLV WHOHYLVLRQ HTX...

Page 4: ...r scattered broken glass may result Do not touch broken glass or crystalline liquid which is toxic with bare hands that have cuts or skin irritation as poisoning any result If any crystalline liquid g...

Page 5: ...e in DTV mode 6 Using the OSD Menu 7 Channel Adjustment 7 Picture Adjustment 9 Sound Adjustment 10 Time Adjustment 11 Lock Adjustment 12 Hotel Adjustment 13 Setup Adjustment 14 PC Mode 15 Recording Fu...

Page 6: ...XU 79 ZLWK LWV ZLGH YDULHW RI IHDWXUHV RORU DFWLYH PDWUL 7 7 79 ZLWK UHPRWH FRQWURO 6DIH VWXUG FRQVWUXFWLRQ 0D LPXP UHVROXWLRQ XGLR 9LGHR VXSSRUW 0 LQSXW 5 LQSXW 3E3U LQSXW PC input 3 XGLR LQSXW 9 LQS...

Page 7: ...Play a DVD disc only available in TV with DVD player INPUT Switch the input sources MENU Press the button to enter On Screen Display OSD CH Increase or decrease channel numbers VOL Increase or decrea...

Page 8: ...he audio output from your PC or portable computer CVBS Connect to video receiver YPbPr Connect to the component output of A V device L R Audio Connect to audio receiver RF IN Connect to the antenna or...

Page 9: ...hake the remote control 3 Never expose the remote control to high temperature or humidity 4 If the remote is not used for an extended period of time remove the batteries to prevent damage or injury fr...

Page 10: ...number programme in the favorite list 15 FAV Switch to higher channel number programme in the favorite list 20 EPG Press to display electronic program guide menu 21 TEXT ANGLE Start the Teletext mode...

Page 11: ...the program Press the YELLOW button to display the schedule list that you can see the settings you have done before Press the BLUE button to set the time you want to remind the grogram you want to see...

Page 12: ...djust in the CHANNEL menu 2 Press OK button to enter MENU button to save and return back to the previous menu Auto Tuning Press button to select Auto Tuning then press button to start auto search ATV...

Page 13: ...en button to rename the current channel Use Yellow button and the arrow button to move the current channel Use Blue button to skip the current channel Use FAV button to set the current channel for fav...

Page 14: ...just 127 Contrast This item can adjust the highlight intensity of the picture but the shadow of the picture is invariable Brightness 7KLV LWHP FDQ DGMXVW WKH RSWLFDO EHU RXWSXW RI WKH HQWLUH SLFWXUH L...

Page 15: ...HVV EXWWRQ WR VHOHFW Auto Volume WKHQ SUHVV 2 EXWWRQ WR VHOHFW 2Q RU 2II SPDIF MODE 3UHVV EXWWRQ WR VHOHFW SPDIF MODE WKHQ SUHVV 2 EXWWRQ WR VHOHFW 2II 3 0 RU XWR AD Switch For DTV Mode 3UHVV EXWWRQ W...

Page 16: ...min 90min 120min 180min 240min Auto Standby Press button to select Auto Standby then press OK button to set the time to turn off the TV Off 3H 4H 5H H stands for Hour OSD Timer Press button to select...

Page 17: ...ogram 3UHVV EXWWRQ WR VHOHFW Block Program WKHQ SUHVV 2 EXWWRQ WR HQWHU VXEPHQX 3UHVV EXWWRQ WR VHOHFW WKH SURJUDP RX ZDQW WR ORFN WKHQ SUHVV JUHHQ EXWWRQ RQ RXU remote control Press green button to u...

Page 18: ...when TV turns on Only when you select ATV as the Default Source you can then select the Boot Channel If you select Off the default program will be the last channel you watch before you turn off the T...

Page 19: ...OSD Language WKHQ SUHVV 2 EXWWRQ WR HQWHU VXEPHQX 3UHVV EXWWRQ WR VHOHFW 26 DQJXDJH GHOIDXOW VHWWLQJ LV QJOLVK TT Language 3UHVV EXWWRQ WR VHOHFW TT Language WKHQ SUHVV 2 EXWWRQ WR HQWHU 3UHVV EXWWRQ...

Page 20: ...VHOHFW First Time Installation WKHQ SUHVV 2 EXWWRQ WR VHW UHOHYDQW RSWLRQV LQFOXGLQJ 26 ODQJXDJH FRXQWU DQG WXQLQJ Reset 3UHVV EXWWRQ WR VHOHFW Reset WKHQ SUHVV 2 EXWWRQ WR HQWHU D GLDORJXH 3UHVV EXWW...

Page 21: ...H 6 VWHP KHFN ZKHWKHU WKH 86 VWRUDJH GHYLFH FRQQHFWHG LV FRPSDWLEOH DQG KDV FUHDWHG OH V VWHP IRU UHFRUGLQJ I QRW WKH V VWHP ZLOO FUHDW WKH OH V VWHP DXWRPDWLFDOO 86 LVN 3DVV ZLOO EH GLVSOD HG LI IRUP...

Page 22: ...STOP on the on screen menu then press Yes to stop recording It will return to normal broadcast Schedule Recording Press EPG button on the remote control and press the Red button to enter the submenu...

Page 23: ...enter Press button to select betweeen Photo Music Movie and Text in the Media menu then press OK button to enter Photo Press button to select PHOTO in the main menu then press OK button to enter Press...

Page 24: ...to play background music Play list Press button to select Play list press OK to enter Info Press button to select Info press OK to enter You can see the detailed information of the picture Zoom in oom...

Page 25: ...press OK or press EXIT button to go back to the previous menu press OK button to play music will be previewed in the center Basic Function Music Pause FB FF Prev Next Pause FB Press button to select F...

Page 26: ...n to play the selected movie Repe at Al l Stop MUTE Info Pl ay list Goto Time Stop Press button to select Stop press OK to stop Repeat All Press button to select Repeat Option press OK to select Repea...

Page 27: ...ct Stop press OK to stop Info Press button to select Info press OK to enter You can see the detailed information of the movie Slow Forward Press button to select Slow Forward press OK to adjust You ca...

Page 28: ...Move View If the picture is big enough to surpass the screen you may use this function to move the picture Aspect Ratio Aspect Ratio Press button to select Arpect Ratio press OK to enter Switch displa...

Page 29: ...tton to select Prev press OK to display the previous text Next Press button to select Next press OK to display the next text Stop Press button to select Stop press OK to stop Music Press button to sel...

Page 30: ...player DVD Setup Menu s To set the DVD section to your requirements a series of Fig 37 menu s are provided With no disc in the player press the DVD SETUP button on the remote control you will now see...

Page 31: ...Screen Saver 6HW WKH VFUHHQ VDYHU WR 21 RU 2 TV System 176 VHW WKH RXWSXW VLJQDO WR 176 3 VHW WKH RXWSXW VLJQDO WR 3 872 VHW WKH RXWSXW VLJQDO DV SHU GHIDXOW RI GLVF Video Output 6HW WKH YLGHR RXWSXW...

Page 32: ...BELOW CORRECT INSTRUCTIONS The mirror side of the DVD must face towards the front of the TV as indicated in the picture below INCORRECT INSTRUCTIONS The illustration indicated below with the label fac...

Page 33: ...RI FKDQQHO 100 Coaxial output 1 Standards 86 1 Color system 3 6 0 9 2WKHU Progressive scan 8VHU PDQXDO 1RLVH UHGXFWLRQ LPHQVLRQV 438mm 585mm 210mm 3DFNLQJ VL H 508mm 660mm 175mm XGLR Gross weight 6 kg...

Page 34: ...nd clean them to remove dust 5HPRWH FRQWURO XQLW GRHV QRW RSHUDWH KHFN LI WKH EDWWHULHV DUH LQVHUWHG ZLWK WKH SRODULW FRUUHFWO DOLJQHG KHFN LI WKH EDWWHULHV DUH GLVFKDUJHG 3OHDVH UHSODFH ZLWK QHZ EDWW...

Page 35: ...Palsonic Customer Service Telephone Australia 1300 657 888 Palsonic C ABN 34 000 474 108 1 Joynton Avenue Waterloo NSW 2017 Australia Telephone 02 9313 7111 Facsimile 02 9697 0655 www palsonic com au...

Reviews: