background image

Safety Precautions

-1-

NOTE TO CABLE/TV INSTALLER:

This equipment has been tested and found to
comply with the limits for a Class B digital
device, pursuant to Part 15 of the FCC Rules.
These limits are designed to provide reasonable
protection against harmful interference when the
equipment is operated in a residential installation.
This equipment generates, uses and can radiate
radio frequency energy and, if not installed and 
used in accordance with the instruction manual,
may cause harmful interference to radio
communications. However, there is no guarantee
that interference will not occur in a particular
installation. If this equipment does cause harmful
interference to radio or television reception, which
can be determined by turning the equipment off and
on, the user is encouraged to try to correct the
interference by one or more of the following
measures:

Reorient or relocate the receiving antenna.

Increase the separation between the
equipment and receiver.

Connect the equipment into an outlet
on a circuit different from that to which
the receiver is connected.

Consult the dealer or an experienced
radio/TV technician for help.

When in use, there must be a distance at
least 5cm between the TV and some object
front or back of it, at least 1 cm between the
TV and some object leftward or rightward of it .

WARNING:

TO PREVENT FIRE OR ELECTRIC SHOCK, DO
NOT EXPOSE THE UNIT TO RAIN OR
MOISTURE. NEVER ATTEMPT TO OPEN THE
CABINET, DANGEROUS HIGH VOLTAGES ARE
PRESENT IN THE UNIT. REFER SERVICING TO
QUALIFIED SERVICE PERSONNEL.

NOTE TO CABLE/TV INSTALLER:

This reminder is provided to call the cable TV
system installer's attention to Article 820-40 of
the National Electric Code (U.S.A.). The code
provides guidelines for proper grounding and,
in particular, specifies that the cable ground shall
be connected to the grounding system of
the building, as close to the point of the cable entry
as practical.

Wet Location Marking C-UL

Apparatus shall not be exposed to dripping or
splashing and no objects filled with liquids,
such as vases, shall be placed on the apparatus.

CAUTION:

Do not attempt to modify this product in any way
without written authorisation from PALSONIC
Corporation Pty Ltd. Unauthorised modification
could void the user's authority to operate this
product.

RECORD YOUR MODEL NUMBER
(Do this now, while it is convenient)

The model and serial number of your Machine are
located on the back of the TV cabinet. For your
future convenience, we suggest that you record
these numbers here:

MODEL
NO.

SERIAL
NO.

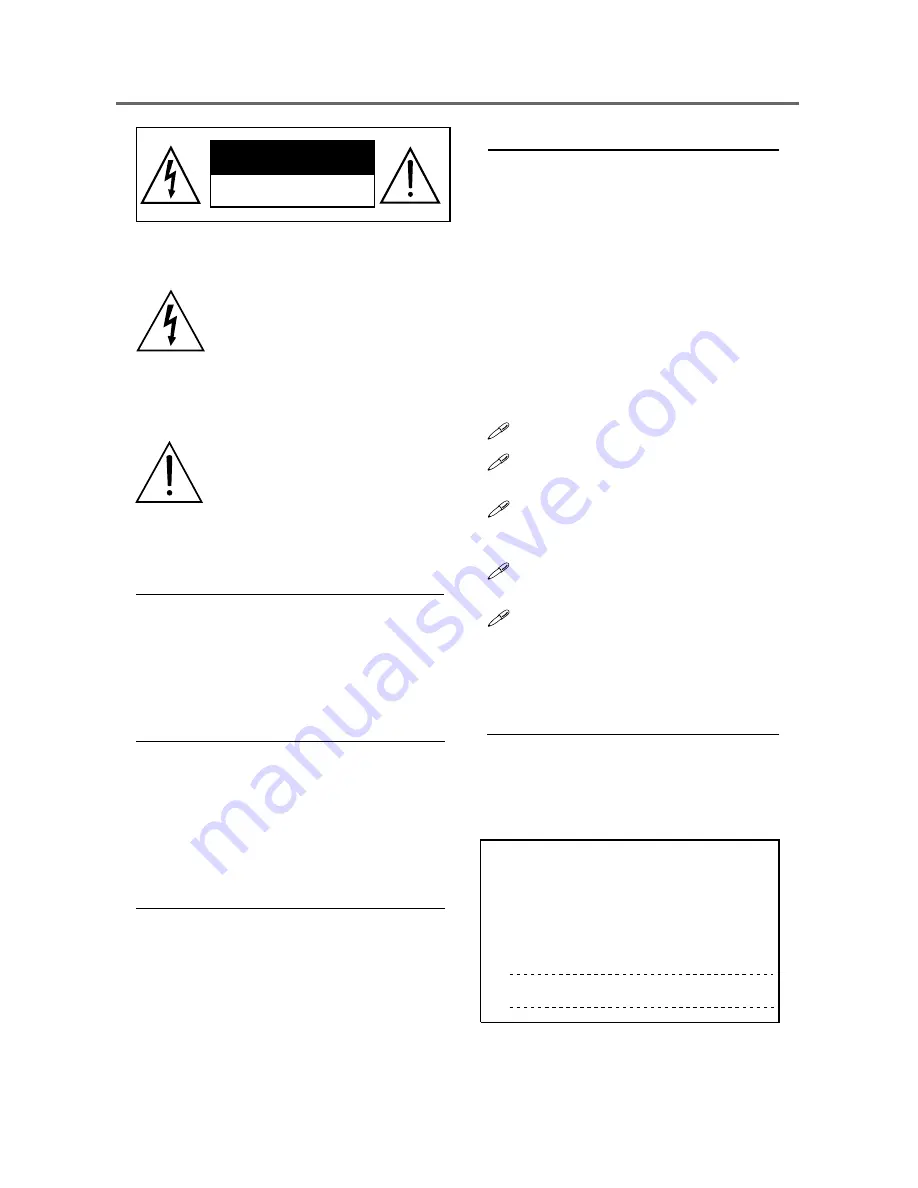
THE LIGHTNING FLASH WITH
ARROW-HEAD SYMBOL WITHIN AN
EQUILATERAL TRIANGLE IS
INTENT TO ALERT THE USER TO
THE PRESENCE OF UNINSULATED
"DANGEROUS VOLTAGE" WITHIN
THE UNIT'S CABINET THAT MAY BE
OF SUFFICIENT MAGNITUDE TO
CONSTITUTE A RISK OF ELECTRIC
SHOCK TO PERSONS.

THE EXCLAMATION POINT WITHIN
AN EQUILATERAL TRIANGLE IS
INTENDED TO ALERT THE USER TO
THE PRESENCE OF IMPORTANT
OPERATING AND MAINTENANCE
(SERVICING) INSTRUCTIONS IN THE
MANUAL ACCOMPANYING THE UNIT.

RISK OF ELECTRICAL SHOCK

DO NOT OPEN

CAUTION

Summary of Contents for TFTV430

Page 1: ...FTV 430 USER S MANUAL PALSONIC CORPORATION PTY LTD 1 JOYNTON AVENUE WATERLOO NSW 2017 AUSTRALIA TEL 02 9313 7111 FAX 02 9313 7555 www palsonic com au PALSONIC CUSTOMER SERVICE TELEPHONE AUSTRALIA 1300...

Page 2: ...nections Remote Control Overview All Functions Except Teletext Remote Control Overview Teletext Functions Remote Control Operation Basic Operation Menu Operation i Picture Menu ii TV Menu iii Option M...

Page 3: ...EMPT TO OPEN THE CABINET DANGEROUS HIGH VOLTAGES ARE PRESENT IN THE UNIT REFER SERVICING TO QUALIFIED SERVICE PERSONNEL NOTE TO CABLE TV INSTALLER This reminder is provided to call the cable TV system...

Page 4: ...power cord from being walked on or pinched particularly at plugs convenience receptacles and the point where they exit from the apparatus 11 Only use attachments and accessories specified by the manu...

Page 5: ...racteristics as the original part Unauthorized substitutions may result in fire electric shock or other hazards 21 Safety Check Upon completion of any service or repairs to this product ask the servic...

Page 6: ...ilable viewing sources Press to display the OSD menu Press to change the channel The two buttons also act as direction buttons Press to adjust volume level The two buttons also act as direction button...

Page 7: ...Back Panel Description 5 Overview of TV S Video or Composite input RGB input Progressive input AV input Power Input Antenna Jack Headphone...

Page 8: ...nd then connect the converter to the antenna jack on the TV When using 75 ohm round cable please do not bend the bronze wire it may make the video quality poor Outdoor Antenna Connections This type of...

Page 9: ...der and VCR following the methods below 1 S Video Cable Audio Cable Please choose S Video when you select the viewing source 2 Video Cable Audio Cable Please choose AV when you select the viewing sour...

Page 10: ...Audio Cable to corresponding Jacks of DVD Please choose the YCbCr when you select viewing source 2 Connect Progress Scan Cable and Audio Cable to the corresponding jacks of DVD Please choose YPbPr wh...

Page 11: ...lease refer to the upward method to connect TV with set top Box or PC 1 Connect VGA Cable and Audio Cable to the corresponding jack of PC or Set top Box Please choose PC or YPbPr when you select viewi...

Page 12: ...ent image To set sleep power off time Image page up and down Zoom in out Nine pictures Stop Rotate Play Pause PIP function Aspect Select image display mode Sound mode selection Next previous channel C...

Page 13: ...11 Sound Off Teletext Page Down Teletext List Flof Teletext Size Teletext Sub Page Teletext Hold Teletext Store Teletext Reveal Teletext Display Mix Teletext Cancel Teletext Index Teletext Page Up Po...

Page 14: ...h correct polarity Make sure there are no objects between the remote control and its sensor Don t place the remote control near a heater or in a damp place A strong impact on remote control may damage...

Page 15: ...in standby mode 5 Press POWER button on the remote control to turn on the TV 6 Select viewing source Press the SOURCE button to display Select source menu as follows Use the direction buttons to selec...

Page 16: ...ss EXIT to quit menu mode TV MENU PICTURE MENU PC MENU OPTION MENU Option Picture TV PC H Position V Position Clock Phase 3 4 900 10 Picture TV PC Option Brightness Contrast Colour Tint Sharpness 64 5...

Page 17: ...ture mode Press buttons to select the item you want to adjust Press buttons to reach the desired setting Press EXIT button to quit Note 1 In PC and YPbPr modes only Brightness Contrast items are avail...

Page 18: ...s the buttons to select Auto Searching Press button the TV will search channels automatically All channels will be saved once searching finished and the TV will display the program of channel 0 In the...

Page 19: ...select Channel Preset Press the button to enter Channel Preset Press the buttons to select Fine Tune Select Fine Tune and press button to enter the item Press buttons to get satisfying effect and pres...

Page 20: ...Manual Searching Press the button to enter Manual Searching Press buttons to change frequency band and press buttons to search channels when a channel is found the searching process will stop the cha...

Page 21: ...nter Channel Preset Press the buttons to select TV SYS Press buttons and choose the suitable system for local TV signal B G D K Note The default setting complies with the local TV broadcasting system...

Page 22: ...n to confirm Current Channel Exchange channel If you d like to skip a channel automatically when you browse program by pressing CH button please use this function Press the MENU button to select TV mo...

Page 23: ...press button to enter Press buttons to select the sub items Press buttons to change the setting Each item is described below Sleep time Press buttons repeatedly and cycle through the preset time inter...

Page 24: ...on to enter the menu Press buttons to change the setting Note You have four options Cold Normal Warm and User mode When you select User Mode the parameters of R G B can be adjusted by buttons Option S...

Page 25: ...the sub window PIP Please make sure TV set is in PC mode first Press PIP button to display the Sub Source Menu Press the direction buttons to select the source of sub window Press ENTER button to ente...

Page 26: ...uttons and press button to enter Press buttons to select the sub menu Press buttons to change the setting Note The PIP Setting is valid only in PIP mode Display Performance Adjust Option Picture TV PC...

Page 27: ...ing Press button to enter Press buttons to select Aspect in the display setting item Press buttons to change the aspect setting Five options Full Screen Normal Wide Cinema Sub title The current aspect...

Page 28: ...ns to select Teletext Setting Press button to enter Press buttons to select the item to be changed Press buttons to adjust the setting Press EXIT button to quit Five options of language English Russia...

Page 29: ...nter PC mode Press buttons to select the item to be changed Press buttons to adjust the setting Each item is described below H Position Press buttons to move the image left or right V Position Press b...

Page 30: ...be 000 159 Use numerical buttons to enter three digit channel number CH In TV mode press CH button to select next channel and press CH button to select prior channel Press the button to return to the...

Page 31: ...button again the Rename Channel window will be displayed on the screen as follows After inputting the channel name with the numerical buttons select Save and press ENTER to confirm Select cancel and p...

Page 32: ...number channel name skip channel status current time Press the DISPLAY button again it will display the TV display mode audio mode Press the DISPLAY button three times to exit the display status In PC...

Page 33: ...s buttons to select specific item Press buttons to adjust SLEEP Press SLEEP button to set the sleeping clock as follows Use buttons to set the sleeping time Use buttons to set wake up timer Use button...

Page 34: ...the List mode Press again to exit List mode SIZE Repeatedly pressing the SIZE button doubles the character size in the following order upper half of the page Lower half of the page Return to normal si...

Page 35: ...OLD Press the button once to hold page and a second time to release holding of page Selecting a page by numeric buttons directly You can select a page by numerical buttons directly in TEXT mode PAGE D...

Page 36: ...Your TV set can display 900 million pixels JPEG picture 2 JPEG expresses Joint Photographic Experts Group Picture format Compress format should be JPEG Files format should be JPG Music format MP3 WMA...

Page 37: ...p mode Then press or ENTER button to play single 4 Select play mode Press button to switch Mode in stop mode Press ENTER button to select The following modes are available Folder Normal Folder Repeat...

Page 38: ...s Press this button to rotate the picture deasil the picture will rotate 90 degrees for each press DIGEST When playing the picture press this button to display 9 small pictures on the screen Select on...

Page 39: ...a flat surface with a cushion or other soft materials to protect the screen 2 Remove all cables connected on the TV Monitor 3 Remove the four screws and then remove the stand from the LCD TV Monitor 4...

Page 40: ...til it is almost dry and then use it to wipe the screen Make sure not be excess water put on the screen let it air dry before you turn on your TV 1 Use a soft cloth with a mild soap solution to wipe t...

Page 41: ...setup 2 Check whether the broadcast system selection is correct Picture is blurred or there is snowflake or noise 1 Adjust direction and position of the right antenna 2 The feedback cord of antenna is...

Page 42: ...rature 5V 400C Operating Humidity 10 80 Relative Humidity Specification of Monitor Display Colour 16 2M colours Resolution 1280 x 768 pixel Pixel Pitch 0 2895mm H x 0 2895mm V View angle 80 80 70 80 L...

Page 43: ...ALSONIC CORPORATION PTY LTD 1 JOYNTON AVENUE WATERLOO NSW 2017 AUSTRALIA TEL 02 9313 7111 FAX 02 9313 7555 www palsonic com au PALSONIC CUSTOMER SERVICE TELEPHONE AUSTRALIA 1300 657 888 FKV2 037 880SS...

Reviews: