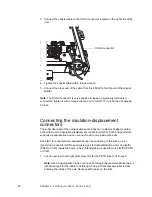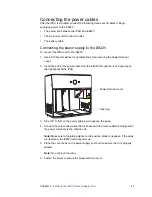
Chapter 2
Installing the i3822V (Outside Unit)
13
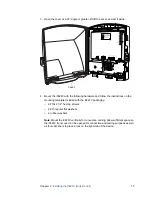
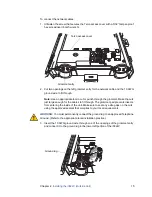
3. Open the cover at a 90
angle or greater, lift off the cover, and set it aside.
4. Mount the i3822V with the following hardware and follow the instructions on the
mounting template included with the i3822V packaging.
–
2 #10x2 1/2” hex tap screws
–
2 #10 regular flat washers
–
2 rubber washers
Note:
Mount the i3822V vertically for convection cooling. Allow sufficient space so
the i3822V front cover can be opened for connection and testing purposes as well
as for subscribers to place a lock on the right side of the device.
TELCO
POWER
VDSL 1
VDSL 2
DATA
COAX
LINE 1
LINE 2
ETHERNET
BATTE RY
TR
TR
TR
TR
TO TEST VOICE SERVICE PLUG IN WORK
ING PHONE
FROM CO
LINE 1
DSL LINE 1 DSL LINE 2
ETHERNET
LINE 2
POWER
- +
cover


