26
CHanGInG.THE.TV.SETTInGS
SD.settings
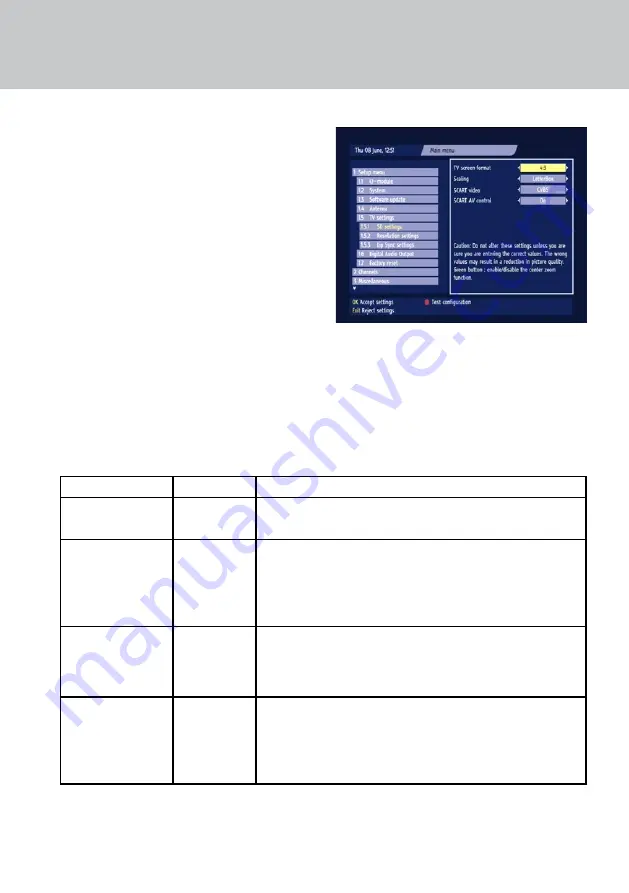
This screen allows you to specify the type of
standard-definition (SD) TV you have connected
to your set-top box . Making the correct settings at
this screen will ensure you have the best picture
available .
From the Setup menu (see page 24), highlight ‘TV
settings’ then press
oK
. Then highlight ‘SD settings’
and press
oK
. The SD settings screen appears (see
right) .
Use
U D
to highlight the item you want to change,
then use
L R
to select the setting .
Use the table below to help you choose the
settings you want . The factory settings (when your
set-top box is new or if you reset your set-top box
as described on page 28), are shown with a star *
against them .
Item
settings
Comments
TV screen format
*4:3
16:9
If you have a widescreen TV, set this to ‘16:9’ . If you have a standard
TV, set it to ‘4:3’ .
Scaling
Auto
*LetterBox
Pan & Scan
Your choice of setting affects widescreen transmissions shown
on standard (4:3) TVs . With ‘LetterBox’ the whole of a widescreen
transmission displays, but the picture does not fill the screen . With
‘Pan & Scan’, the screen is filled, but only part of the widescreen
transmission displays .
SCART video
*CVBS
RGB
If you set YPbPr video “On” (see page 27), SCART video is
automatically set to “CVBS” . If your TV is RGB-compatible, but not
connected by component video leads, you can select the setting
“RGB” to improve picture quality .
SCART AV control
*On
Off
If this is set ‘On’, your TV should switch automatically to show
digital channels from your set-top box on the TV screen, whenever
your set-top box is on . You may prefer to use your TV’s remote
control to select the appropriate AV channel on your TV (in which
case, set ‘Off’) .
usInG tHe setuP menu
To test changed configuration settings, before you
save them, press the
red
button . Your set-top box
will temporarily display the effect of any changes .
When you have made the changes you wish to
make, press
oK
. If you do not want to save your
changes, press the
exIt
button .


