


Reverse Camera Input and Navigation Unlock
Interface for Chrysler / Dodge / Jeep Vehicles
Pacific Accessory Corporation
BCI-CH21
Troubleshooting
1.
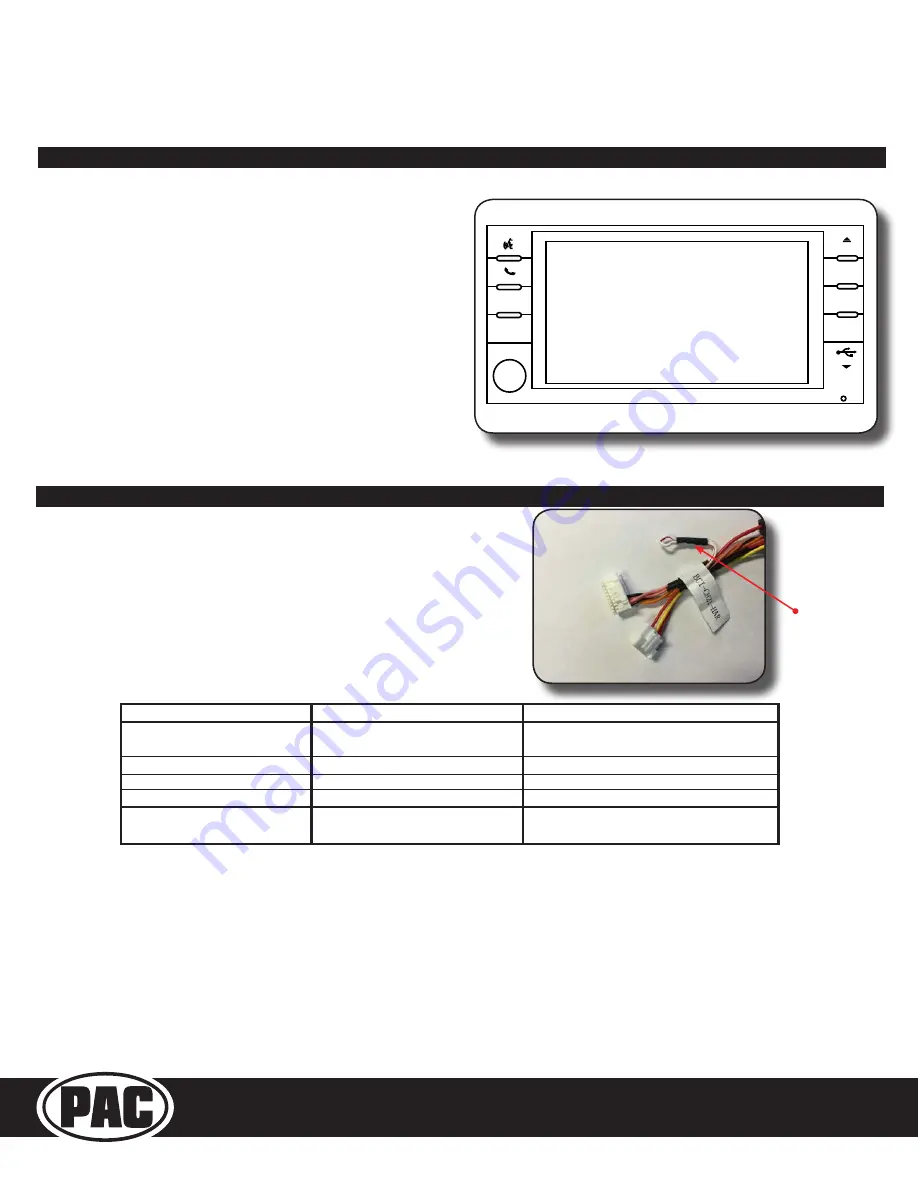
Harness Loop - The loop in the BCI-CH21-HAR is a CAN termination
resistor that needs to be present on certain vehicles. If you have
followed the instructions for cutting the loop and your radio is not
coming on and the amber LED is blinking, you may need to re-connect
or cut the loop (depending on what you did initially).
2.
The LEDs on the module can tell you what the BCI-CH21 is doing.
Please refer to the chart below for LED status patterns and possible
troubleshooting actions.
VES Mode & A/V Harness
LED
Pattern
State
Action
Dual
flashing
green
Initializing
Turn
on
ignition
Wait
for
BCI
to
finish
initializing
Single
flashing
green
Active
N/A
Single
flashing
green,
Solid
amber Forced
reverse
camera
on
N/A
Single
Flashing
Amber
No
CAN
communication
with
radio
Change
status
of
loop
(cut
or
re
‐
connect)
Single
Flashing
Red
No
CAN
communication
with
vehicle
Check
harness
and
connector
pins
for
proper
connection
LOAD
MENU
AUDIO
PULL
AUX
HARD DISC DRIVE
MP3•WMA•JPEG
VOLUME
MEDIA
RADIO
PUSH ON
RBZ
MY
FILES
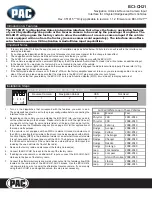
Activating VES Mode
1.
Press the Media button on the factory radio
2.
Press the “VES” icon on the screen
3.
Press the “View Video” icon on the screen
4. This will display video and play audio that is fed in through the
group of RCAs labeled “Audio/Video To Head Unit” on the BCI-
CH21-AUX-HAR.
PLEASE NOTE:
If the vehicle is equipped with
an external VES Player, the RCAs labeled “Audio/Video To Head
Unit” will not allow an additional input to the head unit. You must
use the factory A/V aux in located in the rear of the vehicle.
5.
If you want to feed more than one A/V source into the VES input,
an AVS-21 must be used.
6.
The group of RCAs labeled “Audio/Video To Rear Screen” on the
BCI-CH21-AUX-HAR will only output A/V from the internal DVD
player. You can not make the radio output video from any other
source.
7.
If the vehicle is equipped with a factory rear screen, an AVS-21
can be used on these RCAs to feed more than one A/V source to
the rear screen.
Loop


