


Turn the Quick release knobs (3) on both sides of
the spray gun to the “Unlock” position.
Note:
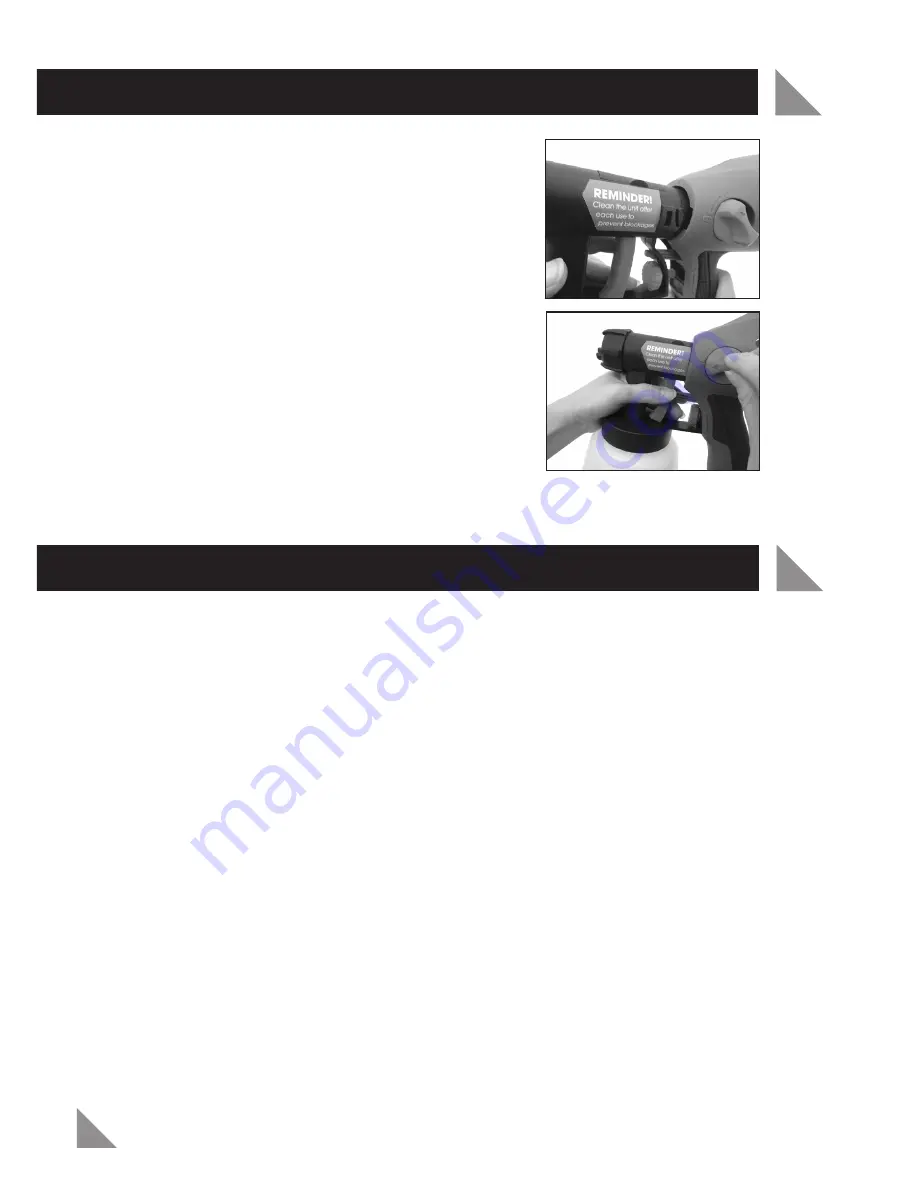
Ensure the paint head and spray gun body are
aligned correctly for proper fitting (Fig.1)
Fully insert the paint head into the spray gun body
by grasping the paint head as shown in Fig .2 while
pushing firmly into the recess of the spray gun body.
Turn the Quick release knobs (3) on both sides of the
spray gun to the “Lock” position to lock the paint
head into place (Fig. 2).
For obtaining the best results from your spray gun, surface preparation and paint
thinning are the two most important areas with which to be concerned. Ensure all
surfaces are free from dust, dirt and grease. Masking is important to ensure you do
not spray those areas you wish to remain untouched. Make sure paint is thoroughly
mixed.
Important – Selecting Paint
Although a large number of paints and materials can be sprayed, some cannot.
Please check manufacturer’s recommendation before purchasing paint. If the paint
can refers to brush application only it cannot be sprayed.
Materials Which Can Be Used
Suitable for a range of oil and water based products recommended for spray
application, including paint, varnish, stains and wood preservatives.
Materials Which Cannot Be Used
THE SPRAY GUN CANNOT BE USED FOR PAINTS SUCH AS EXTERIOR TEXTURED
WALL PAINTS, MATERIALS CONTAINING ABRASIVE SUBSTANCES, GLAZES,
DISPERSION PAINTS, CAUSTIC AND ALKALINE SUBSTANCES OR TEXTURED
COATINGS. TO OBTAIN THE BEST RESULTS FROM YOUR SPRAY GUN, PLEASE
READ THE INSTRUCTIONS CAREFULLY BEFORE USE.
PREPARATION
7
ASSEMBLY
Fig. 1
Fig. 2
Summary of Contents for SGP-300
Page 1: ......


