Page 3
Page 32
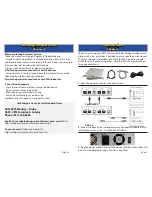
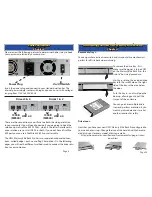
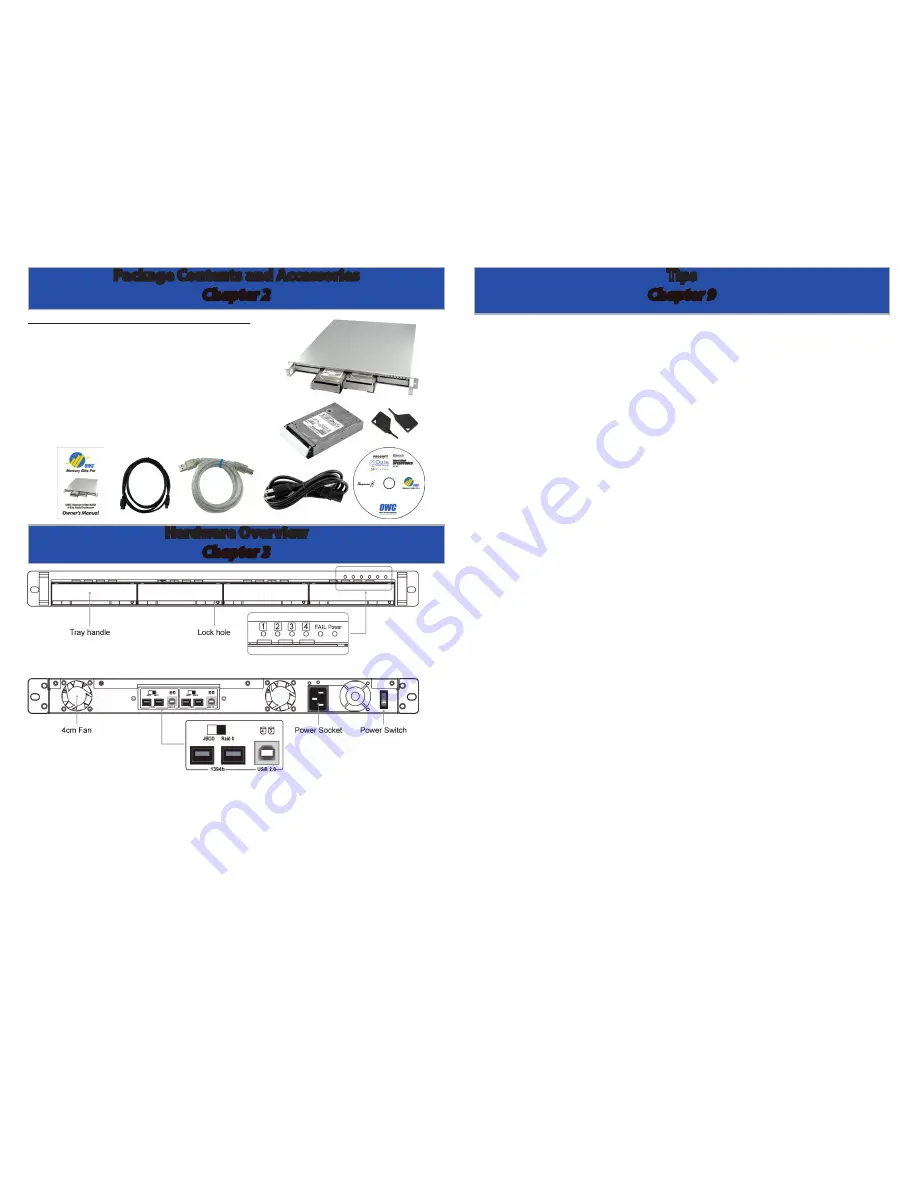
Item
Quantity
OWC Mercury Rack Pro Enclosure 1
SATA Hard Drive in carrier (installed)
4
1394b (FireWire 800) cable
2
USB 2.0 (A-B) cable
2
Power cable
1
Drive Carrier Keys
2
Software Bundle CD
1
Installation & Setup Guide
1
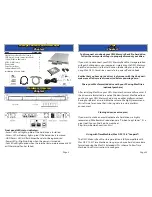
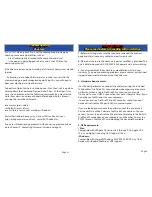
Front panel LED status indicators:
• Access LEDs will light up blue if the hard drive is installed.
• Access LED will always light up red if the hard drive is removed.
• HDD Access LED will flash blue when data is being accessed.
• Power LED will light up blue when the power is turned on.
• Fail LED will light up red when the internal temperature exceeds 60˚C
or if the internal fan has failed.
Hardware Overview
Chapter 3
Package Contents and Accessories
Chapter 2
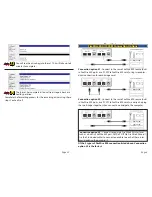
To disconnect or unhook your OWC Mercury Rack Pro hard drive,
follow these important steps to properly dismount your drive.
If you wish to disconnect your OWC Mercury Rack Pro storage solution
without shutting down your computer, simply drag the OWC Mercury
Rack Pro drive icon(s) to the trash can on the desktop (or, in the dock
using Mac OS X). Your drive is now safe to power off and unhook.
Realize that you have up to 4 drives to dismount with this 4 bay unit -
make sure all drives are disconnected before powering down.
Share your Mac formatted drive with your PC using MacDrive
(optional purchase)
After installing MacDrive, your HFS+ Macintosh volume will mount as if
the drive were formatted in a native Windows format. MacDrive allows
you to use your OWC Mercury hard drive on either platform without
having to reformat or re-initialize the volume. We highly recommend
this software for anyone that is sharing data in a cross platform
environment.
Cloning drives (exact copies)
If you want to make an exact duplicate of a hard drive, we highly
recommend Mike Bombich’s donationware “Carbon Copy Cloner”. It’s a
great tool! You can find it on his website at:
http://www.bombich.com/ccc.html
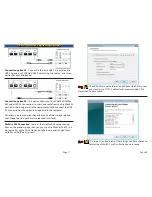
Using with Time Machine (Mac OS X 10.5 “Leopard”)
The OWC Mercury Rack Pro storage solution is fully compatible with
Mac OS X 10.5’s Time Machine as long as you have a hard drive volume
formatted using the Mac OS Extended HFS+ scheme. Follow Time
Machine’s built in instructions to configure.
Tips
Chapter 9

