User Manual of Network Fisheye Camera
23
1.
Click to select a PTZ View on the display window.
2.
Click the direction / zoom buttons on the e-PTZ Control panel to adjust the PTZ
View as desired.
3.
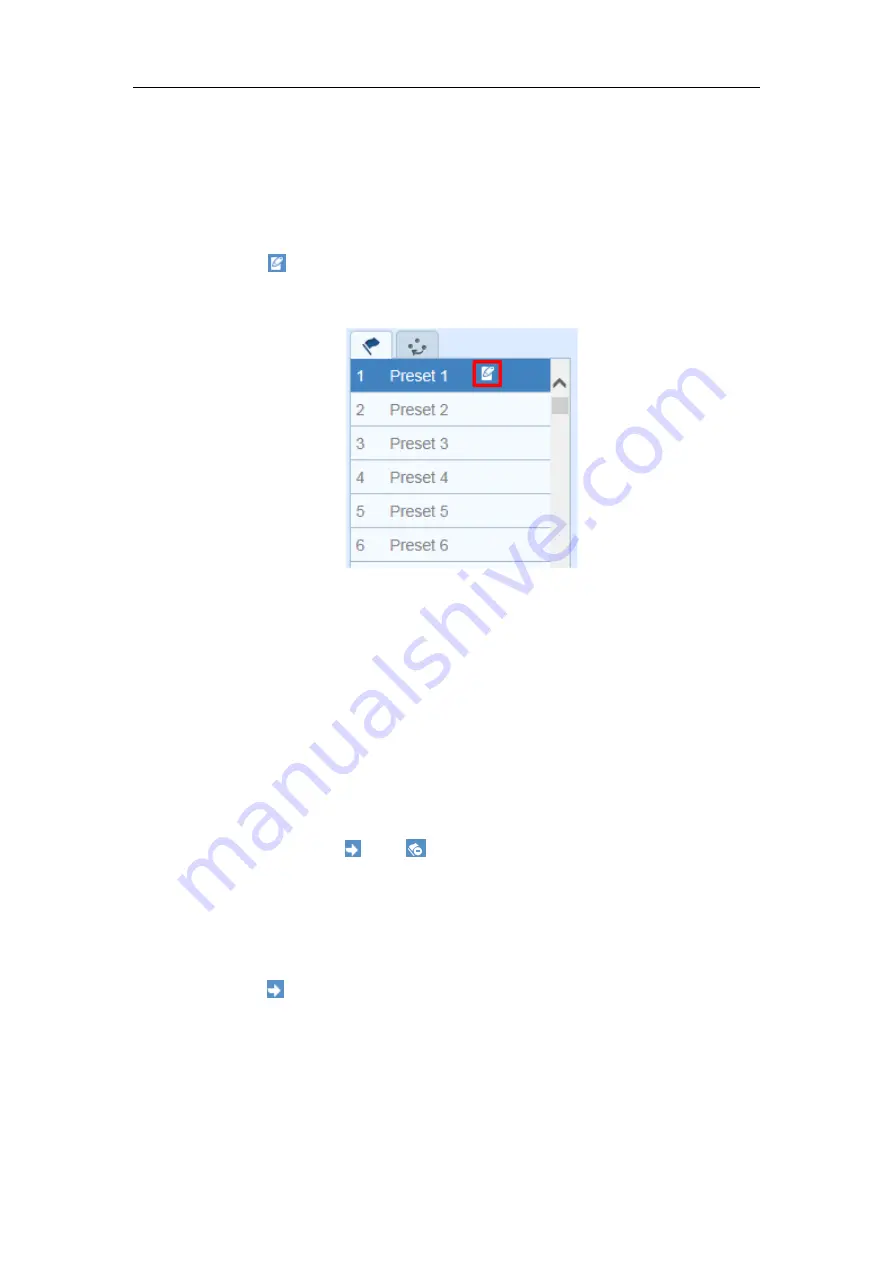
Select a preset number from the preset list.
4.
Click the icon
to save the current PTZ View as the preset.
The preset name turns from grey to black.
Figure 4-5
Setting a Preset
Note
:
Up to 256 presets are supported.
Calling a Preset:
Purpose:
The PTZ View of the Fisheye camera can directly and quickly move to the area of
interest, which is defined as a preset.
Before you start:
Set the preset, and the icon
and
will appear on the preset list.
Steps:
1.
Click to select a PTZ View on the display window.
2.
Select the preset number from the list.
3.
Click the icon
to call the selected preset.
The selected PTZ View will move to the pre-defined preset scene.


