5
3. SETUP MODE
In order to make printing easier and more convenient, KP-180 provides users with a function,
Setup
Mode
, to change parameters. As some mistakes may come from the confusing parameters, we
recommend that, before entering Setup Mode, users be familiar with contents/formats of the forms
and all functions of the printer’s Tech Manual.
When entering Setup Mode, LCD displays the choice list:
[1] LABEL WIDTH
[2] LABEL LENGTH
Besides [1], [2] shown on the screen, there are several other choices that can be found either by
demanding ‘
?
’ ‘
?
’ up/down or by keying in a selected number:
[1]LABEL WIDTH
[6]ROW ADJ.
[2]LABEL LENGTH
[7]SET STRIPPER
[3]REVERSE PRINT
[8]SET SPEED
[4]STOP POSITION
[9]SET DARKNESS
[5]NUMBER OF COPY
[10]SET CUTTER
4. DOWNLOAD FORM TO KP
Ready:
1. Power on the printer.
2. Using the RS232 cable to connect the KP-180 and printer (see figure 1.4.1). Printer’s RS232
setting: 9600,N,8,1.
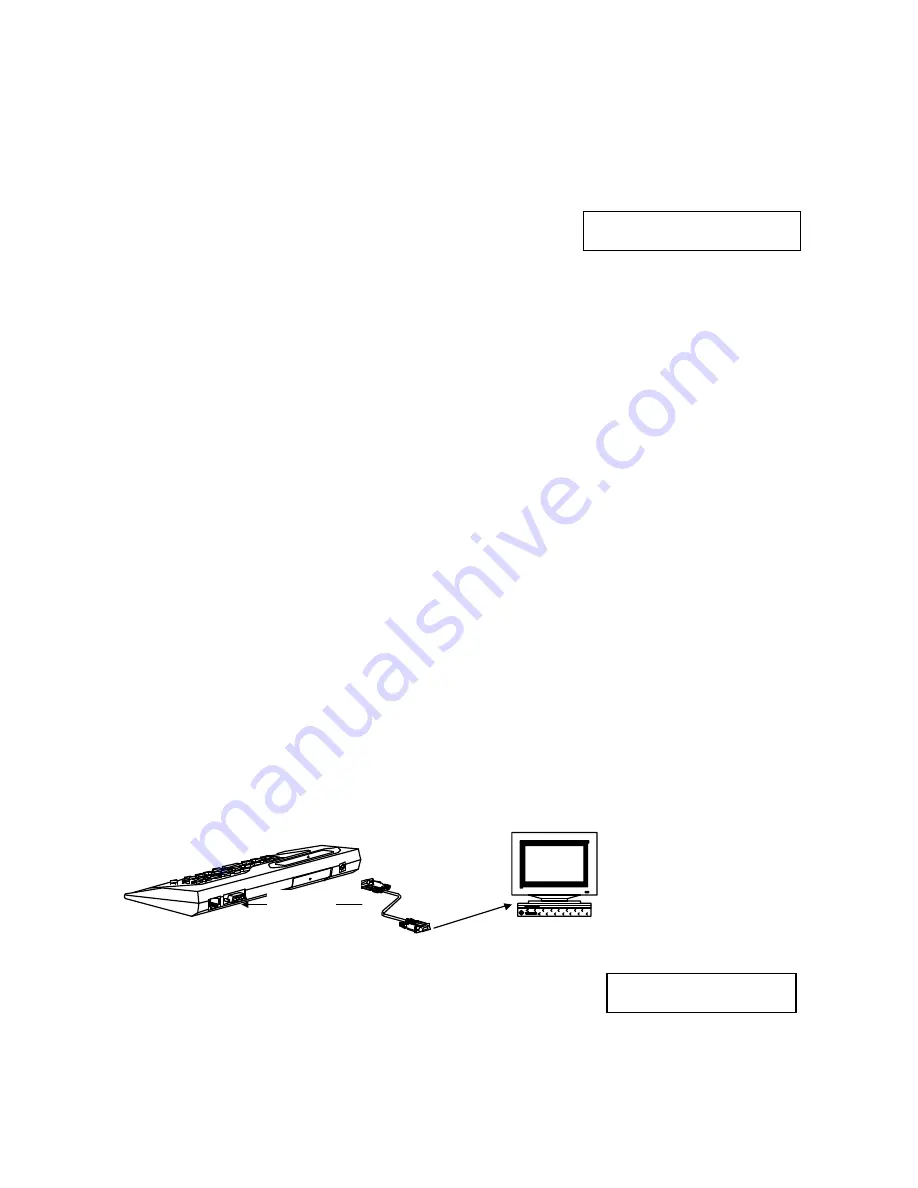
3. Using the download cable to connect one end of cable to KP-180’s RS-232 Serial Port, and the
other end to computer’s COM1 or COM2 (see figure 4.0.1). PC’s RS232 setting: 4800,n,8,1.
4. Create a download file.
For example: saving the following contents for download file (name: TEST.CMD)
^Q45,0,0
^W50
^E12
^S2
^H5
^L
AC,20,10,1,1,1,0,KEYBOARD
AC,40,10,1,1,1,0.DOWNLOAD
BA,60,10,2,5,100,0,1,4321
E
Create a new folder and copy LKP180.EXE to this folder. Suggestion: Keep your download files with
this program in same folder.
PC
to 9Pin RS232
connector
(Download cable)
to PC's
serial port
Figure 4.0.1
Into KP-180 download mode
Select the KMC way, press “Shift” + “$” keys, and KP-180 will go to
download mode. LCD shows as right screen.
Download mode
[1] ADD FORM


