This guide will provide a quick walk-through
when using iFab EasyScan for the first time.
Please follow the instructions to ensure the best
outcome for your patient.
Start the application and login with you iCC credentials
•
Start the application through the desktop icon. You will be
asked to pair your device with your iCC account. Use your
personal credentials to login. If you do not have an account yet
click on “Create an account” to sign up
Choose “General Scan” in the menu and start a new job
•
After login select “General Scan” to start the sub-application
•
Click on “New Job” in order to proceed and begin a new job
Assign job ID
•
Assign an identifying job ID to proceed with “Start scanning”.
This can be any label preferred
•
Note:
Avoid specific names for data privacy reasons
•
Please review and follow the additional scanning tips to ensure
the best scan result.
Select scan volume – in this example size S
•
Select a scan volume in which the object has to be placed
before starting the scanning process. Only objects placed
within that scan volume are visible to the camera and captured
during scanning
•
To select a scan volume that fits closest to the dimension of the
object select “Define bounding box” in the right-hand menu
and apply the appropriate selection
•
The application always starts with the last selection used
1
2
3
4
Download and install the iFab EasyScan application
If you have not yet installed the application you can download and
execute the installer at:
https://www.ifab-customer-center.com/Downloads
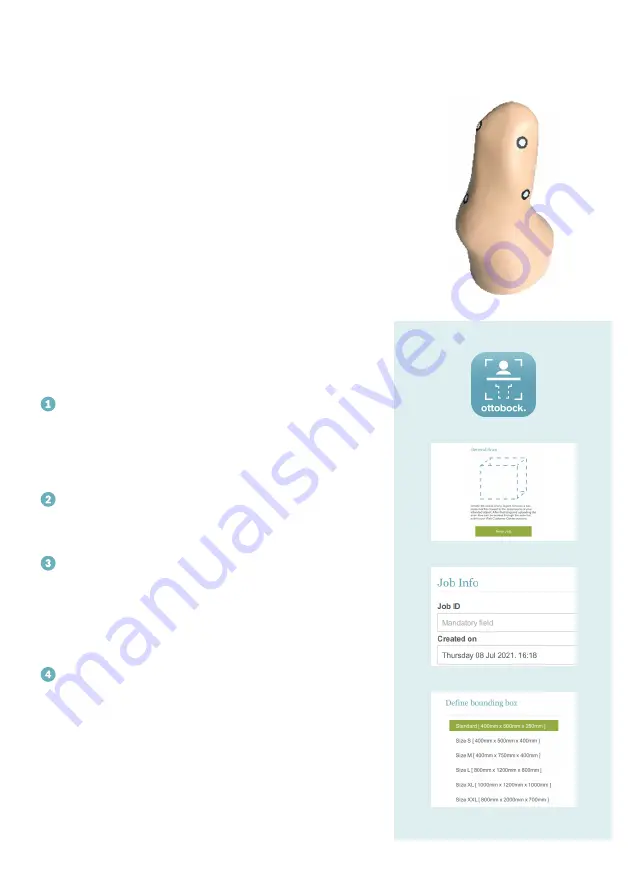
Please note: A limb model is available but not required to
learn how to use iFab EasyScan most efficiently and properly.
For this purpose the model is prepared with landmarks
needed to conduct a scan for custom liners.


