Ossila Dip Coater
User Manual
ossila.com
14
Ossila Limited © 2017
7.
Installation
1.
Place the unit on a solid, level surface.
i.
Ensure the area is free from vibrations, temperature extremes, and highly
flammable or explosive materials. Keep the area surrounding the machine clear,
with approximately 150 mm clearance above the machine, to the sides of the
machine, and behind the machine.
2.
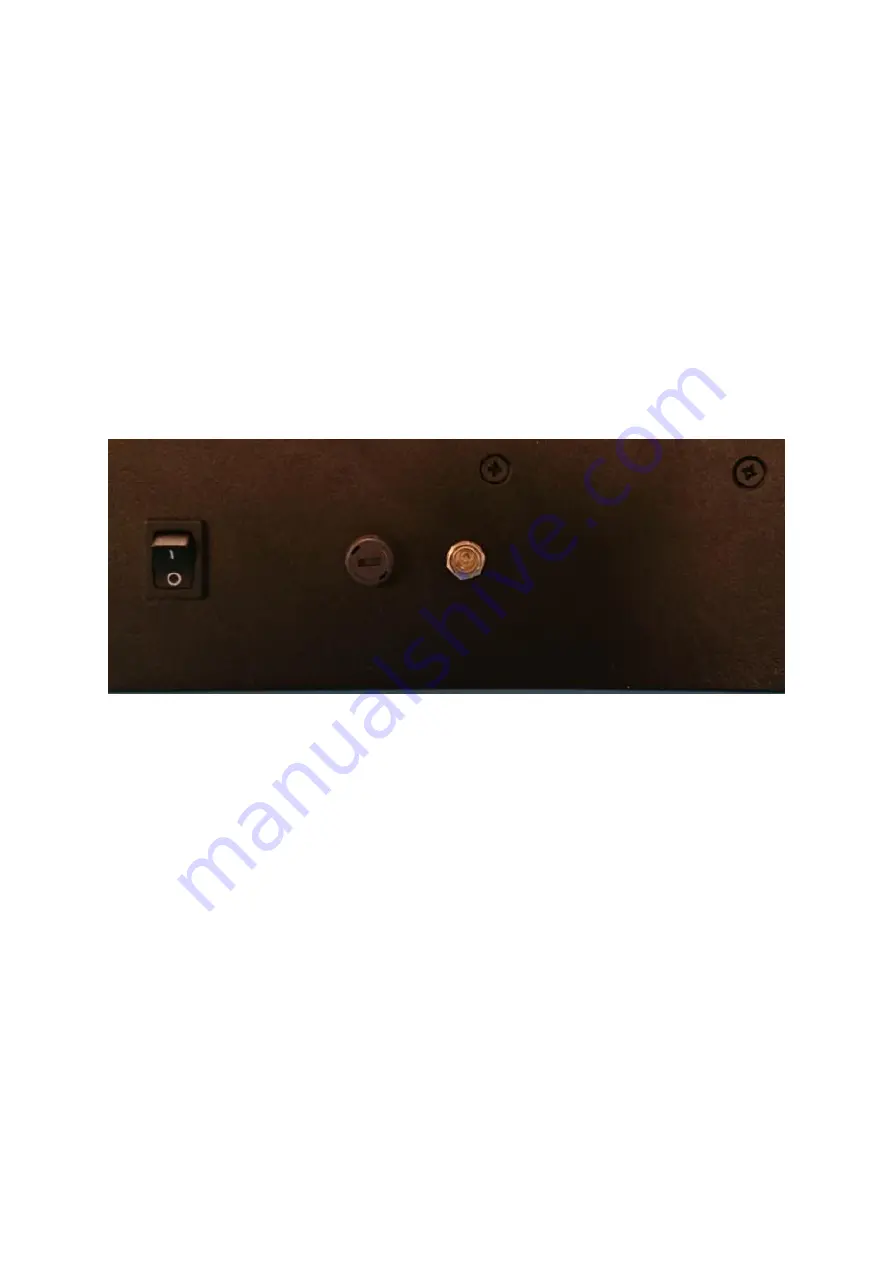
Before plugging in the Dip Coater, ensure the power switch on the unit is switched to the
‘0’ position (off).
3.
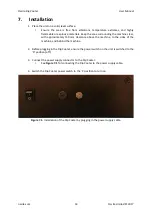
Connect the power supply connector to the Dip Coater.
i.
See
Figure 7.1
for connecting the Dip Coater to the power supply cable.
4.
Switch the Dip Coater
power switch to the ‘1’ position to turn on.
Figure 7.1.
Installation of the Dip Coater by plugging in the power supply cable.

