2
5. Ne pas couvrir la machine pendant le fonctionnement.
6. Ne pas faire fonctionner l'appareil lorsque le boîtier est endommagé.
7. Ne pas ouvrir l'appareil et ne pas faire des réparations soi-même.
8. Ne pas utiliser l'appareil qu'à sa fonction prévue.
9. Produit non-démontable. Dans le cas d'une défaillance de la source lumineuse, il n'est pas réparable.
10. Garantie de 24 mois comprend un produit équipé d’un joint d'usine, que l’on ne doit pas détacher !
(RU)
ВАЖНЫЙ!
Перед началом использования устройства необходимо изучить настоящую инструкцию по эксплуатации и сохранить ее для
будущего использования. Самостоятельный ремонт и модификация приводят к потере гарантии. Производитель не несет
ответственности за повреждения, которые могут возникнуть из-за неправильного монтажа или эксплуатации устройства.
Ввиду постоянных модификаций технических данных Производитель оставляет за собой право вносить изменения в описание
изделия и вносить прочие конструкционные изменения, не влияющие отрицательно на параметры и эксплуатационные качества
изделия.
Последняя версия инструкции доступна для скачивания на сайте www.orno.pl. Все права на перевод/интерпретацию и авторские
права настоящей инструкции защищены.
1
. Продукт предназначен для внутреннего пользования.
2. Все действия следует выполнять при отключенном электропитании.
3. Не смотрите непосредственно в сторону светодиодов LED с близкого расстояния.
4. Не опускайте оборудование в воду либо другие жидкости.
5. Не накрывайте оборудование во время его работы.
6. Не пользуйтесь оборудованием в случае повреждения его корпуса.
7. Не открывайте оборудование и не проводите самостоятельных ремонтов.
8. Не используйте оборудование не по назначению.
9. Продукт не подлежит разборке. В случае повреждения источника света проведение ремонта не является возможным.
10. 24-месячная гарантия
распостраняется на продукт с фабричной пломбой, которую не разрешается срывать!
ENG
Produced after 29th July 2005 Waste electrical products should not be disposed with household waste. Please recycle where facilities exist.
Check with Your Local Authority or retailer for recycling advice.
PL
Zgodnie z przepisami Ustawy z dnia 29 lipca 2005 r. o ZSEiE zabronione jest umieszczanie łącznie z innymi odpadami zużytego sprzętu oznakowanego
symbolem przekreślonego kosza. Użytkownik, chcąc pozbyć się sprzętu elektronicznego i elektrycznego, jest zobowiązany do oddania go do punktu zbierania
zużytego sprzętu.
DE
Gemäß Vorschriften des Gesetzes vom 29. Juli 2005 über die Entsorgung von Elektro- und Elektronik-Altgeräten ist es verboten, Altgeräte mit dem
durchgestrichenen Mülleimer-Zeichen mit anderen Abfällen zu mischen. Der Benutzer ist verpflichtet, die Elektro- und Elektronik-Altgeräte bei einer
Sammelstelle für die Wiederaufbereitung von Elektro- und Elektronik-Altgeräten abzugeben.
FR
Conformément aux dispositions de la loi du 29 juillet 2005 relatives aux déchets électriques et électroniques, il est interdit de placer l’appareil usagé avec
d'autres déchets usés comportant le symbole d’une poubelle barrée. L’utilisateur, s’il désire jeter son équipement électronique et électrique, est obligé de le
déposer dans un point de collecte d’équipement usagé.
RU
Согласно Закону от 29 июля 2005 г. об отработанных электрических и электронных приборах запрещается помещать вместе с другими отходами
отработанные устройства, маркированные символом перечеркнутого контейнера. Отработанные электрические и электронные приборы
необходимо сдавать в пункты приема отработанных устройств.
10/2017
(ENG) Operating and instalation instructions
Smart LED bulb with a dimmer and remote-control
DESCRIPTION AND APPLICATION
Smart LED bulb with a dimmer and remote-control
The lamp equipped with LEDs of power 7W remote-controlled using the switch from the distance up to 30 m. The switch
functions are as follows:
ON/OFF, dimming and change of the colour temperature between 2700 K and 6500 K. The device is both easy-to-assembly and
easy-to-operate.
INSTALLATION
Caution: turn the power off
Verify the lampholder type is same between the standard bulb and your new wireless bulb.
Remove the standard bulb untightening it from its lampholder (counterclockwise turning).
Tighten the wireless bulb (clockwise turning) grapping it by its plastic housing.
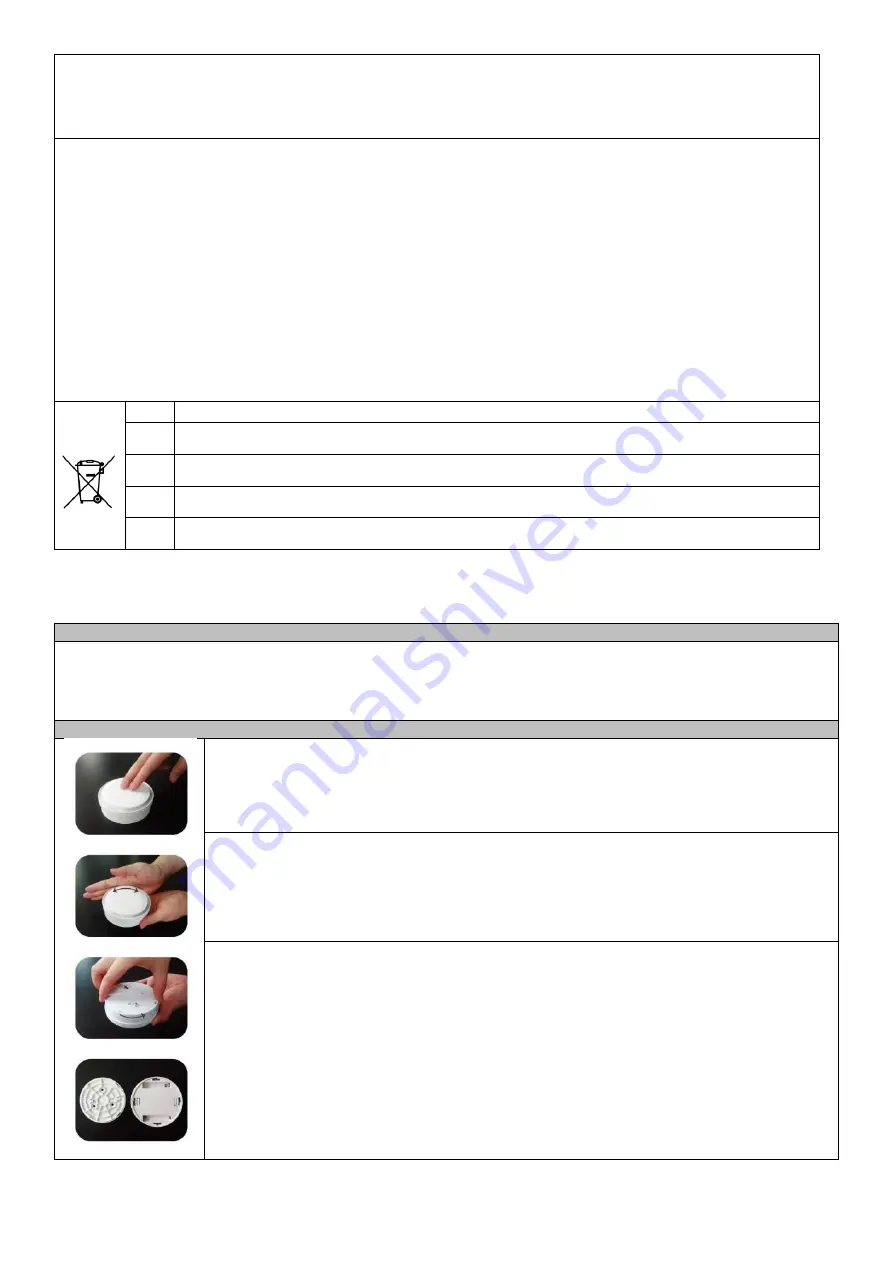
Knob round remote: The transmitter is conceived to be used as a wall-on switch (it has a bottom cover
that can be fixed to wall by screws or 3M magnet) or portable switch.
Pairing
For setting up the remote with wireless bulb, kindly proceed to tighten the bulb in the lampholder.
Cut off power of bulb, long press the central button of remote, then power on the bulb, once the bulb
start to blink 5 times, it means successful pairing and ready for wireless command.
Deleting pairing
Cut off power of bulb, long press the central button of remote, then power on the bulb, once the bulb
start to blink 3 times, it means successful deleting pairing and remote cannot control the bulb anymore.
Function on/off
Just press the button for turning on/off or bulbs you want to control.
Dimming function
Once the bulb is ON, if you need to adjust its brightness, please turn outer wheel. The light will start
dimming till the desired brightness level.
This bulb comes with memory function so when you turn it ON again will light at this level.
Color temperature setting
Pressing its ON/OFF button for more than 3 seconds, the bulb start to change color temperature
automatically, it means it’s in color setting mold, within next 6 seconds, you can turn the outer wheel to
adjust color, In this mode you can adjust the light from warm type (~2700 Kelvin) to cold type (~6500
Kelvin) passing through all white bandwidth. You may choose its setting by turning outer wheel (same
operation as dimming) or pressing long time the ON/OFF button (light color will start changing
automatically).


