


- 23
process.
After the “Stop Image Recording”, list the files on the selected saved directory. These
files are named as file_name_prefixed_yyyy_mm_dd_hh_mm_ss_ms.jpg
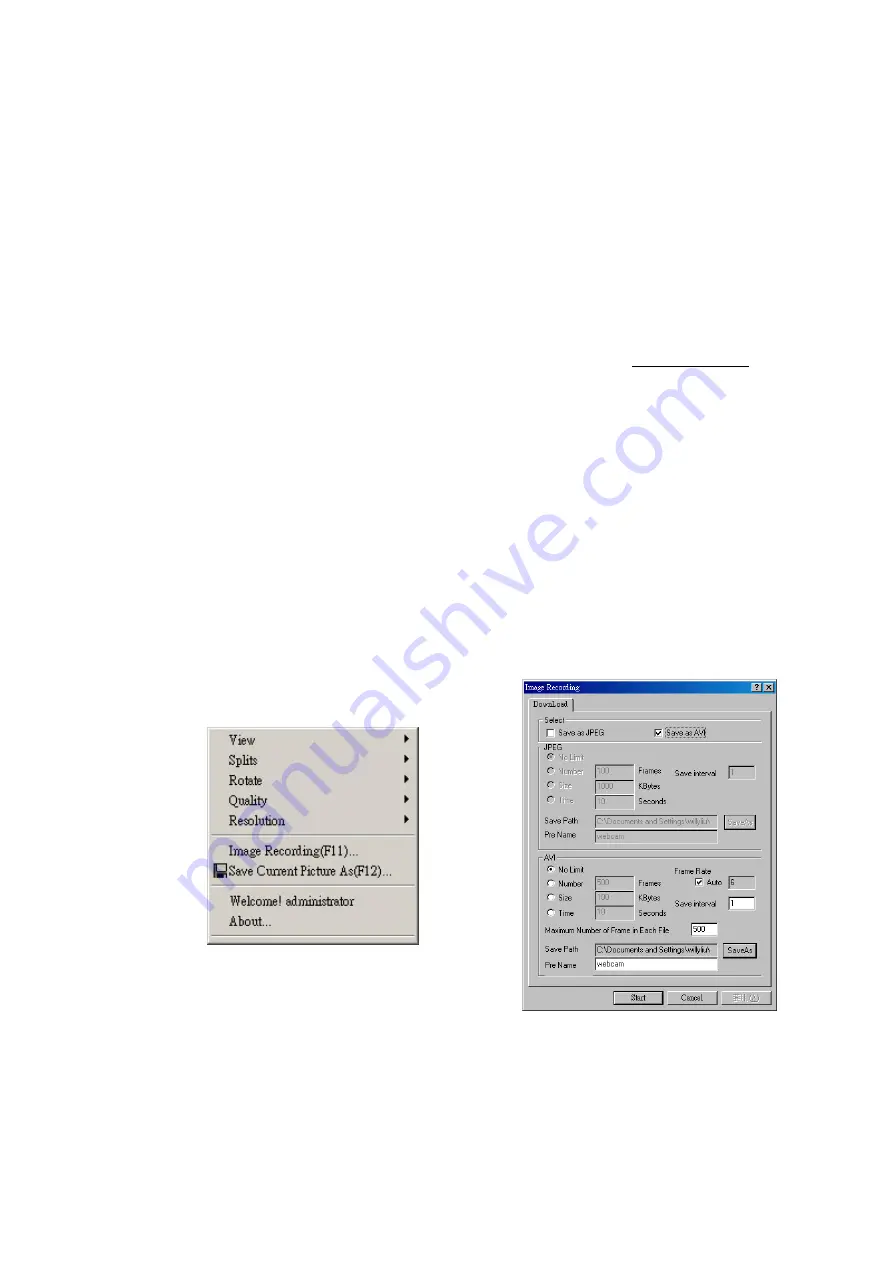
6-2. Save as AVI
1. Select “Image Recording…”
2. The “Image Recording” pop-up window displays. Check the “Save as JPEG” check box
option.
3. Enter the “Time”, “Number” or “Size” on each AVI file, until the “
Stop Image Recording
” is
selected. “
Frame Rate
” is the frame rate setting of the recorded AVI file.
4. Selecting the “No Limit” radio button will save the video file until the “
Stop Image
Recording
” is selected.
5. For each AVI file, the maximum number of images that can be saved in each file are
specified in
“Max Jpeg Num”
Once the images that can be saved on each AVI file are
reached by this number, a new AVI file will be created to save the remaining images, until
the “
Stop Image Recording
” is selected.
6. Click on the
“Save As
” button and a pop-up window displays to select the save path and
file name prefix. Select
“Save
” to continue.
Note:
During the AVI file recording, a red icon displays on right-down position of the image to
Summary of Contents for ic301
Page 8: ...8...


