OSD-400/OSD-800/OSD-1600
Install & User Manual - Firmware 3.X
24
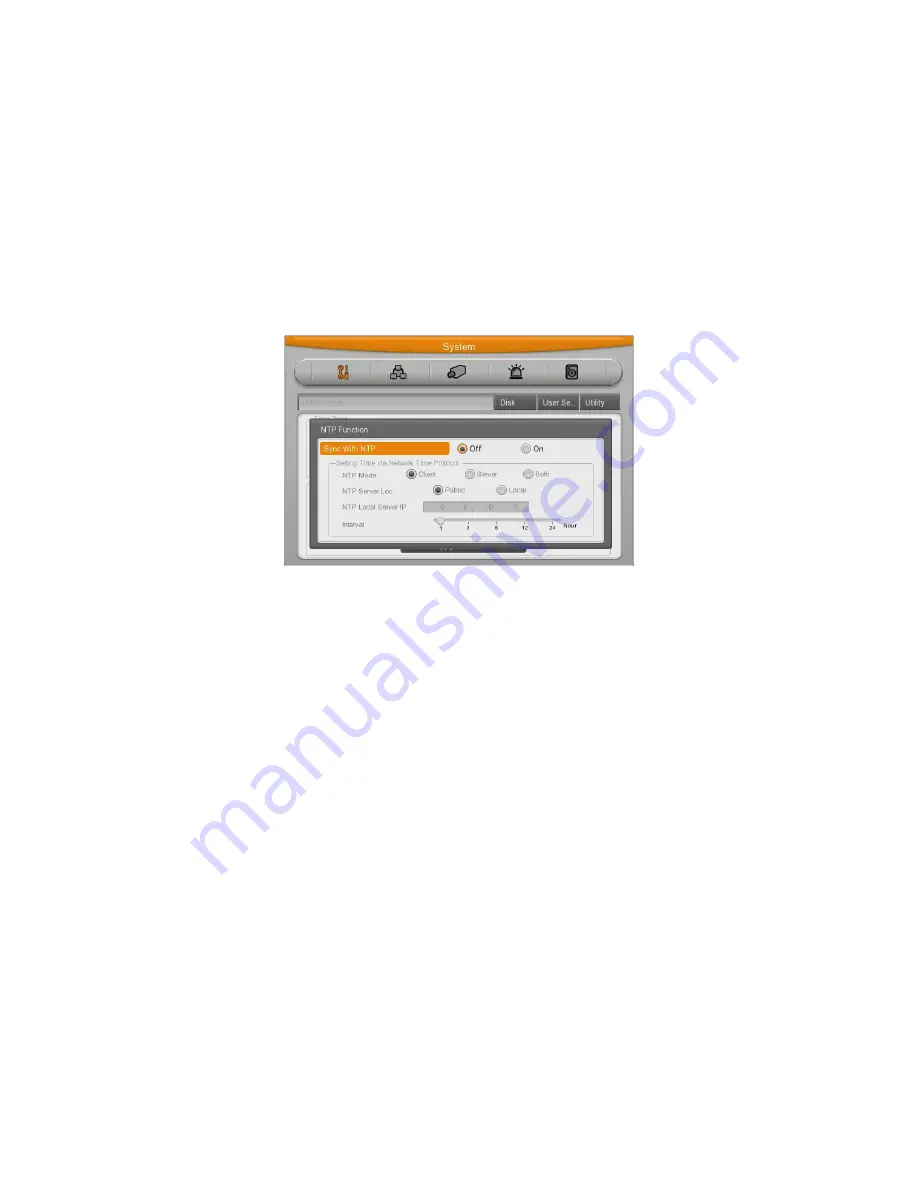
NTP
1. Select NTP Function
2. Select “Client or Server or Both” using [
◀
/
▶
] or [
▲
/
▼
] arrow button and press [Enter] button.
3. Select “Public or Both” using [
◀
/
▶
] arrow button and press [ESC] button
4. On ‘Client or Both’ mode.
5. Enter ‘Server IP address’ when you set the next server as Local.
6. Set Server and Communicate cycle with Interval.
Date Format
1. Select “Date Format” using [
◀
/
▶
] or [
▲
/
▼
] arrow button and press [Enter] button. Select a
value using [
◀
/
▶
] arrow button from YYYY/MM/DD, MM/DD/YYYY, DD/MM/YYYY.
2. Press [ESC] after finishing value setting.
Time
1. Select “Time” using [
◀
/
▶
] or [
▲
/
▼
] arrow button and press [Enter] button.
2. Select Date, Time using [
◀
/
▶
] arrow button and set value using [
▲
/
▼
] arrow button.
3. Press [ESC] after finishing value setting.
Apply
Most setting values are applied automatically, when exiting form the related menu page. But “Date” &
“Time” setting are not applied automatically because they may critically affect the file system of the
recorded HDD. To apply Date/ Time settings confirm with [Apply Date/Time] buttons.
1. Select “Apply Date/ Time” using [
◀
/
▶
] or [
▲
/
▼
] arrow button and press [Enter]. Then, a
warning message will be appeared as below image;


