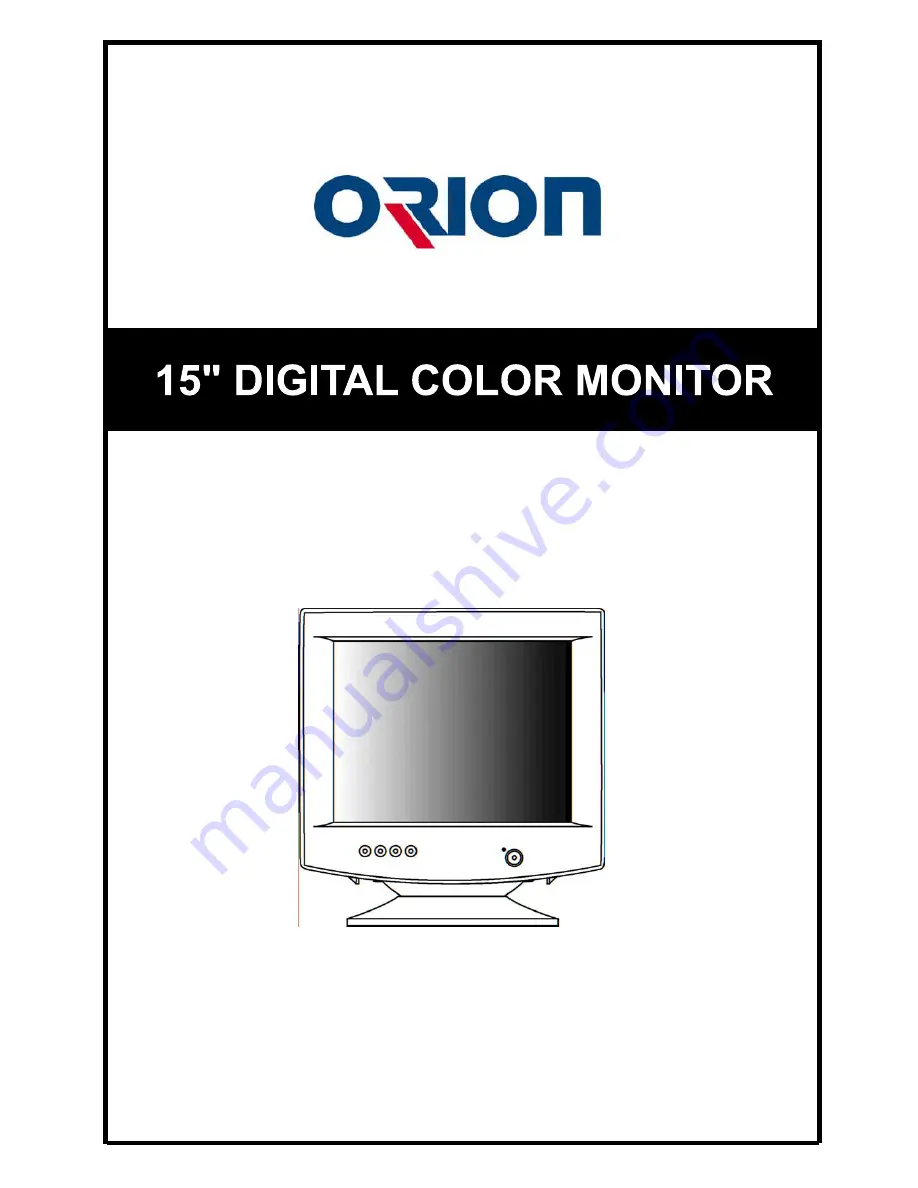
USER’S MANUAL
MODEL No.: 5Q740
BEFORE USING THIS COLOR MONITOR,
READ AND OBSERVE ALL OF THIS USER’S MANUAL
Page 1: ...USER S MANUAL MODEL No 5Q740 BEFORE USING THIS COLOR MONITOR READ AND OBSERVE ALL OF THIS USER S MANUAL...
Page 2: ...RUCTION 2 CAUTIONS 4 FCC RF INTERFERENCE STATEMENT 5 INSTALLATION 6 RESOLUTION 7 CONTROLS AND FUNCTIONS 8 REAR VIEW 13 SPECIFICATIONS 14 TROUBLE SHOOTING GUIDE 15 This Monitor was Manufactured by ISO...
Page 3: ...hould be operated from the type of power source indicated on the marking label If you are not sure of the type of power available consult your dealer or local power company 9 This product is equipped...
Page 4: ...nsive work by a qualified technician to restore normal operation E If the product has been dropped or the cabinet has been damaged F If the product exhibits a distinct change in performance indicating...
Page 5: ...t or place anything on the top of unit Ventilation holes are provided also on the bottom of the cabinet Avoid placing the unit in direct sunshine or near a heating appliance Do not place a magnet spea...
Page 6: ...lowing measures Reorient or relocate the receiving antenna Increase the separation between the equipment and receiver Connect the equipment into an outlet on a circuit different from that to which the...
Page 7: ...nd firmly toward the front of the monitor until the latches click into the locked position 2 CONNECT THE SIGNAL CABLE 1 Connect the end into the graphic card on back of the computer 2 Secure the conne...
Page 8: ...0 020 25 175 28 322 25 175 36 000 40 000 49 500 56 256 65 000 94 500 108 000 7 RESOLUTION It has 10 user setting modes which you can store except for factory setting mode Displaying user mode except f...
Page 9: ...ou push the DEGAUSS botton when OSD menu is not shown you can get the clean picture and uniformity color But if you push the DEGAUSS button when OSD menu is shown you make OSD menu disappeared In addi...
Page 10: ...h this SELECT button once more this allows you to activate the desired adjustment with the change of adjustment bar color black to violet C SELECT BUTTON If you want to adjust to the monitor push the...
Page 11: ...eting all the desired adjustments the On Screen Display will disappear with pressing the degauss button 1 SELF TEST DISPLAY When there is no signal input No connection the On Screen Display will show...
Page 12: ...t of the display sides PIN BALANCE Adjusts the curvature of the left and right sides of the screen image CORNER CORRECTION Adjusts the top and bottom corners of the Screen image COLOR TEMPERATURE Adju...
Page 13: ...tizes the CDT This can be used if the display becomes discolored Allow a minimum of 5 minutes to elapse between each degauss The monitor also will automatically degauss when power is applied OSD HORIZ...
Page 14: ...ower cord is used as main power disconnect device in this product F D SUB CONNECTOR OF SIGNAL CABLE Connect to the analog RGB signal output connector of video card ACCESSORY 1 POWER CORD 2 INSTRUCTION...
Page 15: ...Hz VIDEO Analog 0 7Vp p 75 SYNC Horizontal 4 0 Vp p Vertical 4 0 Vp p Preset 265mm X 195mm Full 282mm X 212mm 487mm X 463mm X 447mm Carton Box Net Weight 12 0Kg Gross Weight 14 0Kg AC100 240V 50 60Hz...
Page 16: ...tically in microprocessor of the monitor The sound you hear indicates that the demagnet izing circuit is activated Every time the monitor is powered on it will go through the degaussing process which...