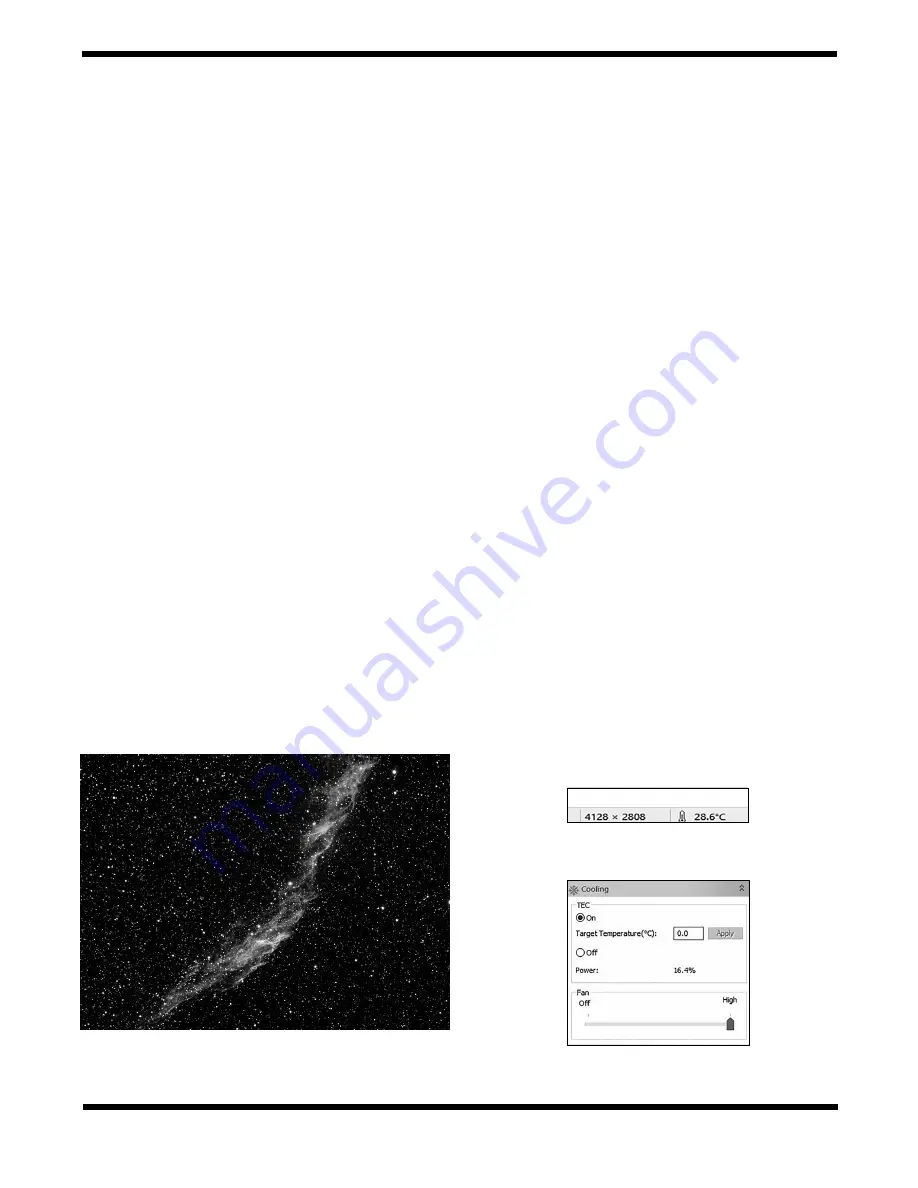
Figure 8.
Veil after pre-processing in DeepSkyStacker (dark frames,
flats, and stacking) and post-processing in Photoshop (levels, curves,
and more).
8
saved in the .fit file header. Many programs look to the fits
header to determine the type of file (Light, Dark, Flat...), so
they can be automatically processed correctly without the
user specifying the type of image.
10. Once everything is set and your autoguider is up and
running locked on and tracking a star, choose a number
of shots in the sequence, then click sequence and sit
back and let the camera collect the images. Later, when
processing, if you find your stacked images too noisy, you’ll
want to stack a larger number of shots together to reduce
the noise.
11. When those exposures are finished, you might also want
to collect some dark frames, so you can subtract them
from the light frames in your 3rd party astro-imaging
software. Choose “dark frame” instead of “light frame”,
and take at least one dark frame with the cap on the
telescope that you will later subtract from the light frames
in your other software. Darks should be taken at the same
exposure, temperature, and gain setting as the lights
you previously took. See below for more discussion on
calibration frames such as darks and flats.
Congratulations, you’ve just taken your first series of deep-sky
images with your new camera! It’s now time to do some pro-
cessing in some of those other suggested programs such as
DeepSkyStacker or Nebulosity in order to get the cleanest final
image possible. It’s not uncommon to shoot dozens of light
images, especially when imaging something faint that hides in
the background noise. The greater the number of images, the
more you can push the processing and pull out the detail. Even
dark frames can benefit from averaging many together. A mas-
ter dark or flat made of many individual frames has significantly
less noise than only one.
Also, make sure to adjust the histogram to show some of the
faint detail that may not be visible upon first downloading an
image. Previously, the “Live Histogram” adjustment was shown,
but there’s another way to adjust the histogram of a saved
image.
Figure 7a
and
7b
show a downloaded 120 second
image of the Veil Nebula.
Figure 7a
shows the full range (select
Menu>Process>Range to bring up a histogram of that image).
Notice how faint the nebulae looks? That’s not uncommon for
a nebula to look like this right out of the camera, as it is just
barely brighter than the background light pollution.
Figure 7b
is
a Range adjusted shot, to show fainter detail. Notice how the left
and right range lines are set just outside each end of the histo-
gram? The background is brighter, but ready for more process-
ing in Photoshop to reset the black point and clean the image
up.
Figure 8
is a finished image, with dark frames subtracted
and a stack of thirty 120 second light frames, 9 dark frames,
processed in DeepSkyStacker and Photoshop.
Imaging with a Mono camera
One shot color cameras are relatively easy to get a final image
from because there is less processing involved. But color chip
cameras suffer from less sensitivity to light than a monochrome
camera does. The reason is due to the Bayer Matrix over the
chip. The pixels are arranged in squares of alternating colors
(for example RGGB in the G10). This means that for every four
pixels in a square, only one of them is sensitive to red light, and
only one to blue. But in a monochrome chip, every pixel sees
ALL of the photons of light across the visible spectrum. The
result is a much more sensitive chip. This is much more versa-
tile, because you can put any kind of filter in front of the camera,
depending on the wavelength of light you want to capture. And
not just Red, Green and Blue -- consider narrow-band imag-
ing with Hydrogen-Alpha, Oxygen-III, and Suphur II filters as
your RGB channels. This can dramatically boost the contrast
on nebulae, and also allow imaging even in more severe light
pollution than otherwise would be possible. Also consider a
motorized filter wheel such as the Orion StarShoot 2” Motorized
USB Filter Wheel to automate the process of switching filters
between exposures.
5. Cooling – for less noise!
The TEC in your G10 and above is designed to reach tempera-
tures of up to 35 degrees below the ambient temperature. As
the chip gets colder, noise becomes less pronounced, so the
9b.
Cooler control window. Set a specific temperature that is
somewhere less than 35 degrees below the ambient temp
Figure 9a.
Current temperature of chip. Shown in the very bottom
right corner of the software screen.


