Assembly
1. With all items removed from the case (J), find the tripod
(A) and spread the legs apart. Don’t worry about extending
the tripod legs yet; you will do that later.
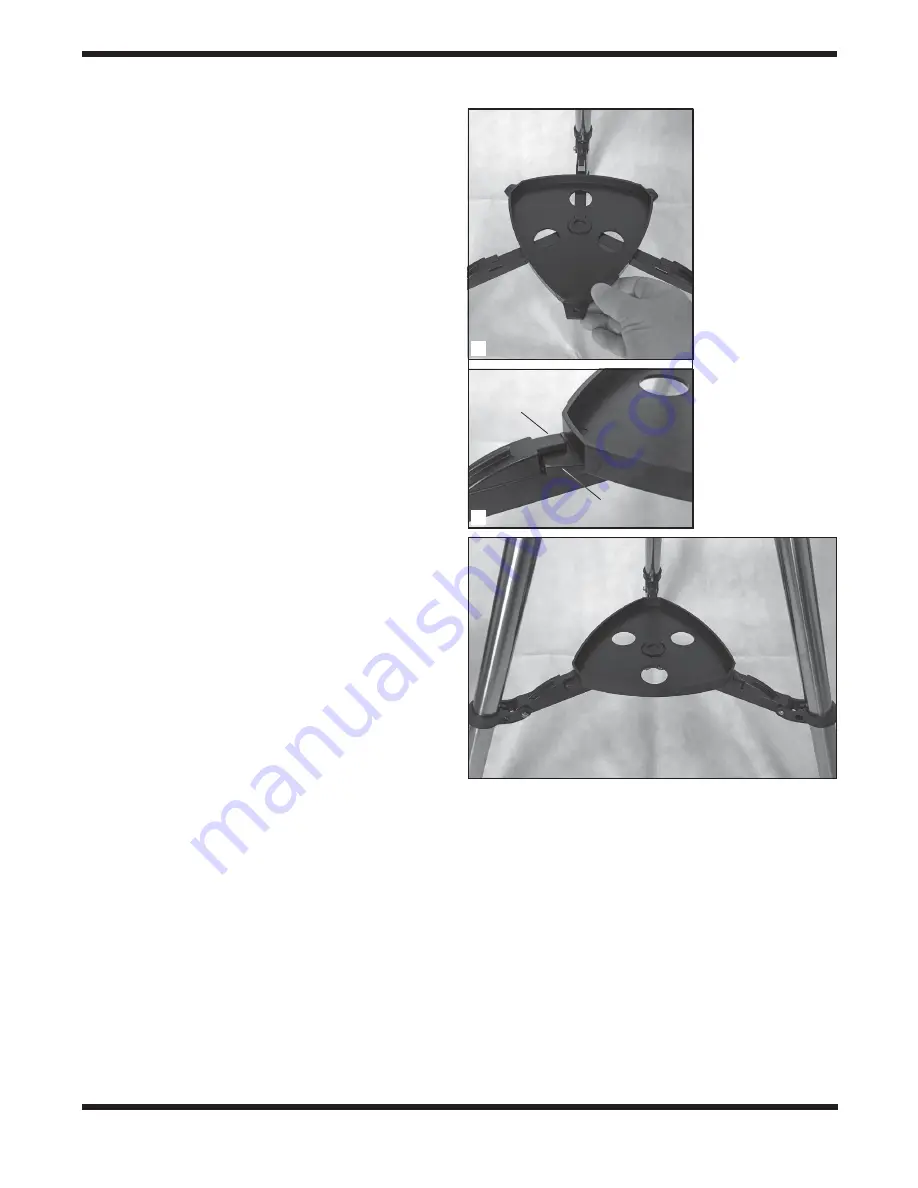
2. Install the accessory tray (B) by aligning the center hole
with the center of the tripod brace, as shown in
Figure
2a
.
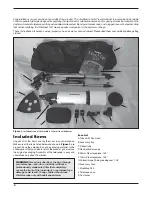
3. Then gently press the tray downward and rotate it while
insuring that each of the three tray locking tabs seats
underneath its respective brace tab, snapping into place
(Figure 2b)
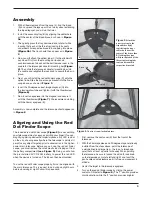
. The tray should then appear as in
Figure
3
.
4. Now you will attach the optical tube (C) to the altazimuth
pan head. First, turn the mounting bar lock knob
counterclockwise to back out the bolt to make room in the
saddle for the telescope’s dovetail mounting bar
(Figure
4)
. Then slide the telescope’s dovetail mounting bar into
the saddle and retighten the lock knob to secure the bar in
place.
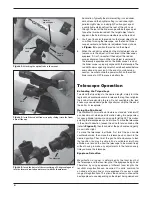
5. Next, you will install the red dot finder scope (D) onto the
optical tube. Slide the finder scope bracket into the finder
scope base, as shown in
Figure 5
.
6. Insert the 90-degree correct-image diagonal (G) into
the focuser drawtube and tighten it with the thumbscrew
(Figure 6)
.
7. Now insert an eyepiece into the diagonal and secure it
with the thumbscrew
(Figure 7)
. We recommend starting
with the 25mm eyepiece (E).
Assembly is now complete and the telescope should appear as
in
Figure 8
.
Aligning and Using the Red
Dot Finder Scope
The included red dot finder scope
(Figure 9)
makes pointing
your telescope almost as easy as pointing your finger! It’s a non-
magnifying aiming device that superimposes a tiny LED red dot
on the sky, showing exactly where the telescope is pointed. It
permits easy object targeting prior to observation in the higher-
power main telescope. Before you can use the red dot finder
scope, you must remove the small plastic tab sticking out from
the battery compartment
(see Figure 9)
. Doing so will allow
the pre-installed 3V CR-2032 battery to power the red LED
when the device is turned on. The tab can then be discarded.
To use the red dot finder scope properly, it must be aligned with
the main telescope. This is easiest to do during daylight hours,
before observing at night. Follow this procedure:
1. First, remove the dust cover (K) from the front of the
telescope.
2. With the 25mm eyepiece and 90-degree diagonal already
installed from the steps above, point the telescope at
a well-defined land target (e.g., the top of a telephone
pole) that’s at least a quarter mile away. When pointing
the telescope, be sure to loosen the azimuth lock knob
so the telescope can rotate left and right, and twist the
pan handle counterclockwise a bit to free up movement in
altitude.
3. Center the target in the telescope eyepiece.
4. Turn on the red dot finder scope by sliding the power
switch to ON (refer to
Figure 9
). The “1” position provides
dim illumination while the “2” position provides brighter
Figure 2.
Attach the
accessory tray to the
tripod brace by
a)
registering the tray’s
center hole over the
center of the brace, then
b)
twisting they tray
while so that each of the
three tray locking tabs
seats underneath its
respective brace tab.
Figure 3.
The tray is now locked in place.
Brace tab
Locking tab
a
b
3


