59
Operation
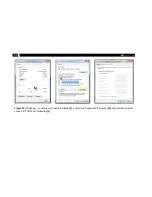
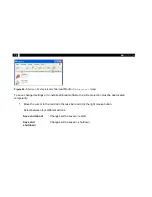
2. Enter
Local Area Connection
– status screen (
Figure 32
[1]
) is shown and subsequently
Properties
.
3. Mark
Internet protocol Version 4 (TCP/IPv4)
in the
Properties
window (
Figure 32
[2]
) and go to
Properties
again.
4. Open register
Alternate Configuration
in window (
Figure 32
[3])
and enable the checkbox
User configured
.
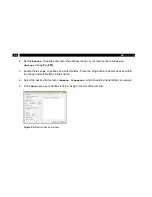
5. Enter a user defined IP address for your PC. Consider that the network part of the address is
identic to the network part of the IP address of the NetBox, thus
192.168.0
. For the host part
use an address which is different from the one of the NetBox (100); e.g.
1
.
If there is no network connection click
Network- and Sharing Center,
then Change Adapter Settings.
After it
Local Area Connection
, right
mouse button:
Properties
[-> continue with item 3].
Summary of Contents for PI LightWeight kit
Page 12: ...12 ...
Page 16: ...16 1 Used standards Figure 2 Used standards ...
Page 26: ...26 3 1 Mechanical Data PI 400 PI 450 LW Figure 6 Dimensions PI 400 PI 450 LW ...
Page 27: ...27 Installation 3 2 Mechanical Data PI NetBox LW Figure 7 Dimensions PI NetBox LW ...
Page 28: ...28 Figure 8 Controls and connections PI NetBox LW ...
Page 30: ...30 ...
Page 33: ...33 Operation Figure 9 Recommended video system integration of the PI LightWeight ...
Page 76: ...76 ...
Page 81: ...81 System recovery Figure 50 Rename option ...
Page 82: ...82 After this the system shuts down The NetBox is ready for use again Figure 51 System update ...
Page 87: ...87 Basics of Infrared Thermometry Figure 55 Noncontact thermometry ...


