English
54
USING THE PROJECTOR
RS232 by Telnet Function
There is alternative RS232 command control way, in projector so called “RS232 by TELNET” for LAN/RJ45
interface.
Quick Start-Guide for “RS232 by Telnet”
Check and get the IP address on OSD of the projector.
Make sure that the PC/laptop can access the web-page of the projector.
Make sure that “Windows Firewall” setting is set disabled in case of “TELNET” function filtering out by
PC/laptop.
1.
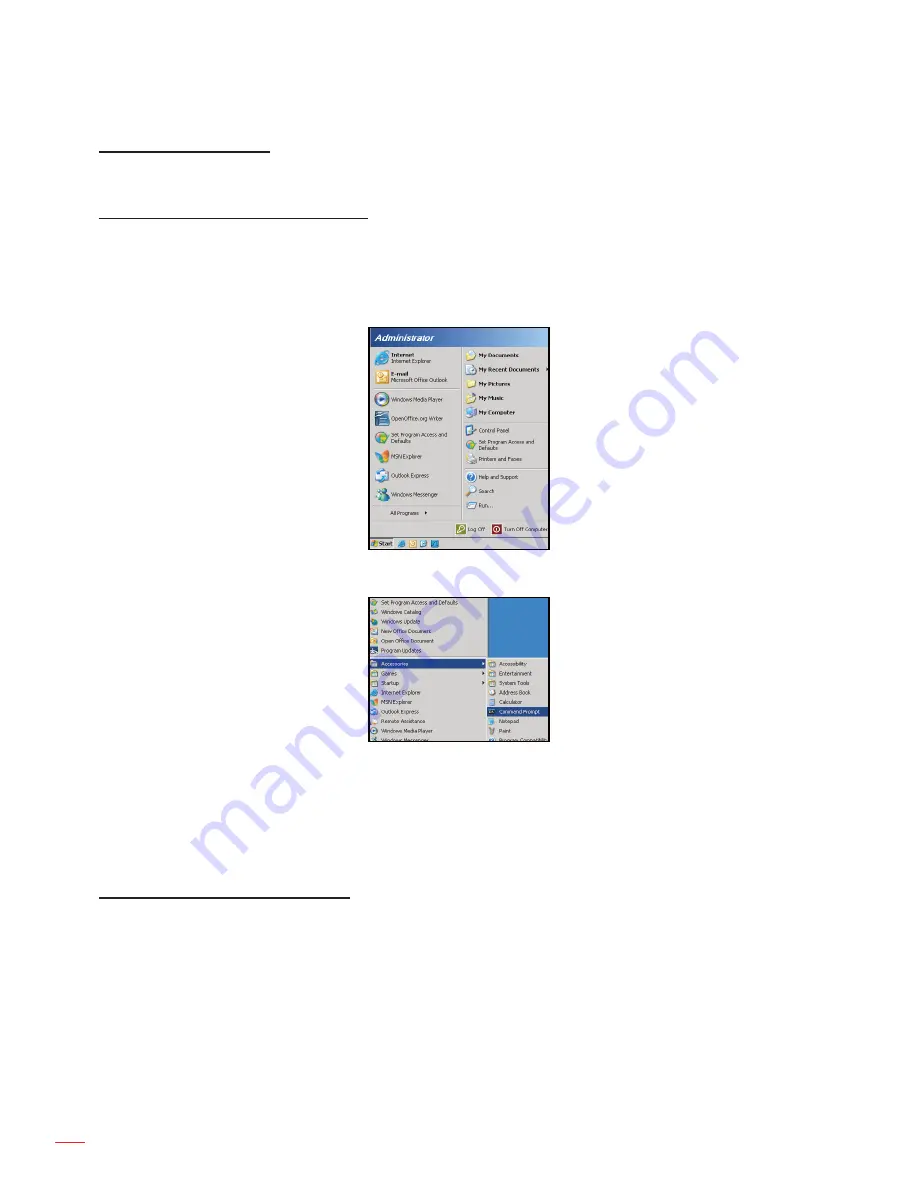
Start > All Programs > Accessories > Command Prompt.
2.
Input the command format as follows:
±
telnet ttt.xxx.yyy.zzz 23 (“Enter” key pressed)
±
(ttt.xxx.yyy.zzz: IP-Address of the projector)
3.
If Telnet-Connection ready, and user can have RS232 command input, then “Enter” key pressed, the
RS232 command will be workable.
Specification for “RS232 by TELNET”
:
1.
Telnet: TCP.
2.
Telnet port: 23 (for more detail, kindly please get contact with the service agent or team).
3.
Telnet utility: Windows “TELNET.exe” (console mode).
4.
Disconnection for RS232-by-Telnet control normally: Close
5.
Windows Telnet utility directly after TELNET connection ready.
±
Limitation 1 for Telnet-Control: there is less than 50 bytes for successive network payload for
Telnet-Control application.
±
Limitation 2 for Telnet-Control: there is less than 26 bytes for one complete RS232 command for
Telnet-Control.
±
Limitation 3 for Telnet-Control: Minimum delay for next RS232 command must be more than 200
(ms).


