DV-10
3-2
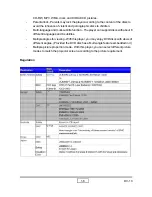
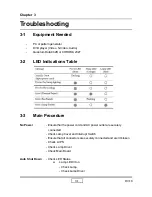
- Check Main Board
b.
Temp LED lit on
- Check Thermal Sensor
- Check Thermal Switch
- Check Fan
- Become “No Power”
*Please refer to “No Power” troublshooting
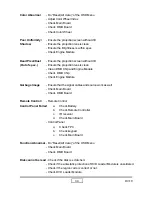
No Image
- Ensure that the signal cables and source are work as well. (If you
connect multiple sources at the same time, use the “Source” button on
the control panel to switch.)
- Ensure that all connectors are securely connected and aren’t broken
- Check Main Board
- Check DMD Board
- Check Color Wheel
- Check DMD Chip
- Check Engine Module
No Light on
- Ensure that all connectors are securely connected and aren’t broken
- Check Lamp Module
- Check LVPS
- Check Lamp Driver
- Check Main Board
Mechanical Noise
- Check Color Wheel
- Check Fan Module
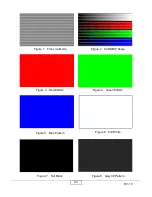
Line Bar/Line
- Sometimes it’s because of DMD chip and DMD board did not
Defect
assemble properly
- Check DMD Board
- Check DMD Chip
- Check Main Board
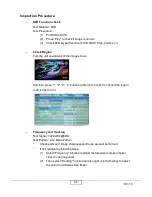
Image Flicker
- Do “Reset(All data)” of the OSD Menu
- Ensure that the signal cables and source are work as well
- Check Lamp Module
- Check Color Wheel
- Check DMD Board
- Check Main Board
Summary of Contents for DV10 MovieTime
Page 9: ...DV 10 1 5 Throw Ratio 1 25 1 5 Projection Distance Image Width ...
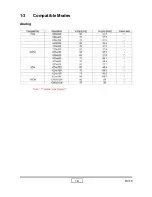
Page 13: ...DV 10 1 9 1 3 Compatible Modes Analog Note means compressed ...
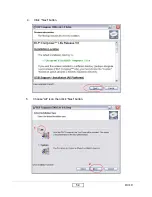
Page 39: ...DV 10 5 4 4 Click Next button 1 2 5 Choose All icon then click Next button ...
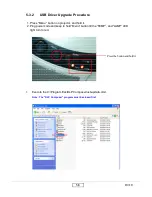
Page 40: ...DV 10 5 5 6 Click Next button 7 The program is executing Initializing status ...
Page 57: ...DV 10 7 1 Appendix A Exploded Overview I DV 10 Unit ...
Page 59: ...DV 10 7 3 II Top Cover Module ...
Page 61: ...DV 10 7 5 III Engine Module ...
Page 64: ...DV 10 7 8 V Sub Engine Module ...
Page 69: ...DV 10 7 13 VIIII DVD Cover Module ...
Page 71: ...DV 10 7 15 X DVD Loader Module ...
Page 73: ...DV 10 7 17 XI Lamp Module ...
Page 75: ...DV 10 7 19 XII Engine Base ...

