10
English ...
12345678901234567890123456789012123456789012345678901
12345678901234567890123456789012123456789012345678901
12345678901234567890123456789012123456789012345678901
12345678901234567890123456789012123456789012345678901
12345678901234567890123456789012123456789012345678901
12345678901234567890123456789012123456789012345678901
12345678901234567890123456789012123456789012345678901
12345678901234567890123456789012123456789012345678901
12345678901234567890123456789012123456789012345678901
Installation
Power/
Standby
1
2
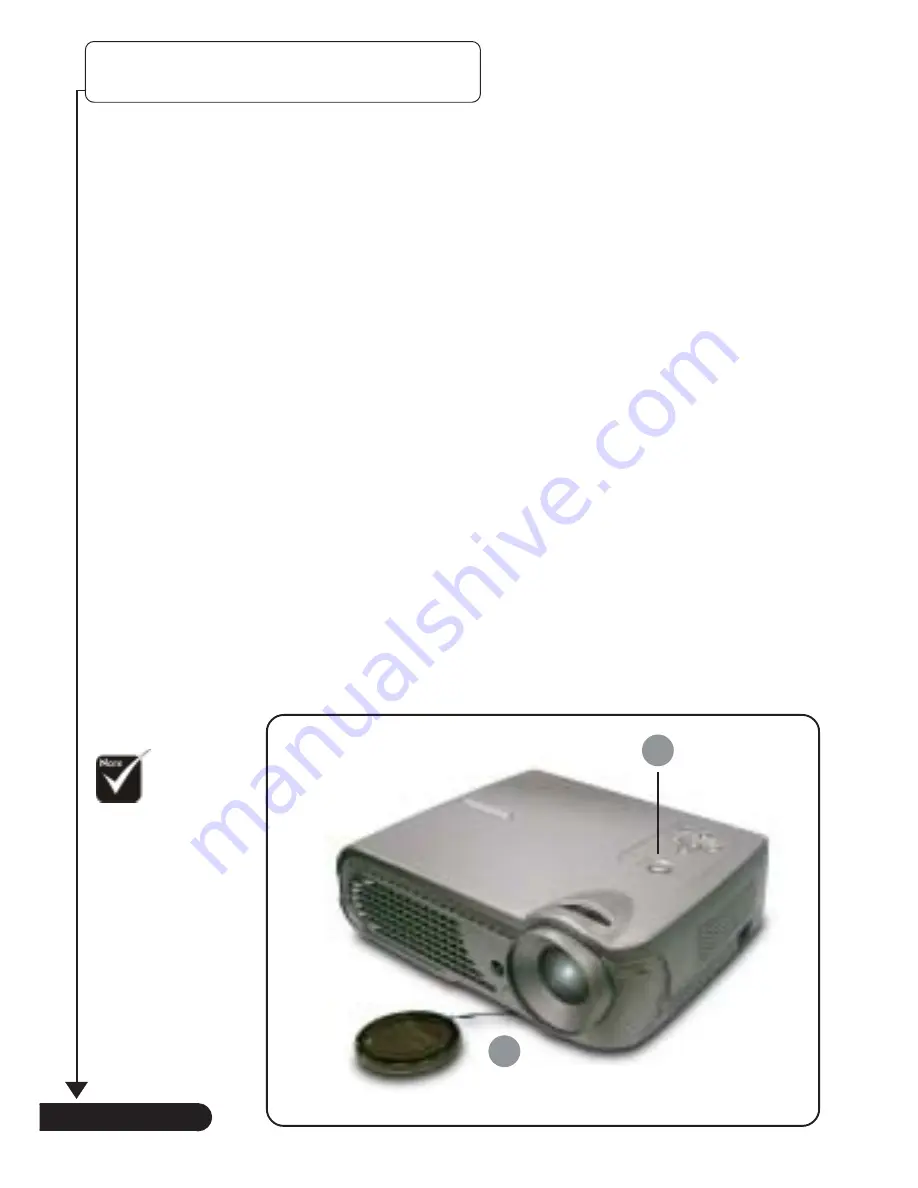
Powering On the Projector
1.
Remove the lens cap.
$
2.
Ensure that the power cord and signal cable are securely
connected. The “Power/Standby” button will flash green.
3.
Turn on the lamp by pressing “Power/Standby” button on
the control panel. And the “Power/Standby” button will turn
green
.
%
The startup screen will display for 30 seconds.
4.
Turn on your source (computer, notebook, video player ,etc.).
The projector will detect your source automatically.
!
If the screen displays “No Signal”, please make sure the signal
cables are securely connected.
!
If you connect multiple sources at the same time, use the “Source”
button on the remote control or control panel to switch.
Powering On/Off the Projector
!
Turn on the
projector first and then
the signal sources.
Lens cap


