TWL-L-
R User’s Manual
Page 7 of 12
- 7 -
Page 7
10/14/2022
Optilab, LLC
600 E. Camelback Road, Phoenix, AZ 85012
Phone: (602) 343-1496, Fax: (602) 343-1489, Email: [email protected]
1. After the LabVIEW GUI is opened, and the COM port setting are chosen
on the Settings of the software, run the LabVIEW software to start the GUI.
2. Using the settings box, select the desired internal tunable LD first and
then select the desired features of the optical output (Power, Wavelength,
Linewidth, etc.), and then pressing the Update button afterwards to
confirm each change. Note that only one feature can be changed at one
time, with a press of the Update button required after each feature change.
3. Once the Power, Wavelength, and Linewidth settings are selected,
choose the Laser Enable setting, and then turn the laser to the On
position, with an Update button press to enable the laser.
4. The laser should now be enabled, make adjustments to each feature as
desired, ensuring the desired feature is selected on the left side, and the
Update button is pressed each time to ensure the setting is properly
communicated.
5. To close the software, select the stop button, this should automatically
disable the LabVIEW program from operation.
2.6 LCD Front Panel Controls
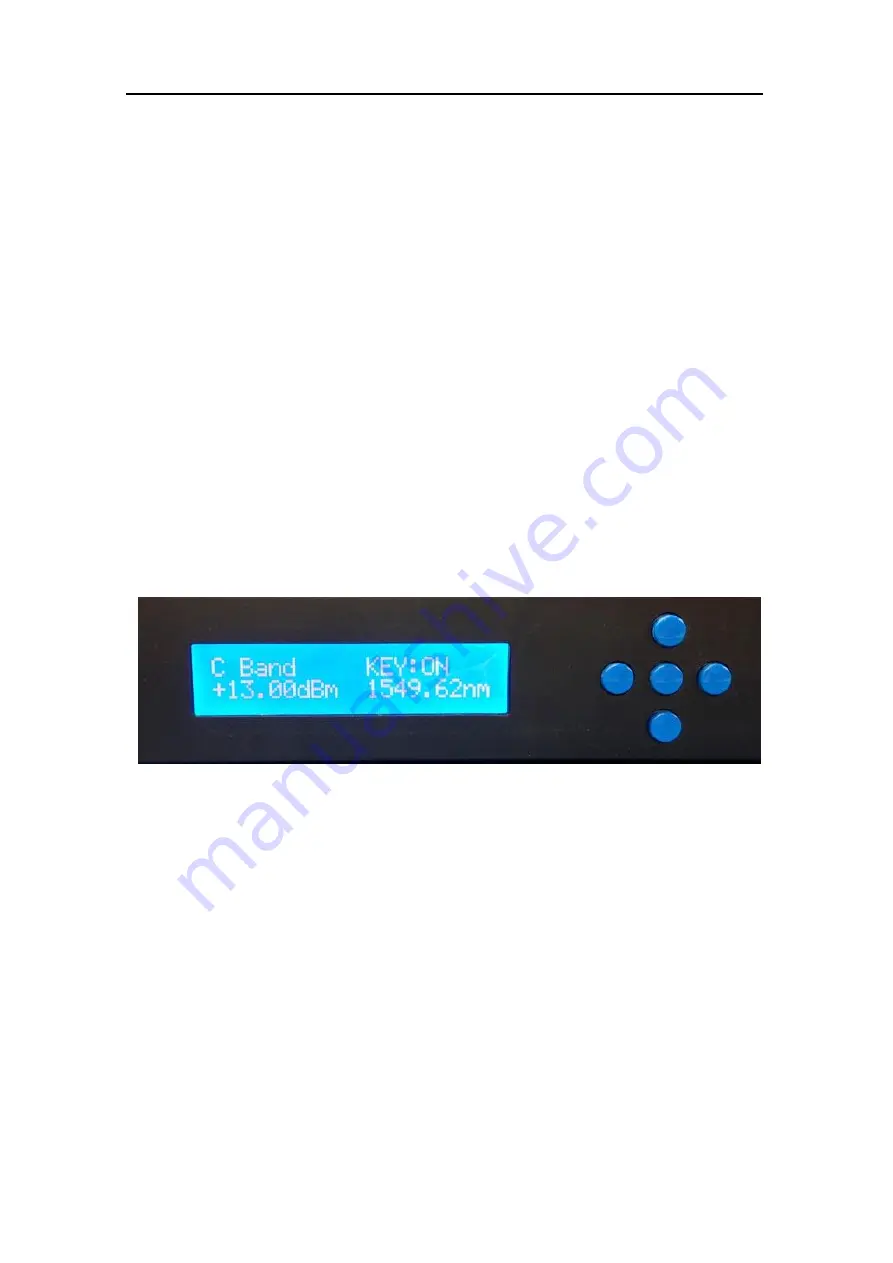
The Optilab TWL-L-R device allows user to adjust the lasers by using 5
buttons on the front panel directly, as shown below next to the display:
Once the TWL-L-R device has been powered on and the key switch has been
turned to the ON position, the device is ready for operating, even without PC
communication.
1. Press the
“Up” or “Down” button to select the desired internal tunable LD,
L-Band, and press the middle button to activate the setting function for the
selected tunable LD.
2. While the setting function is active, press
“Left” or “Right” button to select
power or wavelength parameter, and then press middle button to get in
the setting program of each parameter. Most importantly, the
“Up” or
“Down” button is only used to enable or disable the tunable LD before the
“Middle” button has been pressed.
3. After the setting program of parameter is activated, use
“ Up”, “Down”,
“Left”, or “Right” button to set the desired value, and press the middle
button again to set and save the value, and the parameter selection
program will be activated. Then, use the
“Up” or “Down” button to


