


DVR Set
DVR Type
REC& TMS
OK
Cancel
This menu allows us to set the PVR Setting.
Press "UP" or "DOWN" cursor button to select desired item,
press "LEFT" or "RIGHT" cursor button to change the setting.
TimeShift AUTO/Pause/Off
Jump 30sec/1min/5min/10min/15min/20min/30min
Timeshift to Record On/Off
PS Record On/Off
After Recording Goto Standby/Watch TV
PVR Setting
1
English
13
REC
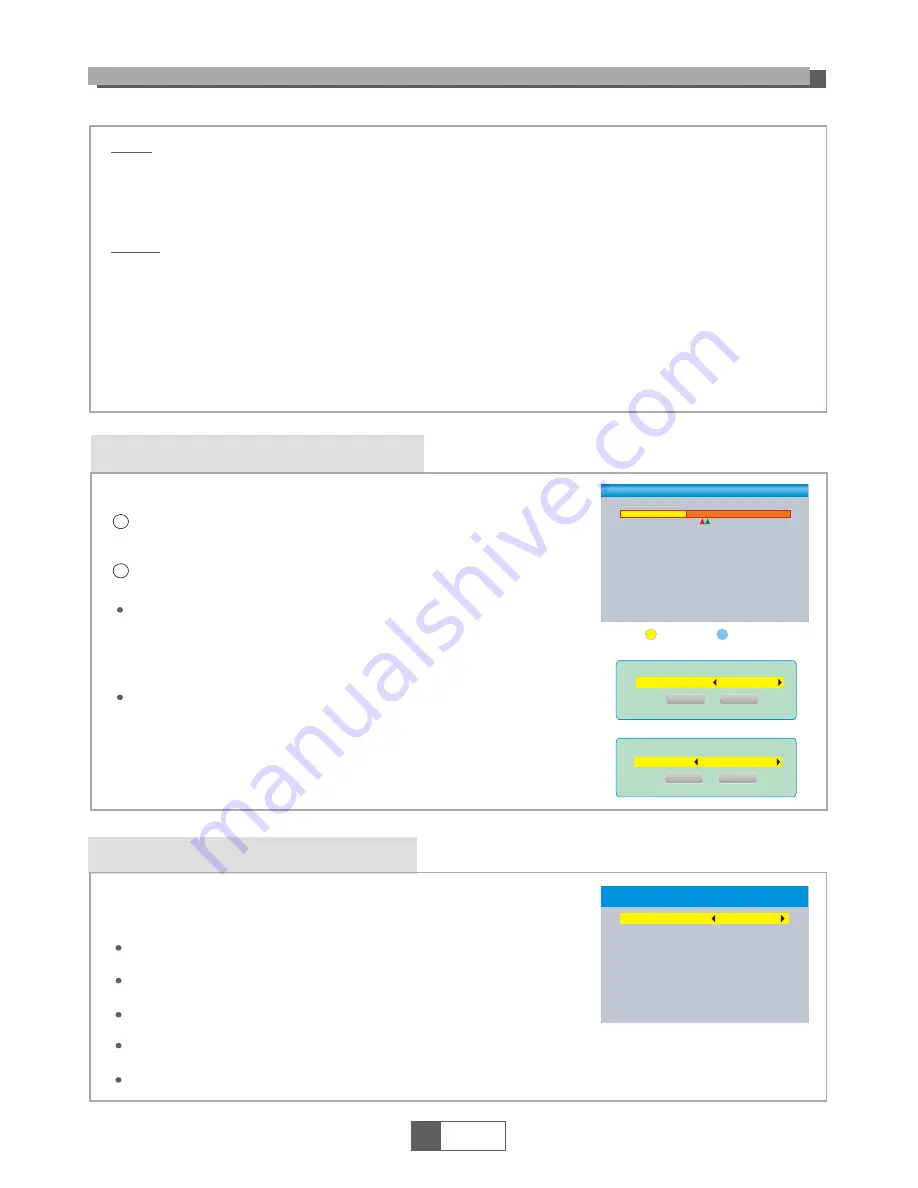
PVR Storage Information
In "REC" menu, select "PVR Storage Information", press "OK"
button to open PVR Storage information window.
Press "EXIT" button to exit.
This menu can display some parameters of Removable Disk.
1
2
PVR Storage Information
USB Disk A: xxxG bytes
Volume
Total Size
Free Size
Rec Size
TMS Size
File System
xxxx
xxxx
xxxx
xxxx
xxxx
xxx
Format
DVR Set
PVR Setting
Timeshift
Jump
Timeshift to Record
PS Record
After Recording
Pause
30sec
Off
Off
Goto Standby
DVR Set REC&TMS/Record/Timeshift
Press BLUE button to open DVR Set menu.
Press "LEFT" or "RIGHT" cursor button to change DVR Type.
Select "OK" to confirm. Select "Cancel" to cancel.
Press YELLOW button to open Format menu.
Press "LEFT" or "RIGHT" cursor button to change Disk Mode.
Select "OK" to format. Select "Cancel" to cancel.
Format FAT/NTFS
Record:
Press "Red" button to open rename window.
Move the highlight to the program which you want to lock. Pressing "Green"
button, it will ask you to input password. Default password is "0000" or "1234".
After input correct password, the program is locked. If you want to unlock the
program, press the "Green" button again.
Press "Yellow" button to make a delete mark on the program which
you want to delete.
Return to parent directory.
Video:
Press "Blue" button to enter to edit sub-menu.
Press "2" button to open the sort. You can sort by Name/Time/Size.
Return to parent directory.
"BLUE" button:
"2" button:
"EXIT" button:
"RED" button:
"GREEN" button:
"YELLOW" button:
"EXIT" button:
Format
Disk Mode
OK
FAT
Cancel
Summary of Contents for Lion 2
Page 20: ......


