


Opticstar PX-35C CoolAir. © Opticstar Ltd, 2021.
14
Updated: 03/09/2021
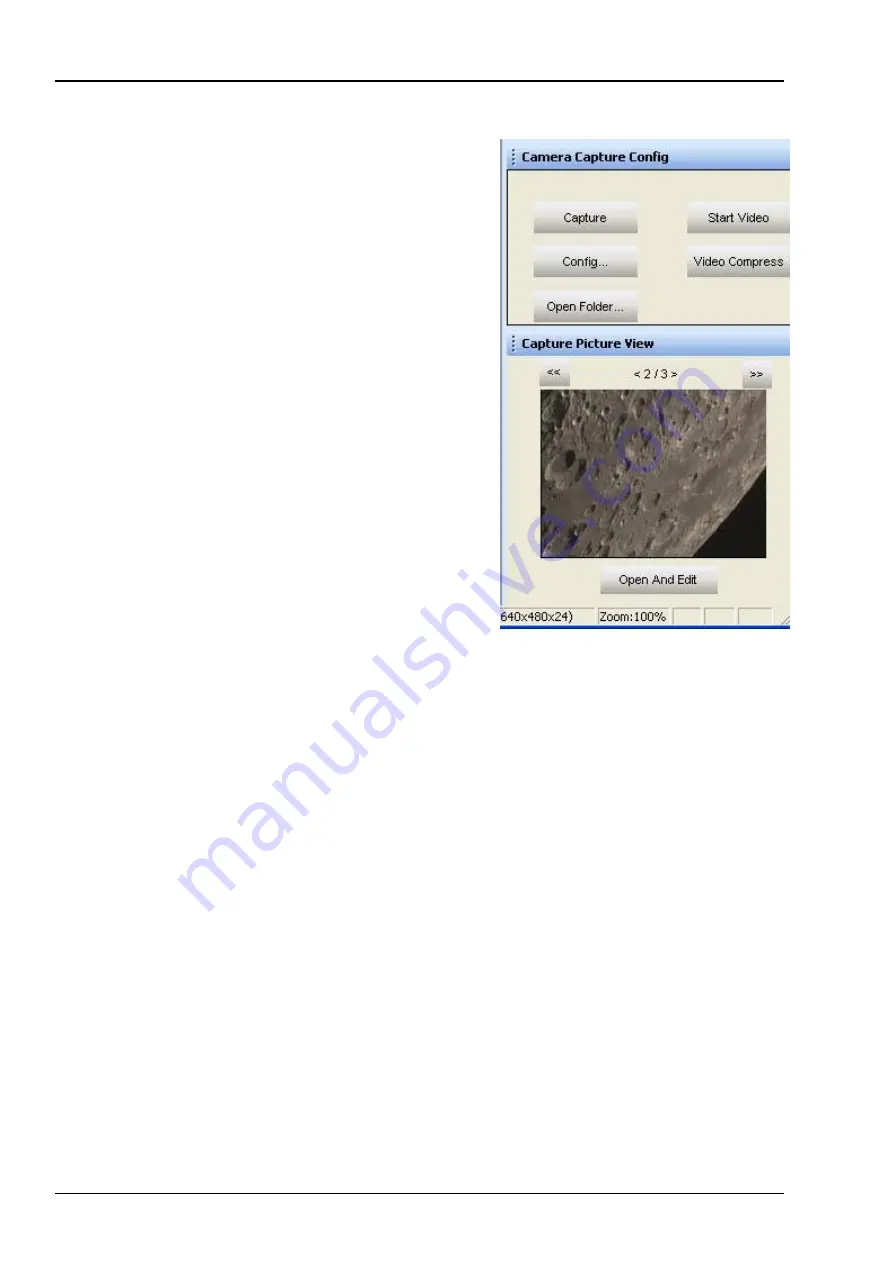
Image Capture
There is a second group of user controls on the
right-hand side panel, headed
Camera Capture
Config
. The
Capture
button can be used to
capture a single frame or a series of frames in
BMP
format. The location of the captured files
and the number of frames can be specified by
clicking the
Config
button.
By adjusting these options, it is possible to specify
how many frames to capture and a time lapse
between the frames. The captured frames are also
displayed as thumbnails on the bottom right hand
side corner.
Video can be captured in AVI format by clicking
the
Start Video
button. This button toggles
between
Start Video
and
Stop Video
. Once the
Start Video
button has been pressed, the camera
will capture and store the data on the hard disk
until
Stop Video
is clicked by the user.
The location of the stored file(s) can be specified by clicking the
Config
button. By
default, video data is stored uncompressed in order to preserve high image quality.
Optionally, it is possible to compress the AVI files by clicking the
Video Compress
button.
Captured images can be processed in
View
by clicking the
Open And Edit
button
underneath the captured image.
The image to be processed should be present in the folder in which the image was
stored. This folder can be specified by pressing the
Config
button.


