S E T U P M E N U O P T I O N S
46
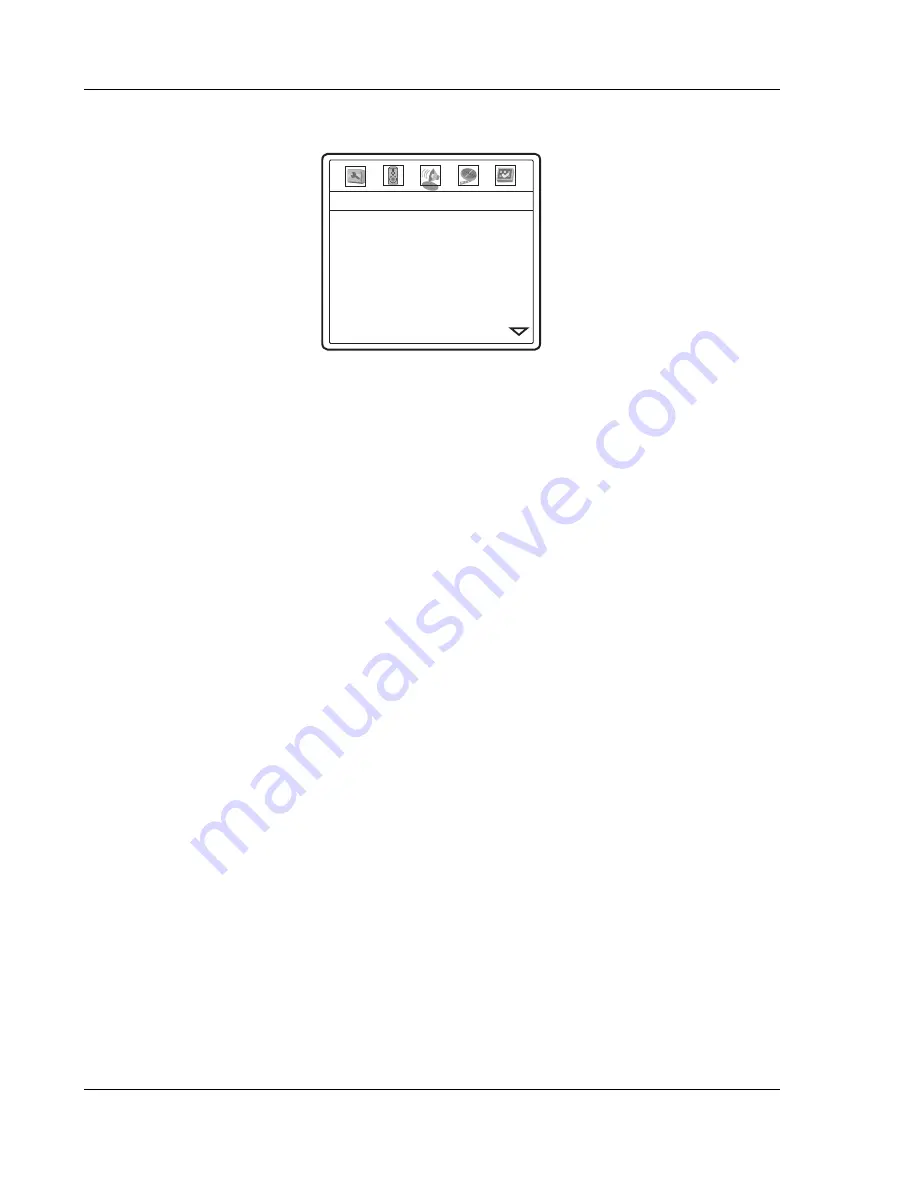
Audio Setup Page
EQ Type
Sound Field
Digital Outupt
LPCM Rate
Audio Tone
Pro Logic II
Dolby Digital Setup
HDMI Audio
-- Audio Setup Page --
None
Off
Raw
48K
00
Auto
1.
EQ Type:
To set the equalization pattern type. Available options are: None, Rock, Pop, Live,
Dance, Techno, Classic and Soft.
2.
Sound Field:
To set the sound field effect. Available options are: Off, Concert, Living Room,
Hall, Bathroom, Cave, Arena and Church.
3.
Digital Output:
To set the bit stream type of the digital audio output for use with Dolby Digital
and DTS-compatible receivers. The options are:
•
Raw
– Passes the encoded multi-channel digital audio unaltered. Choose this setting if
your receiver/amplifier is capable of decoding Dolby Digital and/or DTS.
•
PCM
– Forces down-mixed 2-channel digital audio output. Choose this setting if your
receiver/amplifier only supports stereo digital (PCM) audio.
4.
LPCM Rate:
To set the maximum Linear PCM output frequency. The options are:
•
48K
– Supported by most equipment.
•
96K
– Allows a higher sampling rate and frequency response. It can result in better audio
quality. Ensure that the receiver/amplifier can support it.
•
192K
– Allows the highest sampling rate and frequency response. It can result in the best
audio quality. Ensure that the receiver/amplifier can support it.
5.
Audio Tone (+/-16)
: This function raises or lowers the tone (key/pitch) of the audio track. This
is useful for playing Karaoke discs and should not be used for regular music listening or movies.
•
Press
the
SELECT
button to show the tone control window.
•
Press the left/right
ARROW
buttons to lower or raise the tone/pitch.
•
Press
the
SELECT
button to confirm the setting.
6.
Pro Logic II:
Taking a step further than most DVD players, the OPPO DVD player allows you to
configure Dolby Pro Logic II to expand 2-channel source audio into full 5-channel surround
sound.
Note:
Pro Logic II functionality is effective only when
Speaker Setup Page > Down-
mix
is set to
“5.1ch”
and
Digital Output
is set to
“Raw”
.
•
Press
the
SELECT
button to enter the “
Pro Logic II Config
” page.
•
Press the left
ARROW
button to exit the “
Pro Logic II Config
” page.


