Section 2: Setup and Test
HOBO Energy Logger User’s Guide
11
computer does not have a serial port, you can use a Keyspan™
USB serial adapter (part # ADAPT-SER-USB) to connect the
logger to a USB port on your computer.
6.
Access the
Launch
dialog in HOBOware.
In the Launch window, you should see a list of all the Smart
Sensors and FlexSmart modules you connected to the logger.
Note:
Modules and smart sensors are listed in HOBOware in ascending
order by serial number regardless of their physical position within the
logger.
FlexSmart Modules
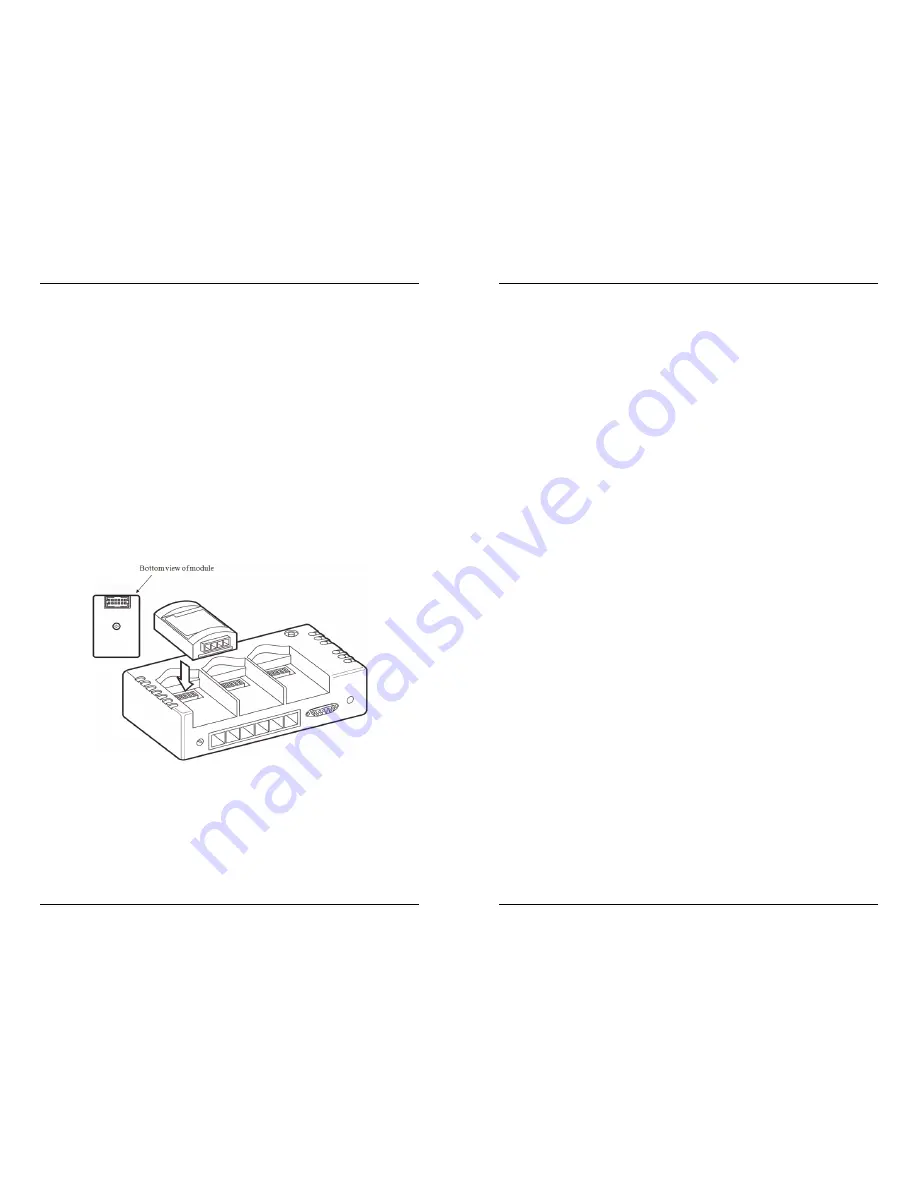
Installing FlexSmart Modules
Remove the protective cap from the module connector on the logger.
Align the connector on the back of the FlexSmart module with the
connector on the logger, and gently press the module into place.
Figure 2: FlexSmart Module
Section 2: Setup and Test
12
HOBO Energy Logger User’s Guide
Configuring FlexSmart Modules
While Smart Sensors are designed and preconfigured for specific
purposes, FlexSmart modules are user-configurable to accommodate a
wide range of Onset and third-party sensors. To take advantage of this
adaptability, HOBOware lets you configure these modules at launch
time, or create and save different configurations to be loaded into the
modules whenever needed.
If you connected only Smart Sensors, skip ahead to the next topic,
“Launching the logger.”
1.
Access the
Configure Channel
dialog in HOBOware.
From the
Launch
window in HOBOware, double-click a module
name to expand it, then select a module channel and click
Configure
.
2.
Load an existing configuration, if available.
HOBOware may already have a default configuration for your
sensor. Click the
Load
button to select an existing configuration
for the sensor.
3.
Review the loaded configuration, or create a new one.
The
Configure Channel
dialog allows you to create or change
the channel name, scaling parameters, and other items. (Refer to
the
HOBOware User’s Guide
for details.)
4.
Review or set excitation power, if applicable.
If this is an Analog module, make sure that the excitation power
settings are correct for the intended sensor.
5.
Save the new or changed configuration.
Skip this step if you are using a default configuration without
any changes.
6.
Click
Configure
to complete the configuration.
Repeat these steps for each channel of each module.
w
w
w
.
G
lo
ba
lTe
st
Su
pp
ly
.c
om
Fin
d Q
ua
lit
y P
ro
du
ct
s O
nli
ne
a
t:
sa
le
s@
G
lo
ba
lTe
st
Su
pp
ly.c
om


